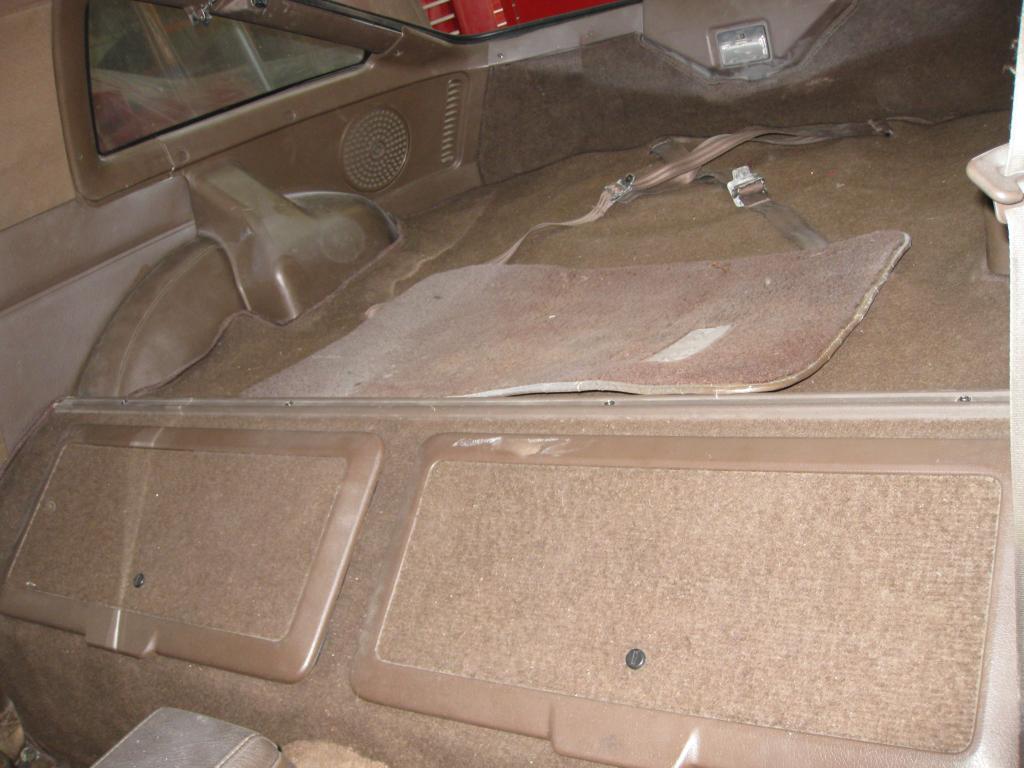
I was able to get the entire rear interior installed. It all went back together smoothly. I still need to do some final cleaning but I will wait to do that when the paint is done.
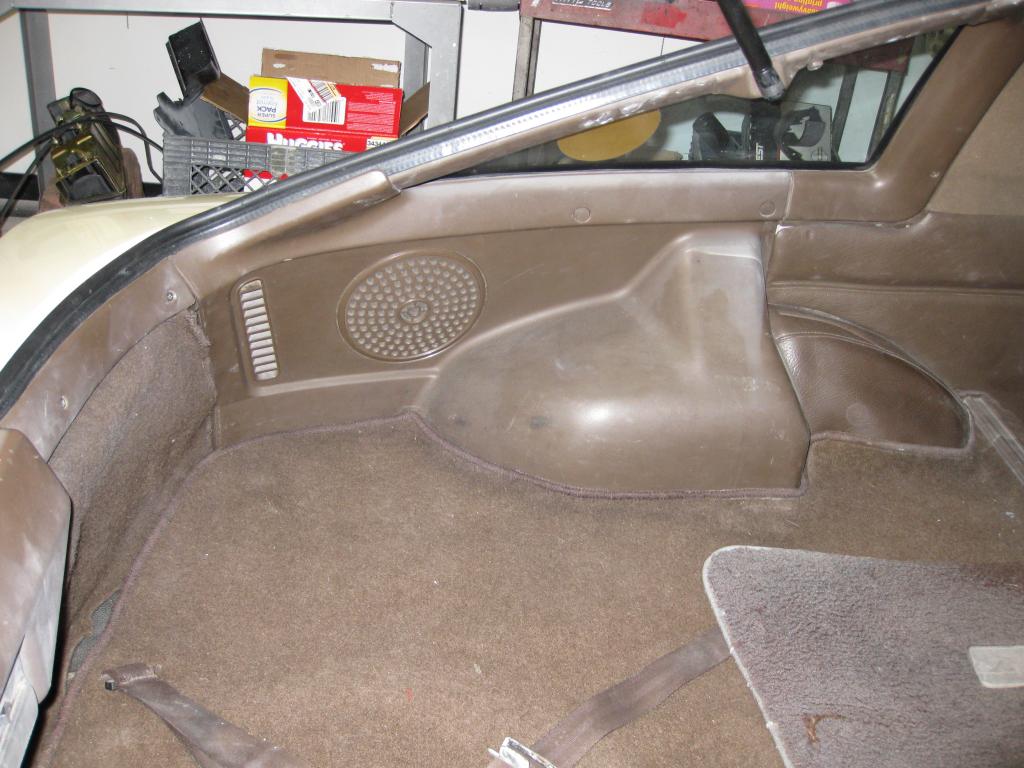
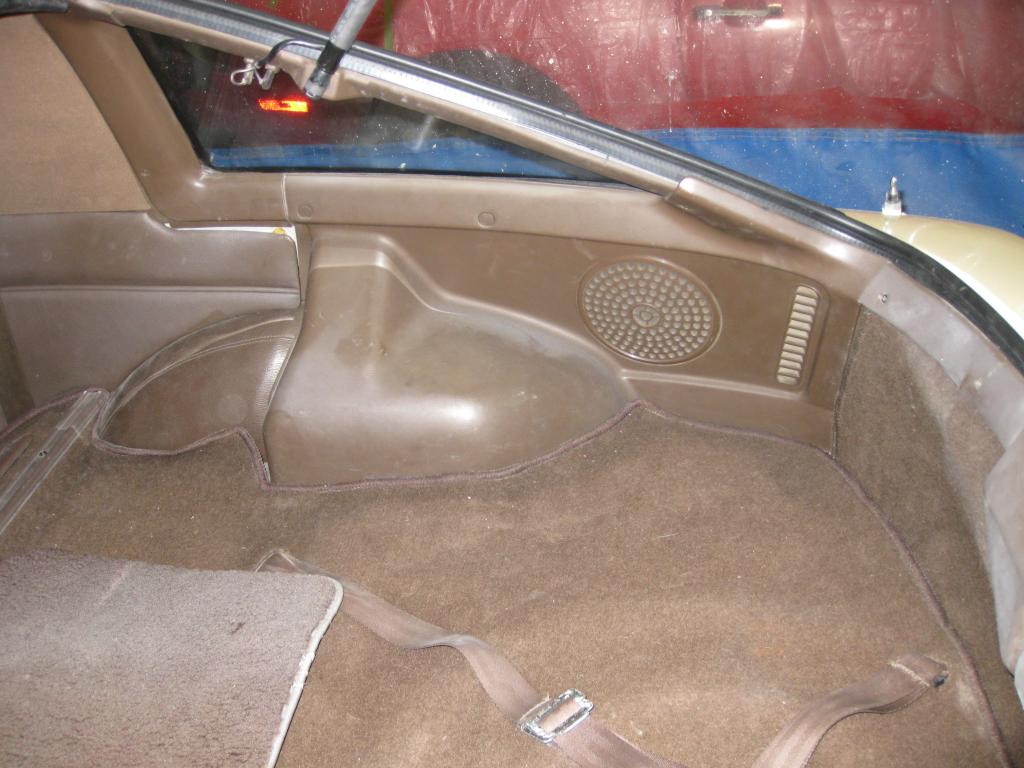
I was able to get the entire rear interior installed. It all went back together smoothly. I still need to do some final cleaning but I will wait to do that when the paint is done.
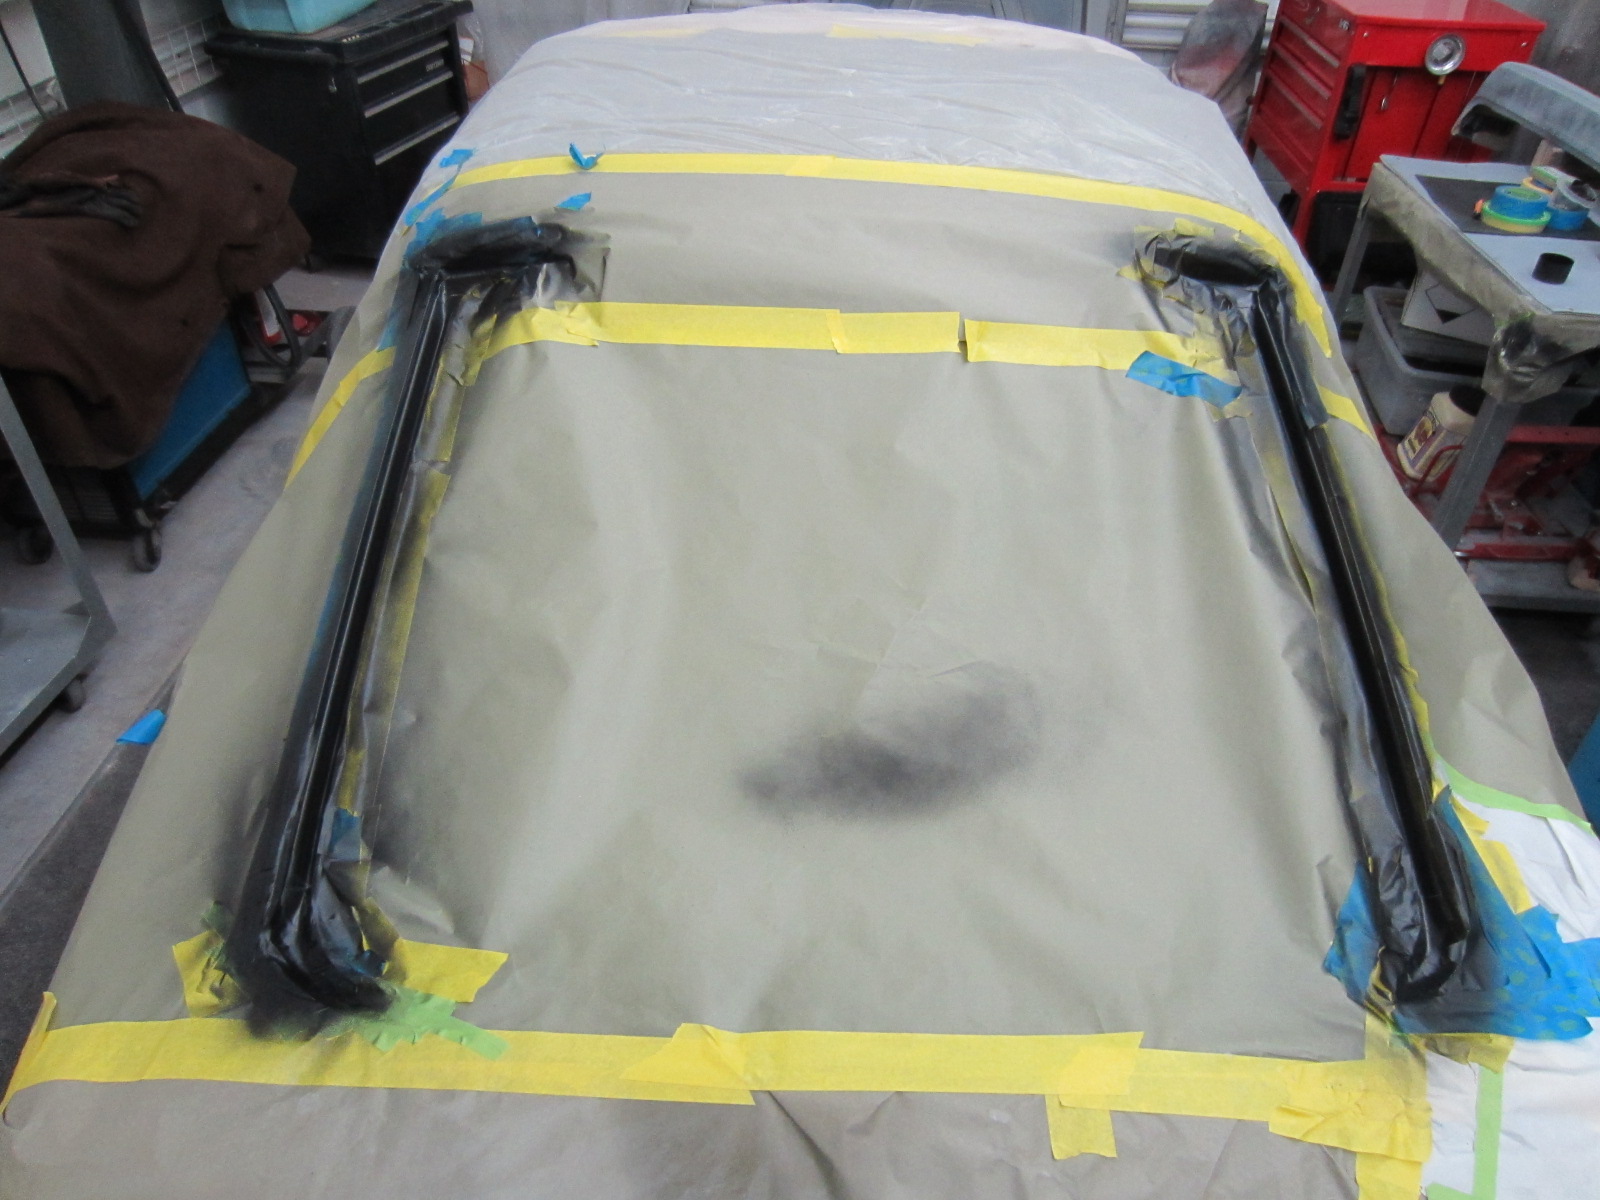
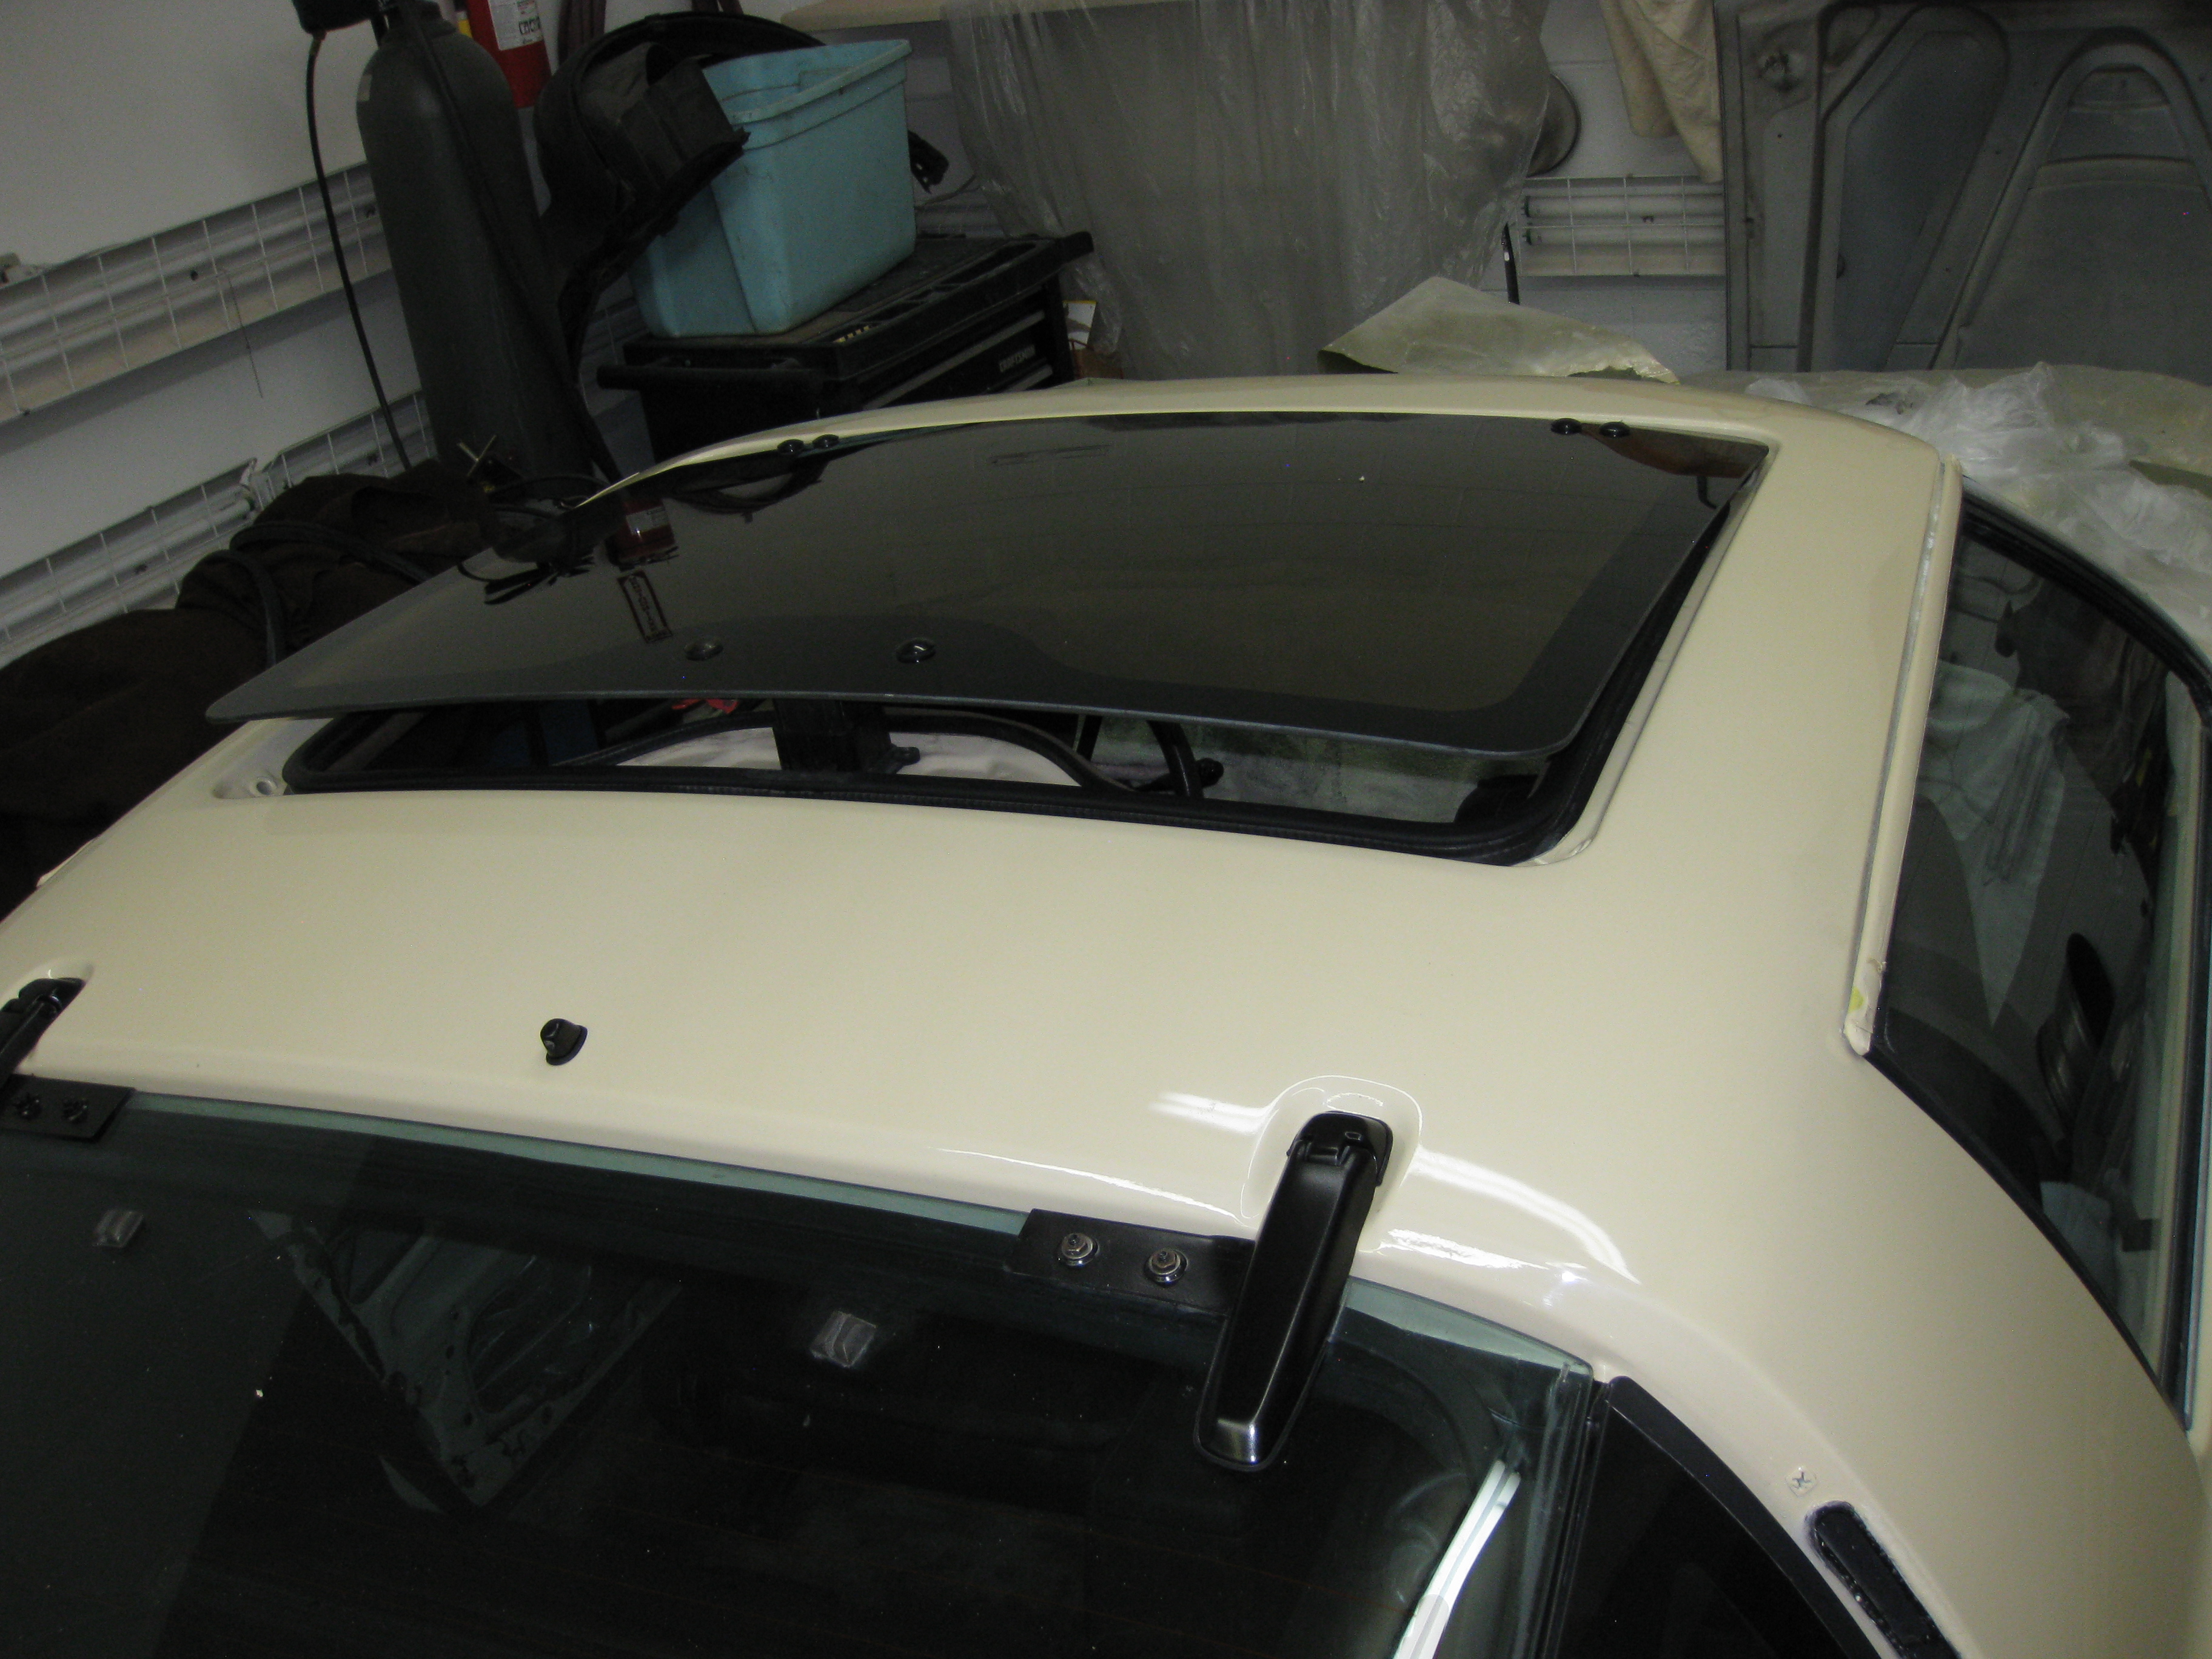
Earlier in the month the black painted area around the rear hatch was painted.
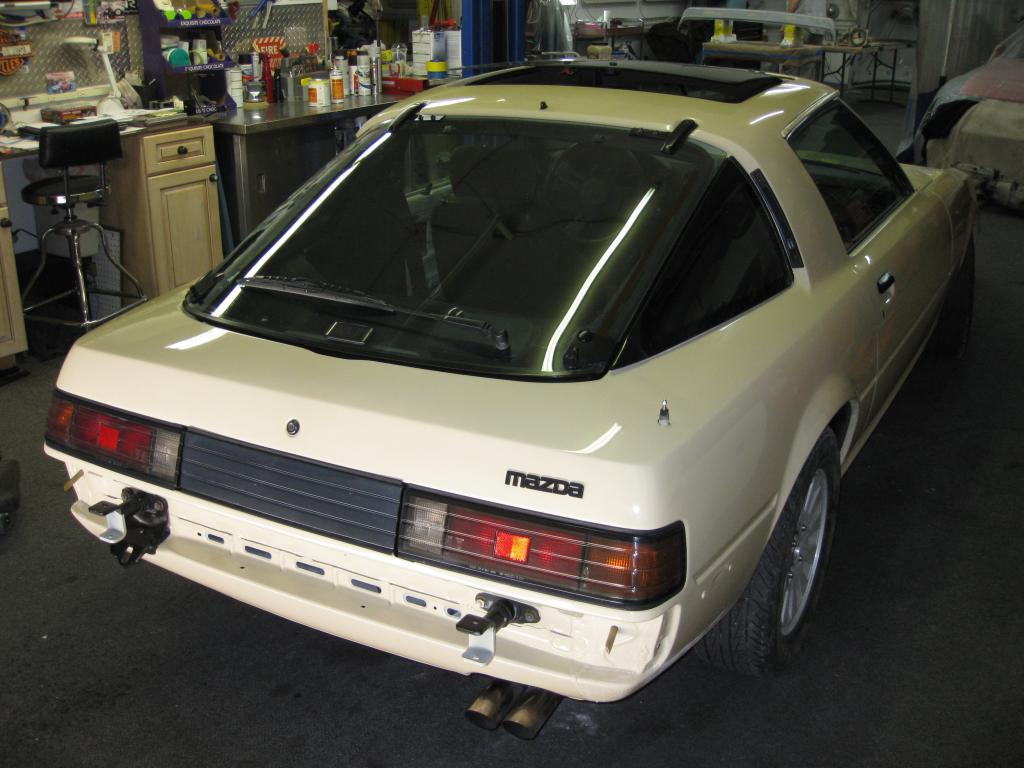
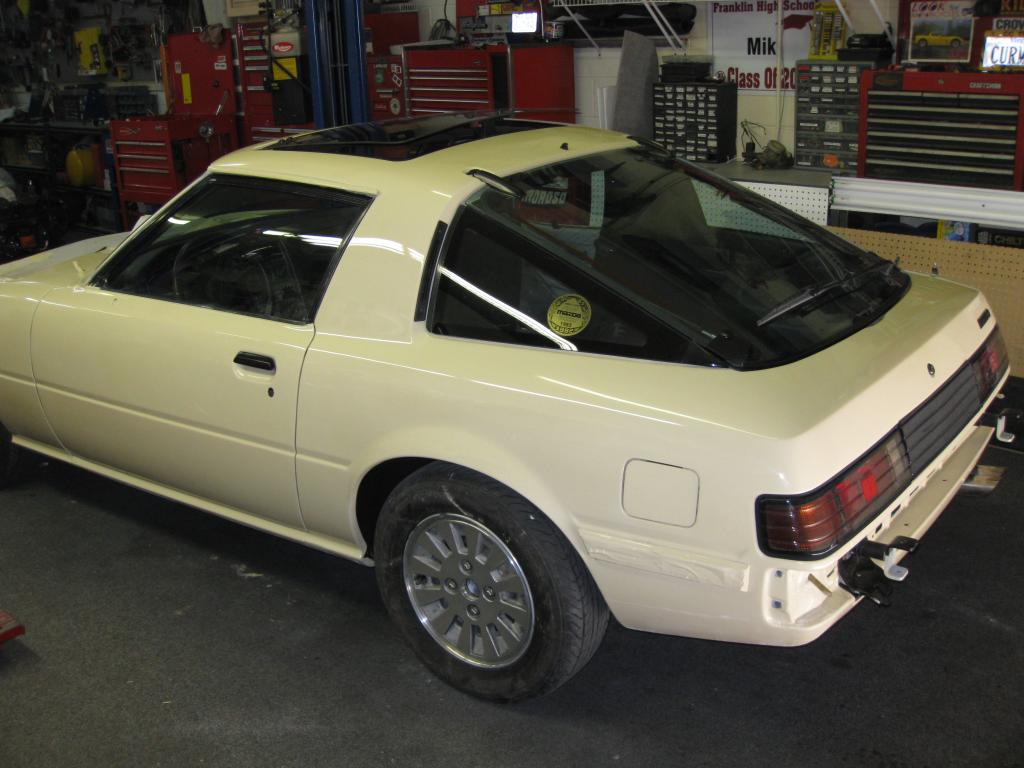
On Friday I was able to start getting the rear of the car back together. The rear hatch was installed with a new seal and the wiper. We also installed the washer and the lock.
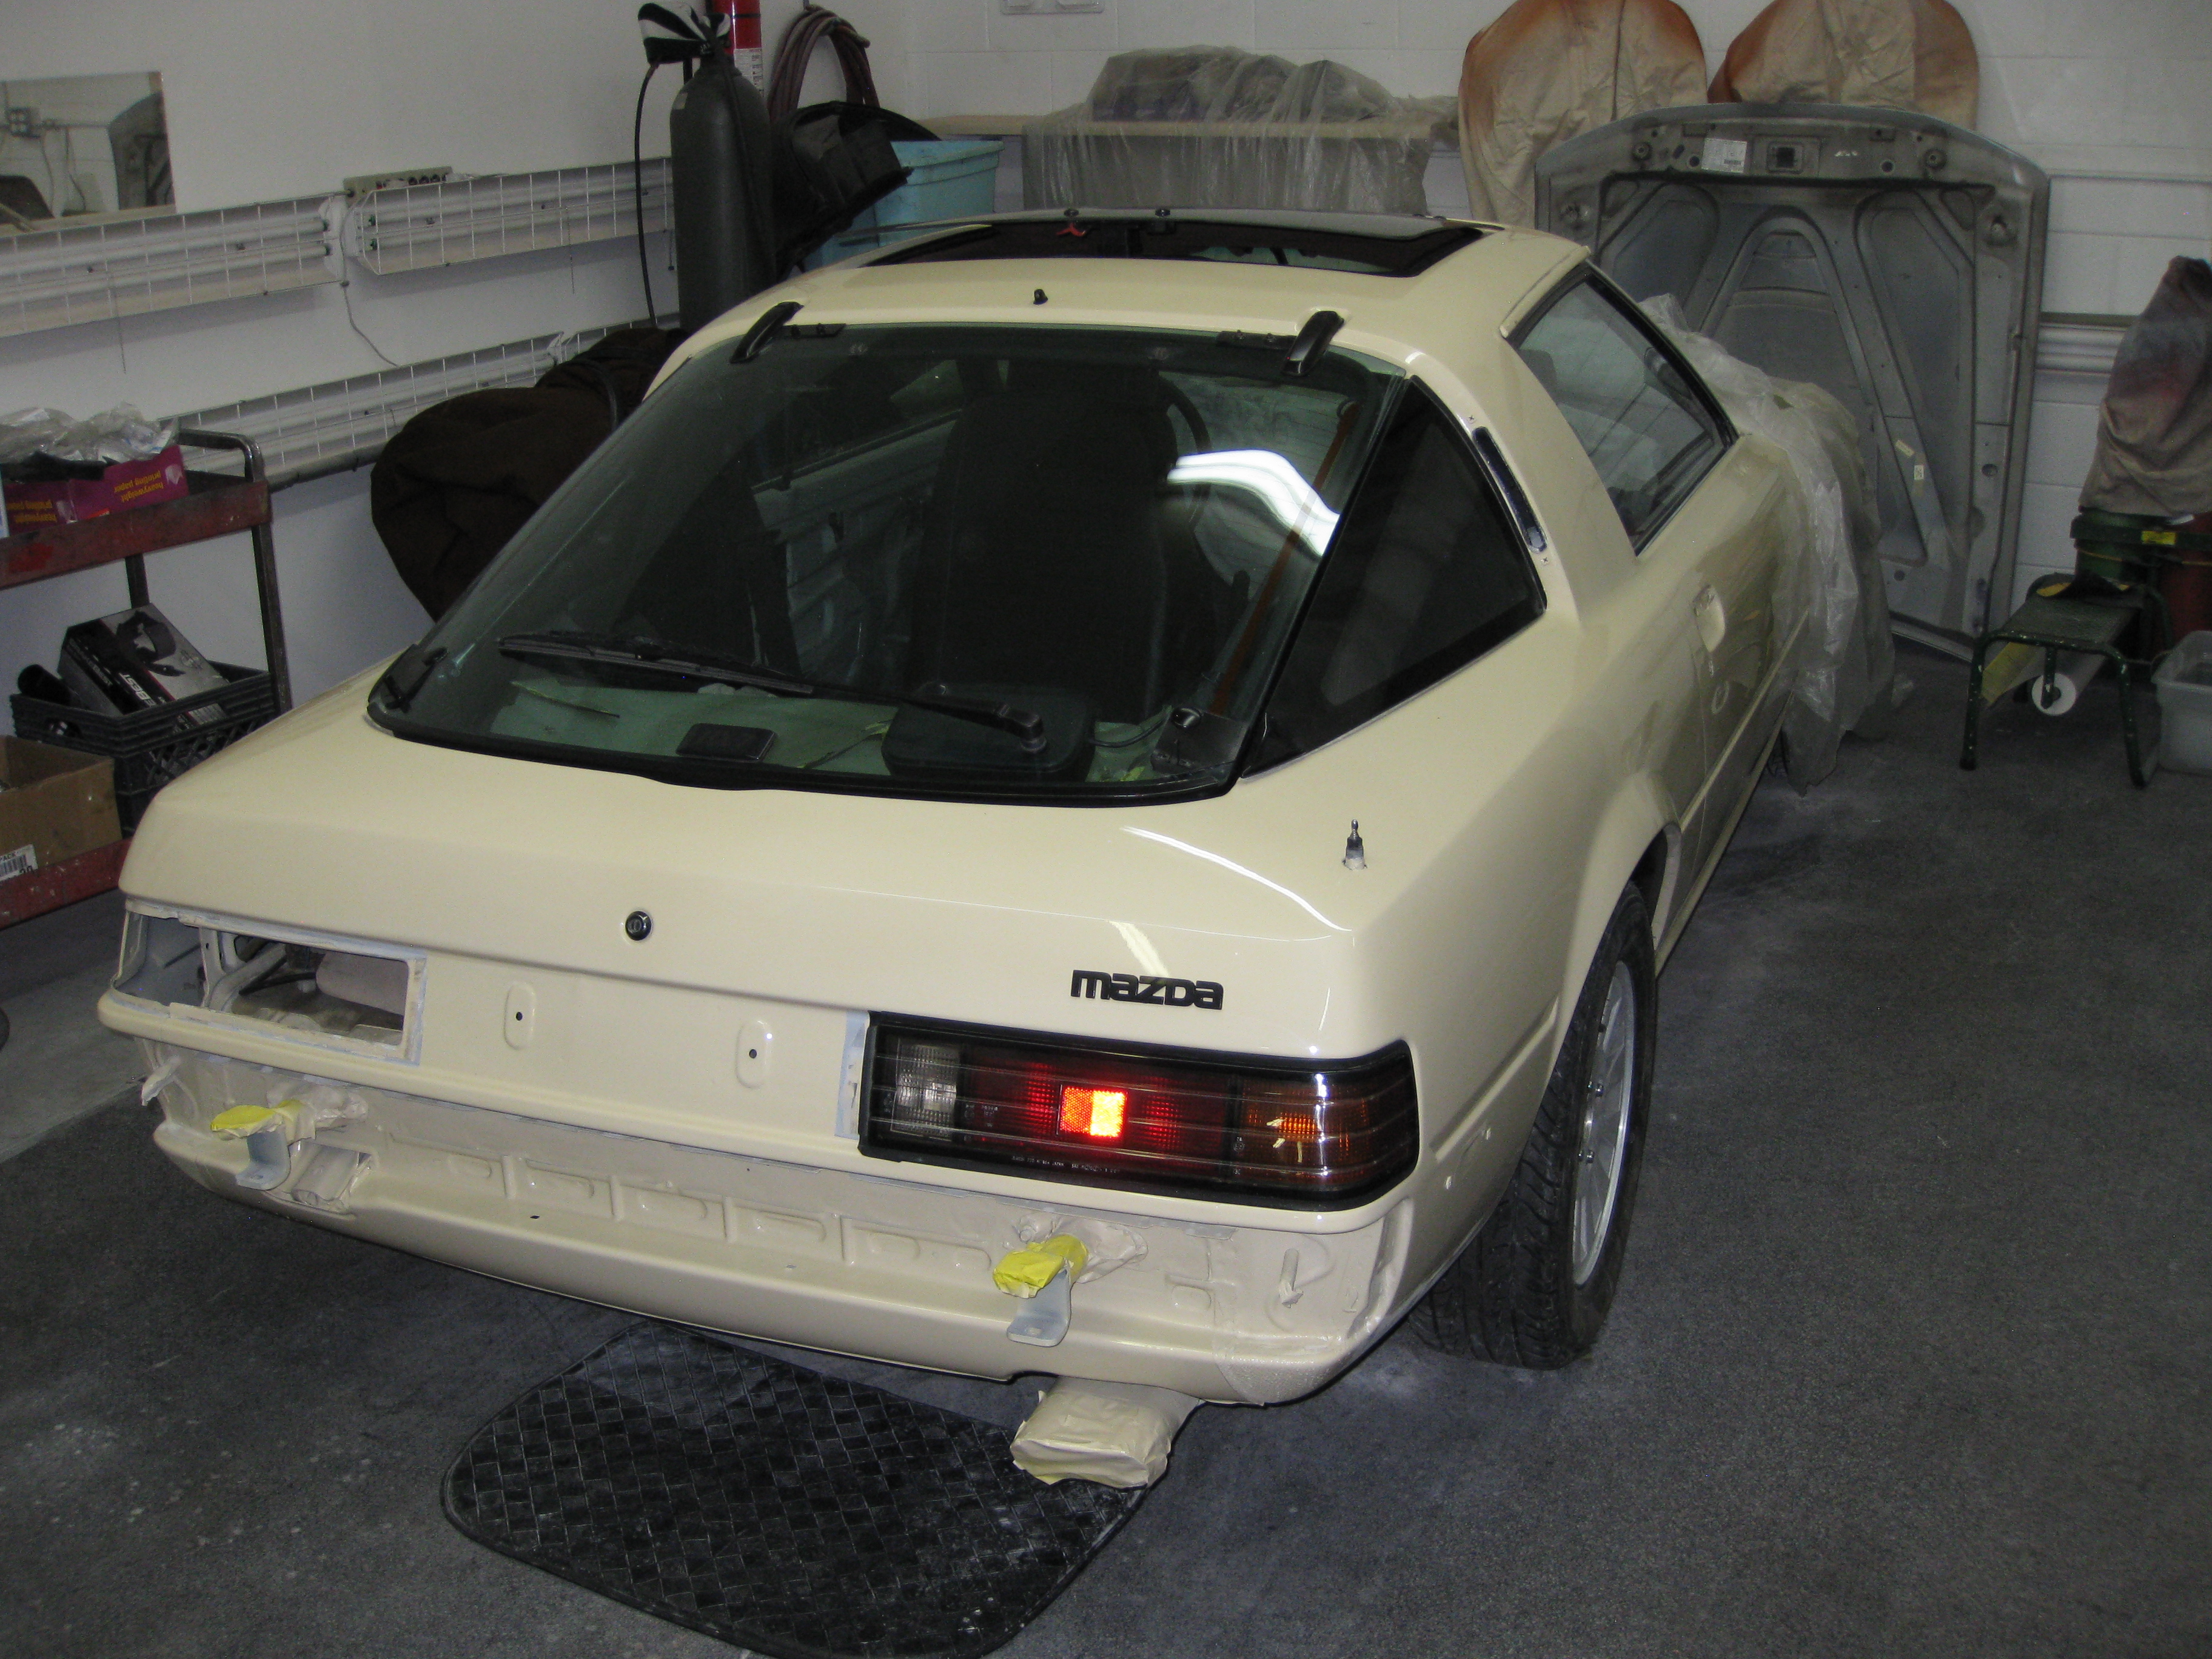
Saturday all the masking was removed and the tail lights installed. I also installed the door handles and the locks.
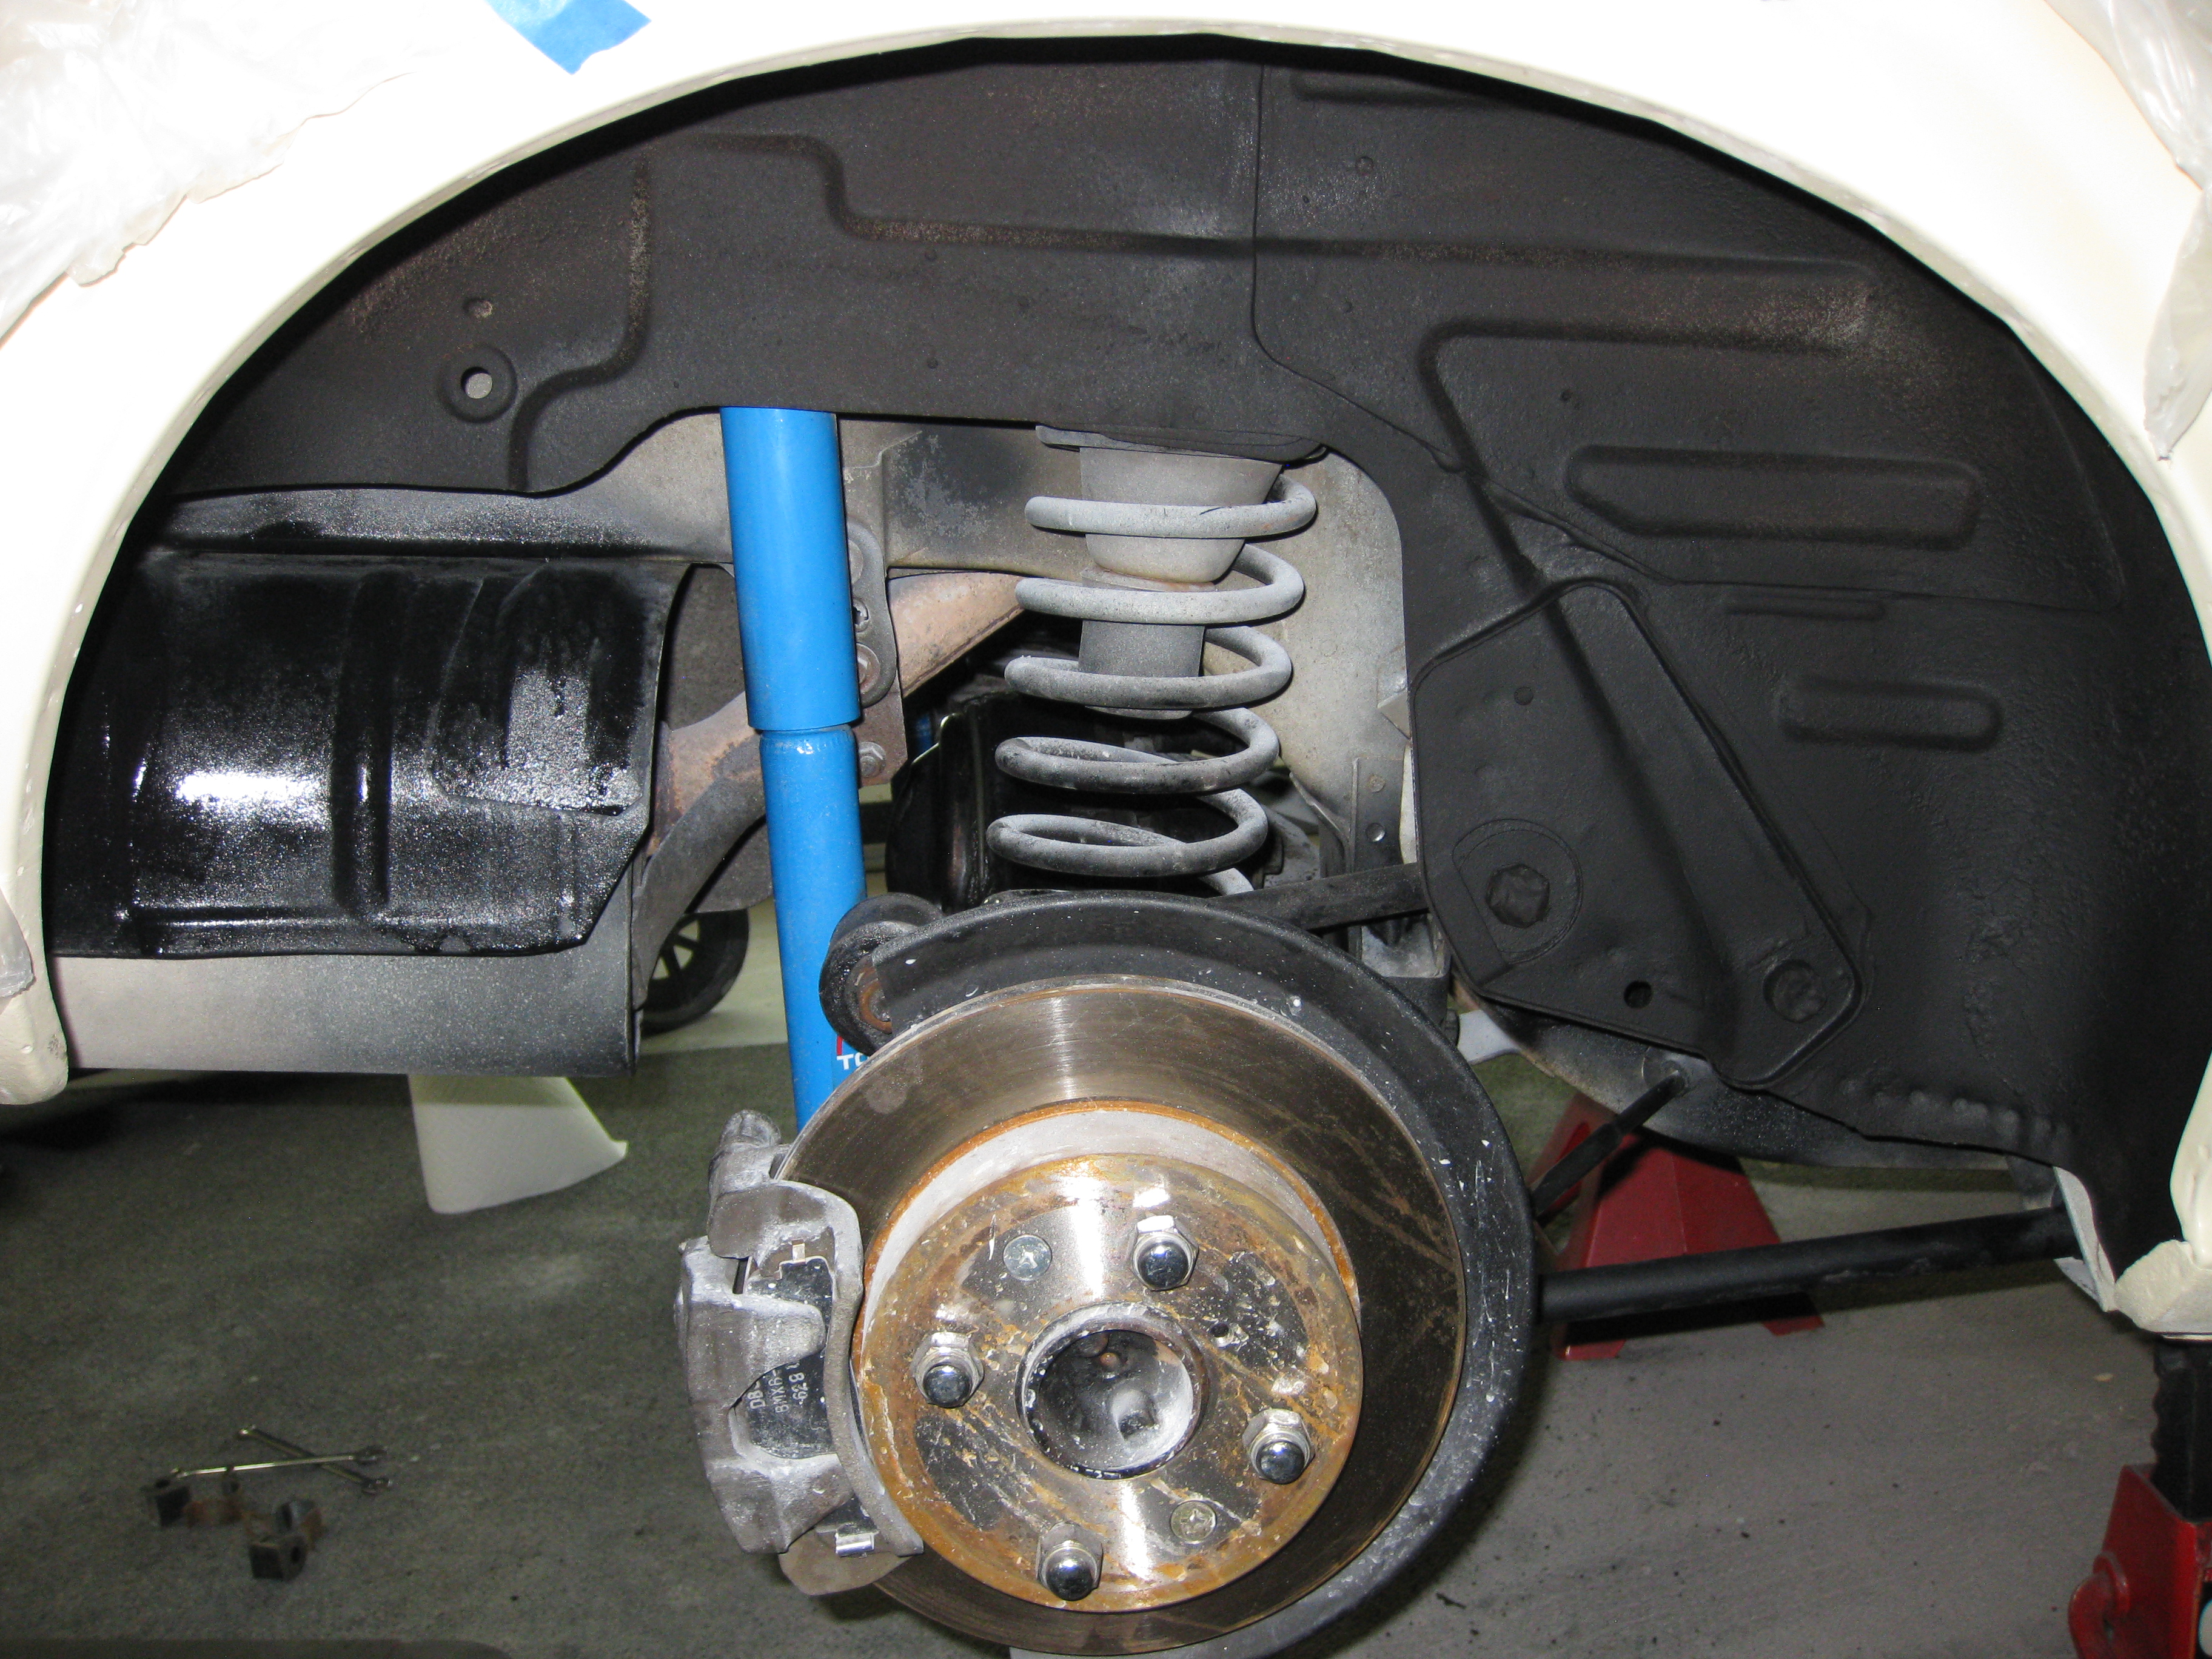
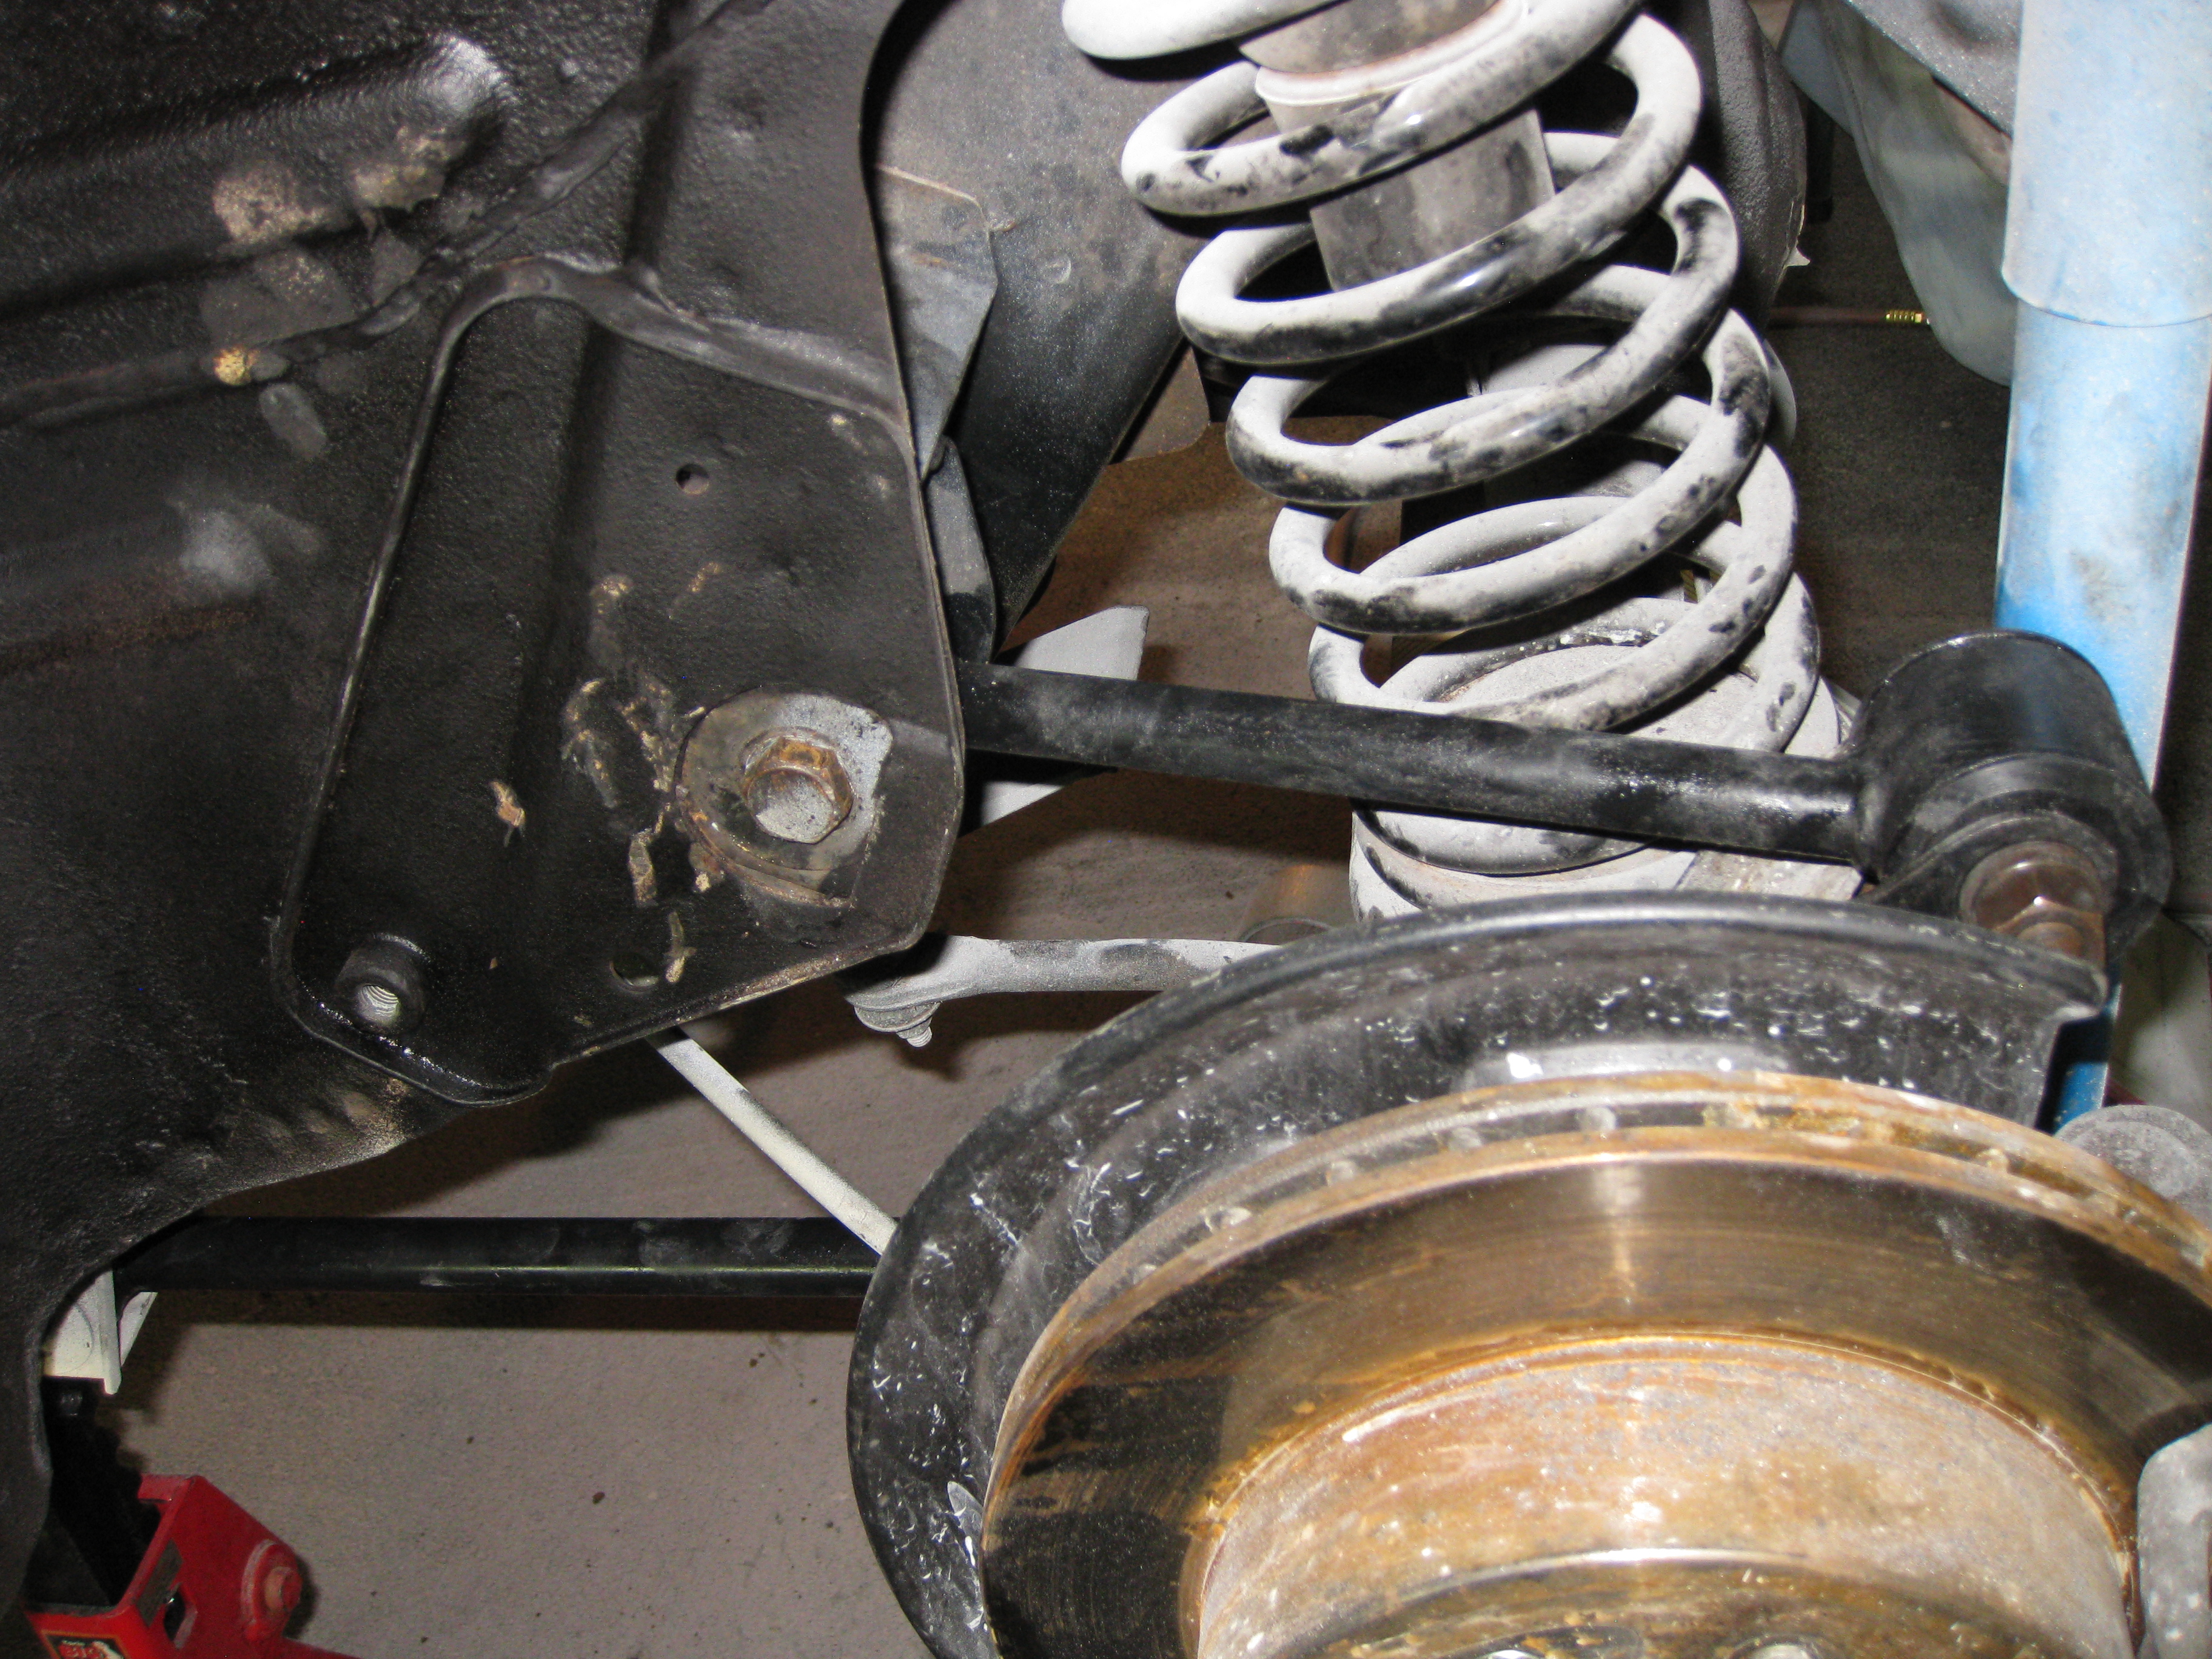
Pictures of the completed rear suspension are included in this post.
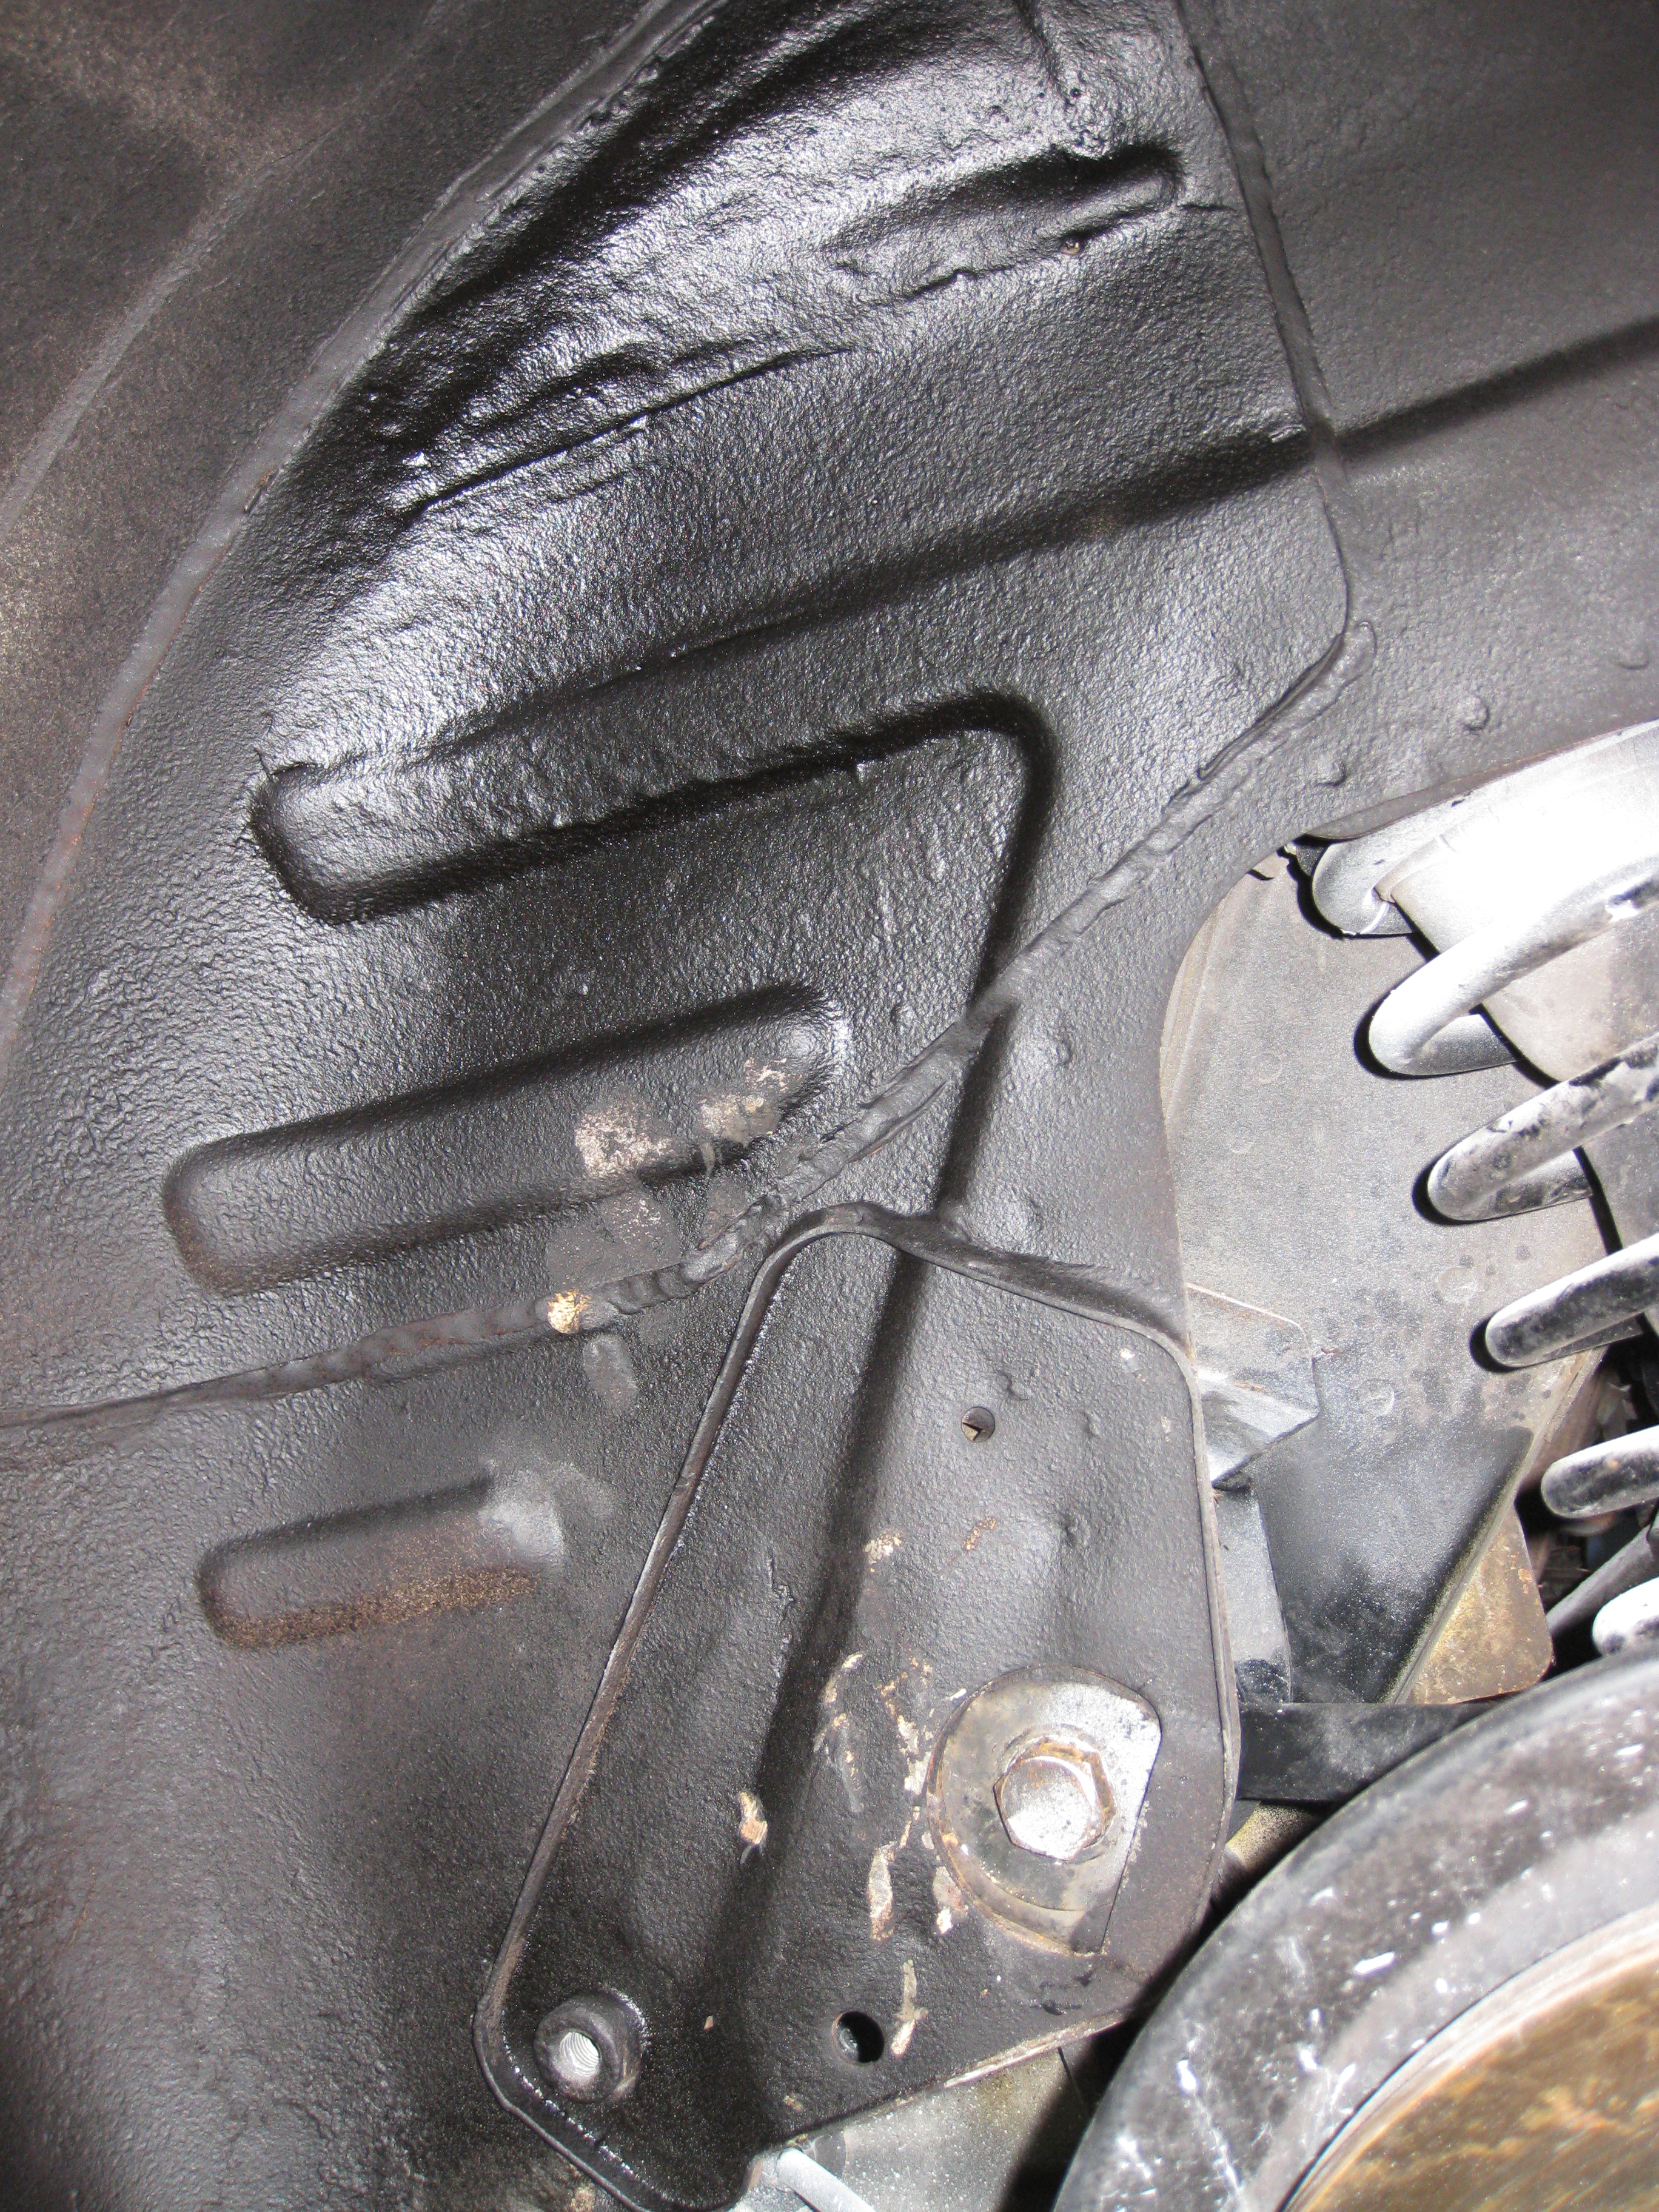
Driver’s side wheel well:
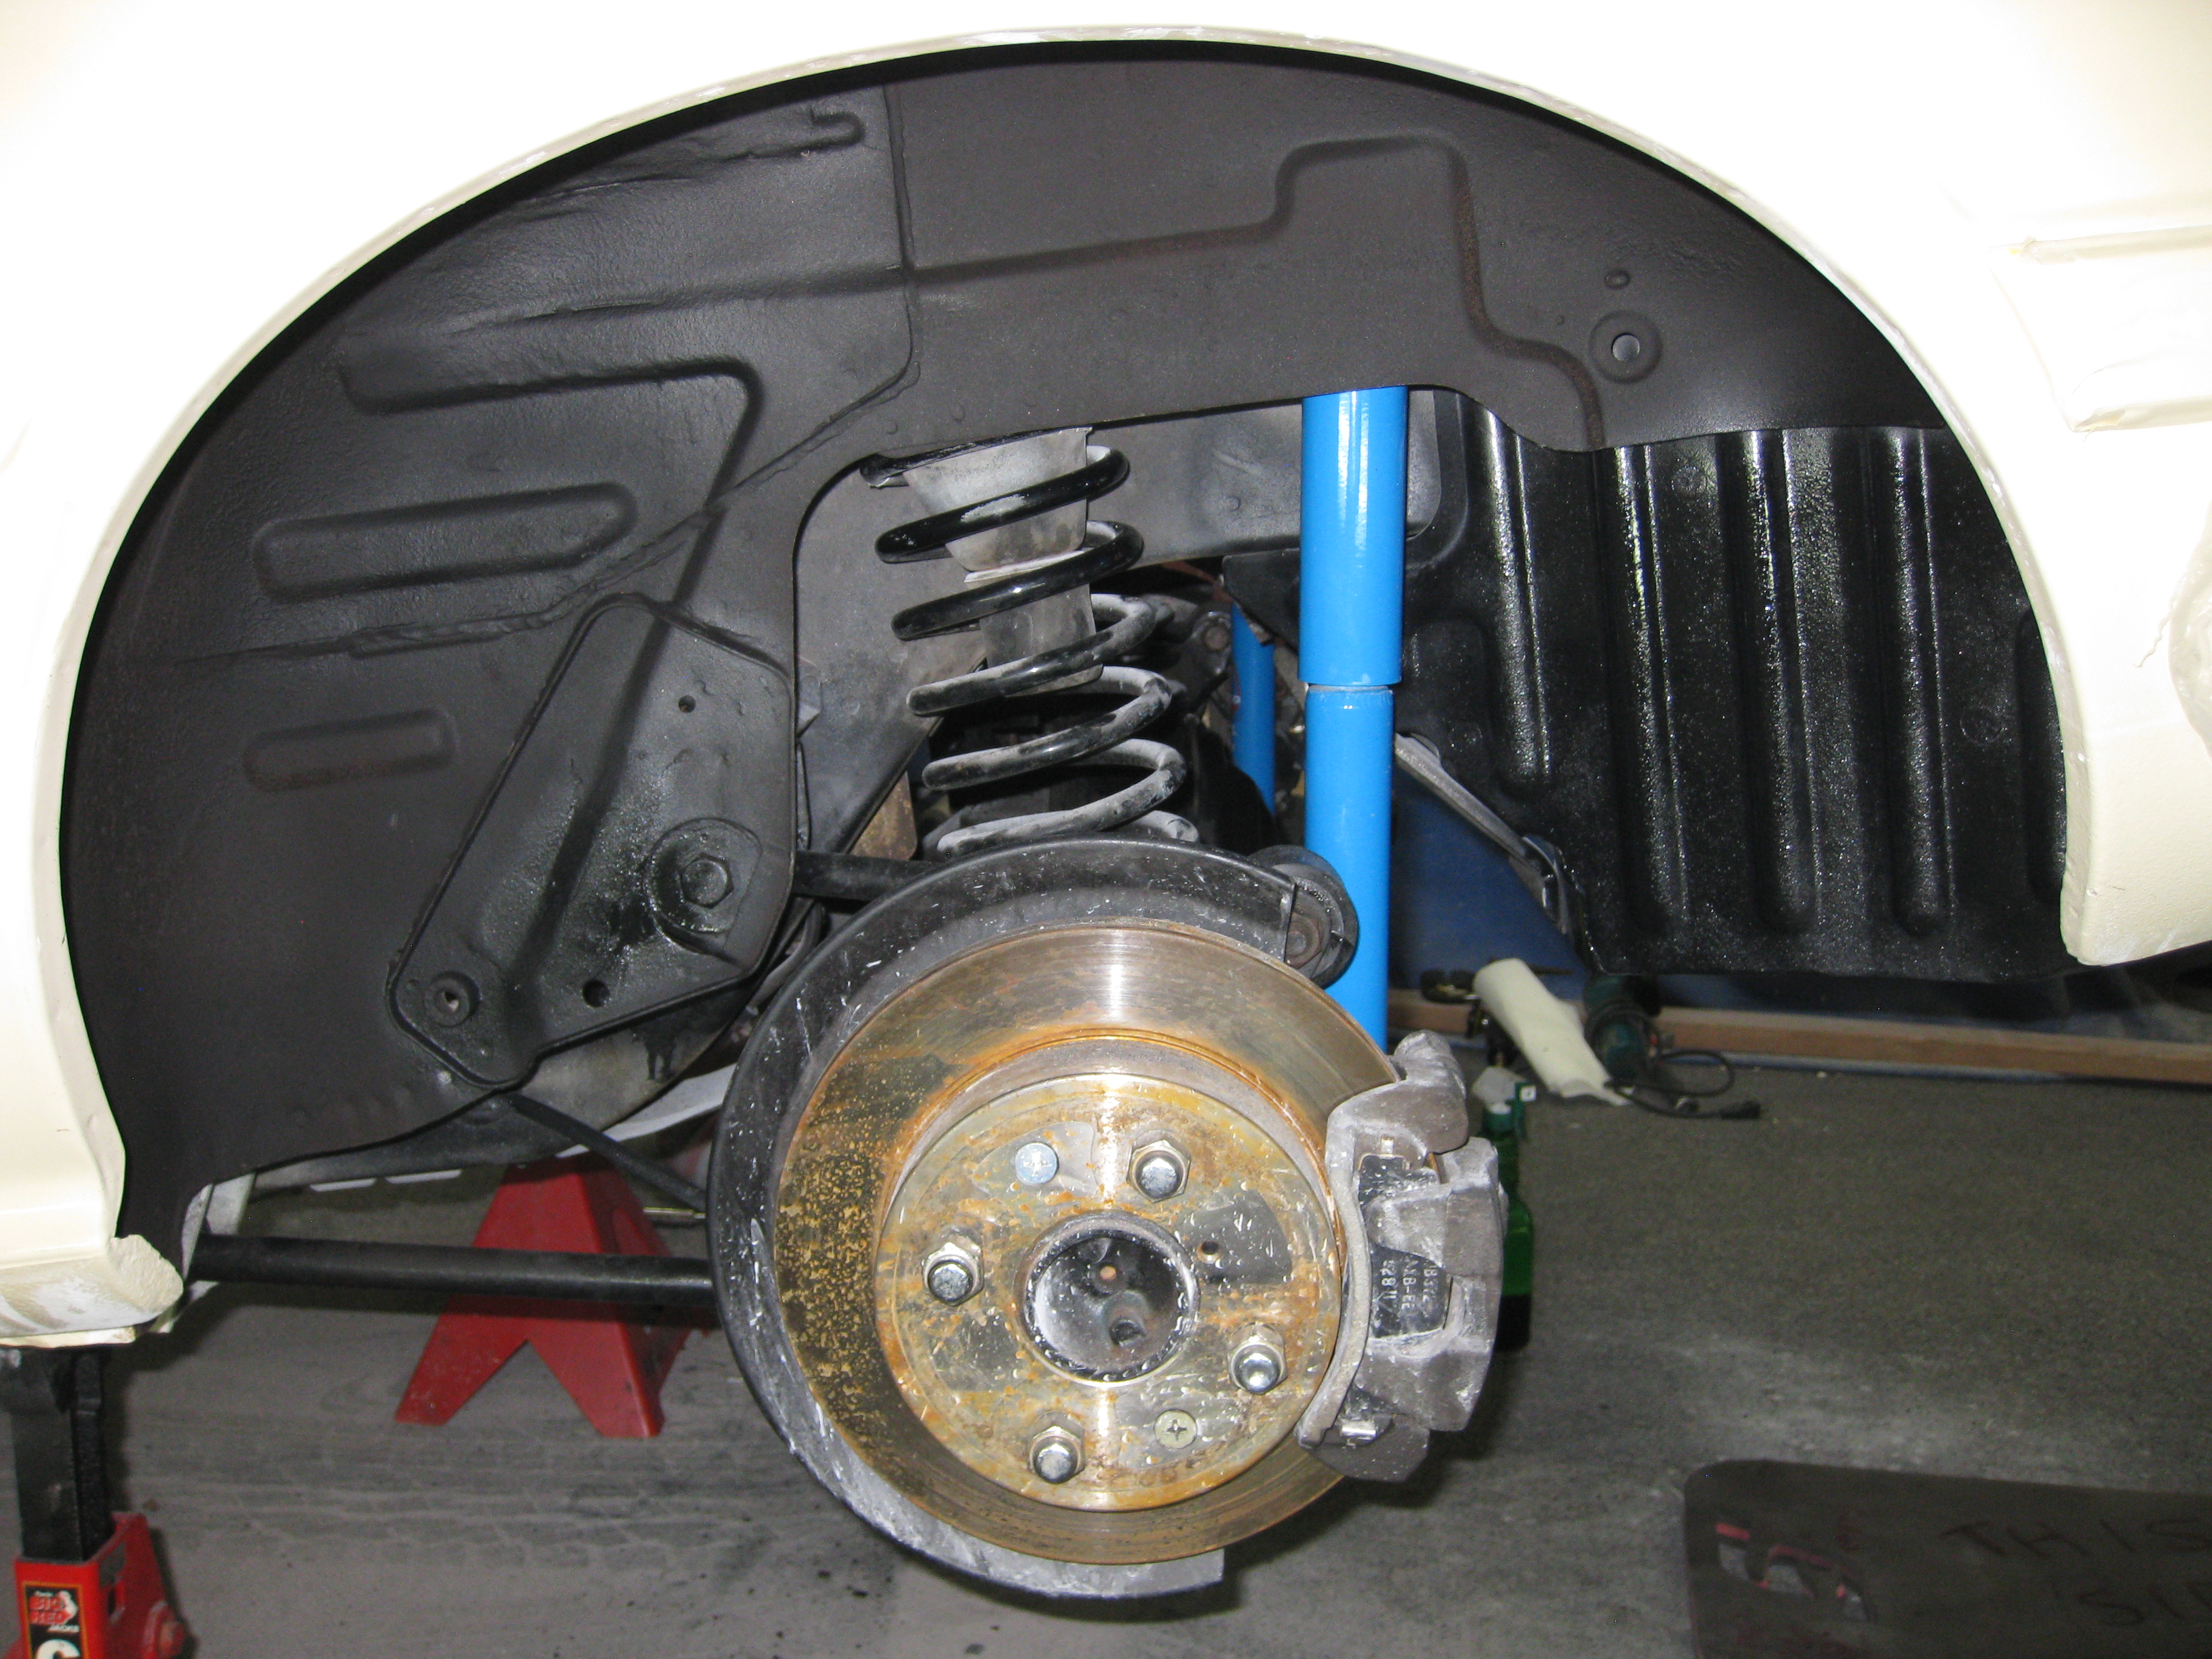
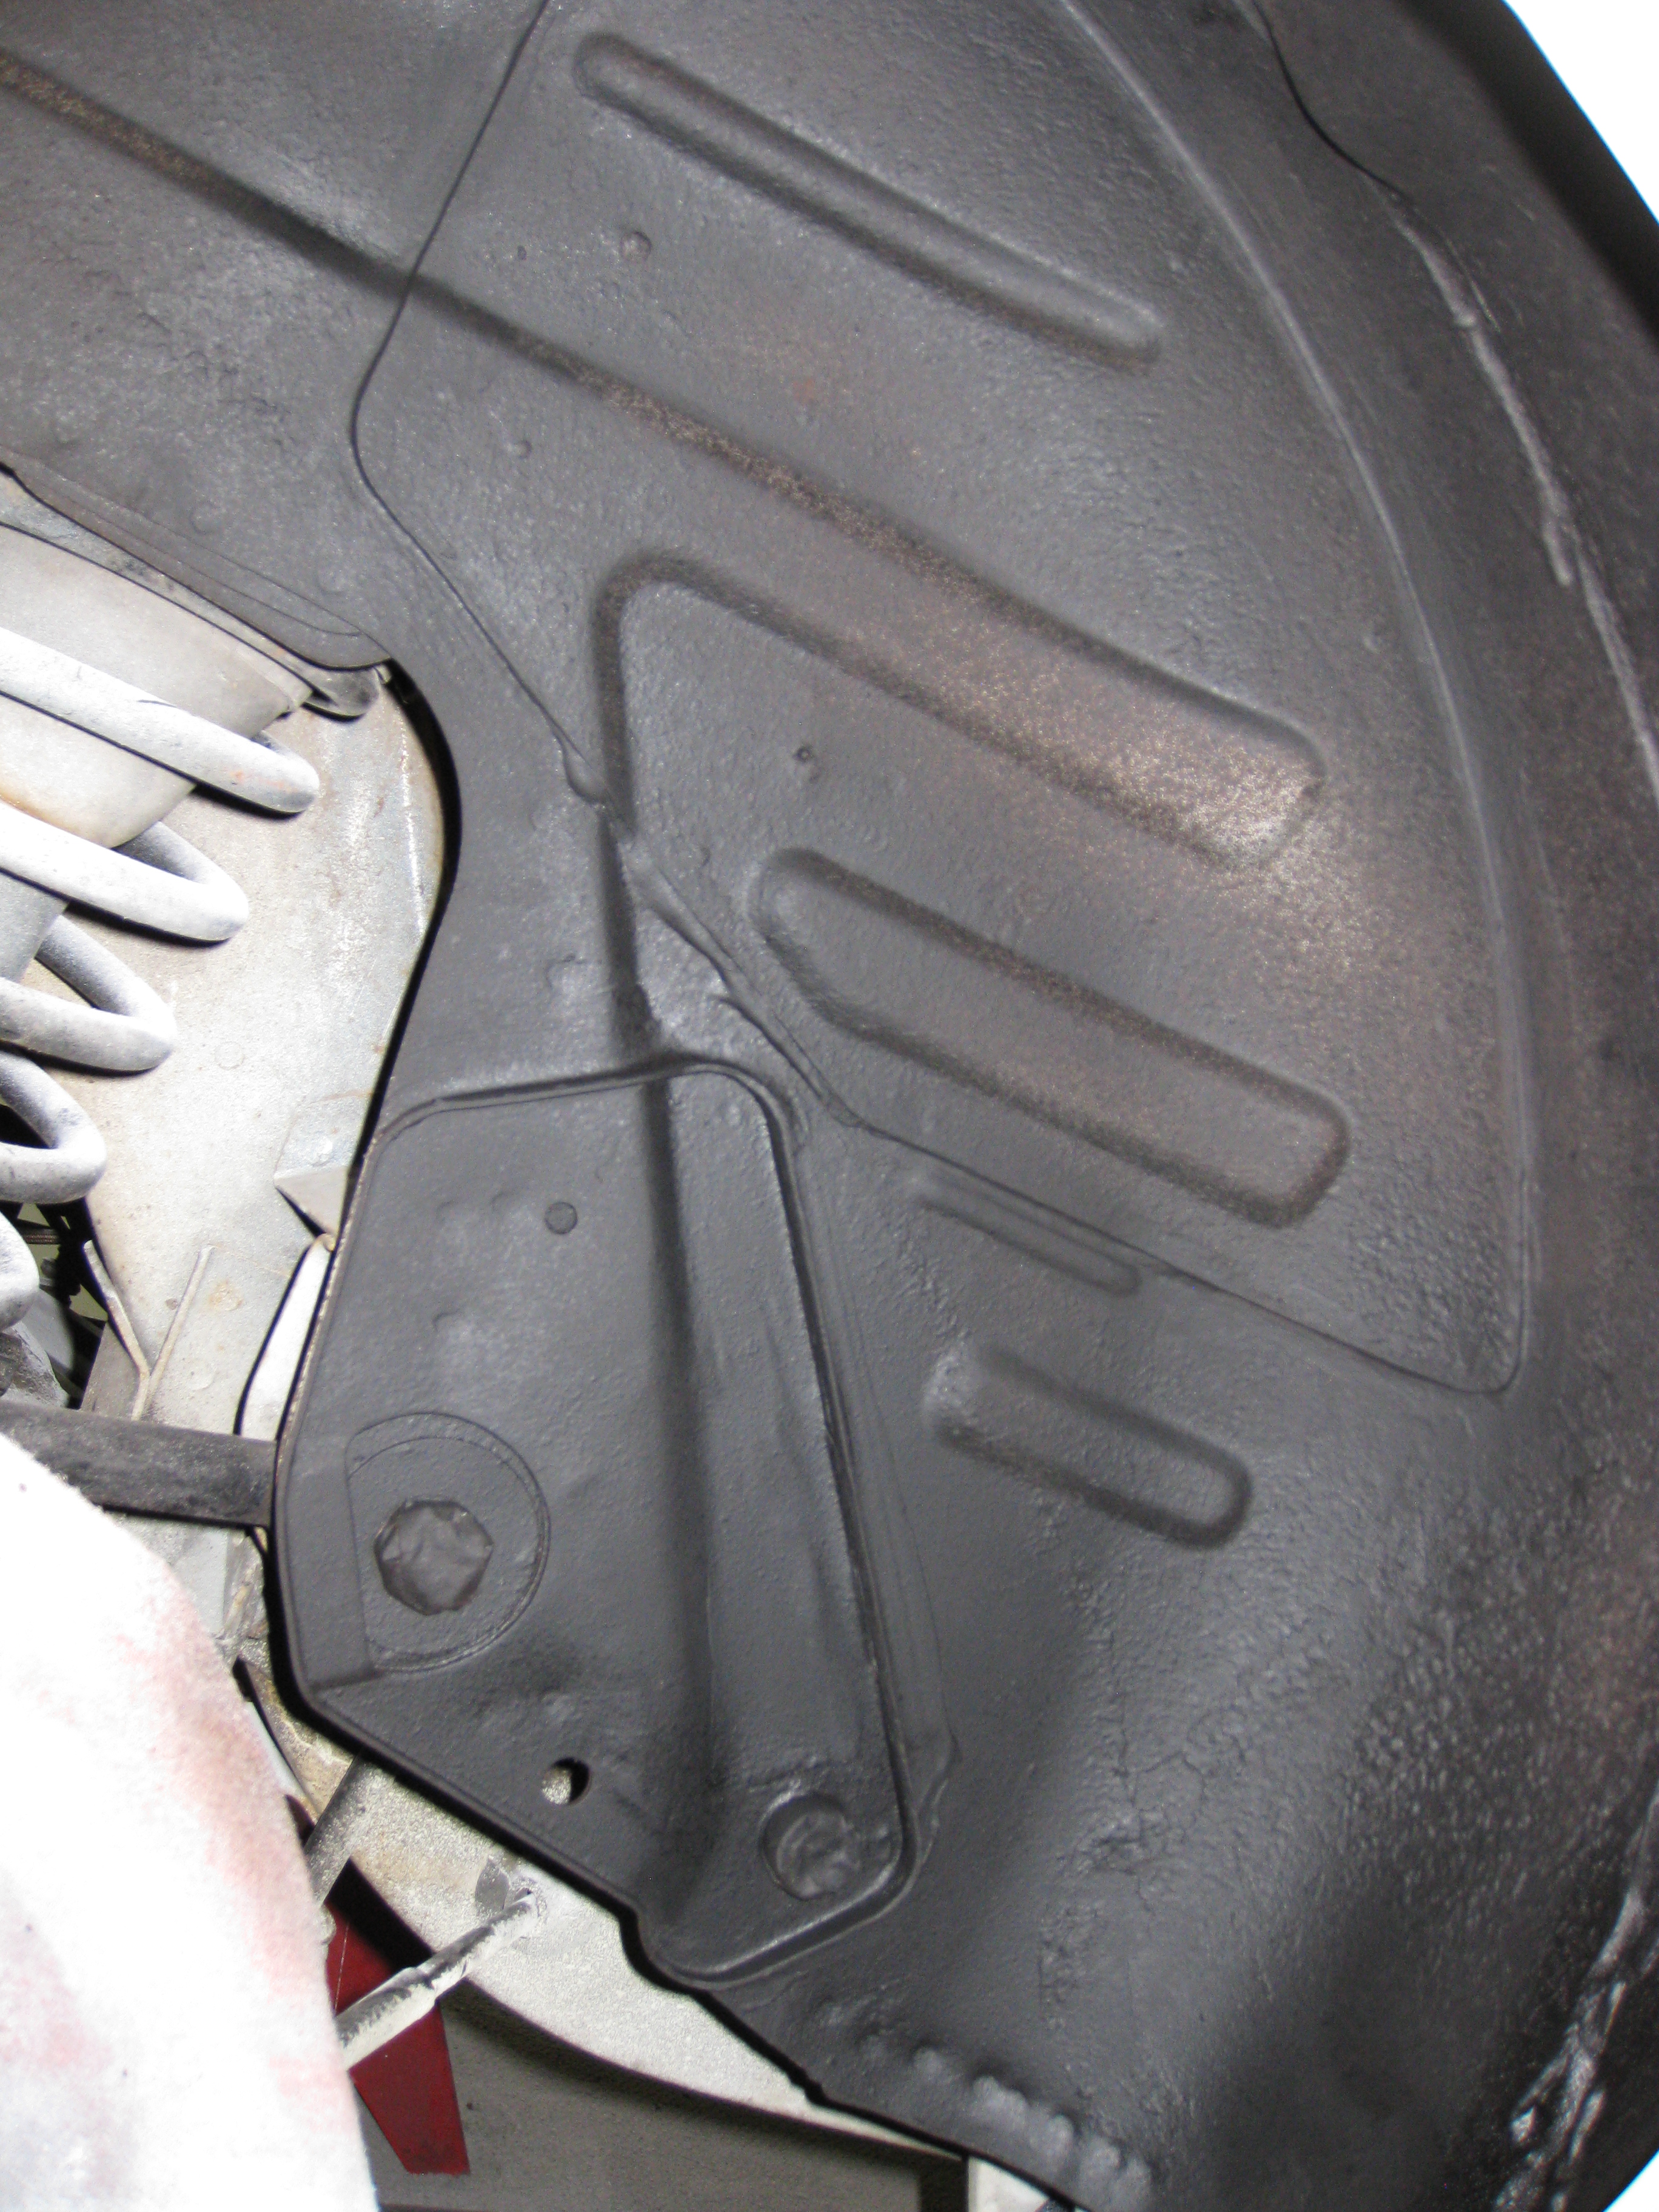
Passenger’s side wheel well:
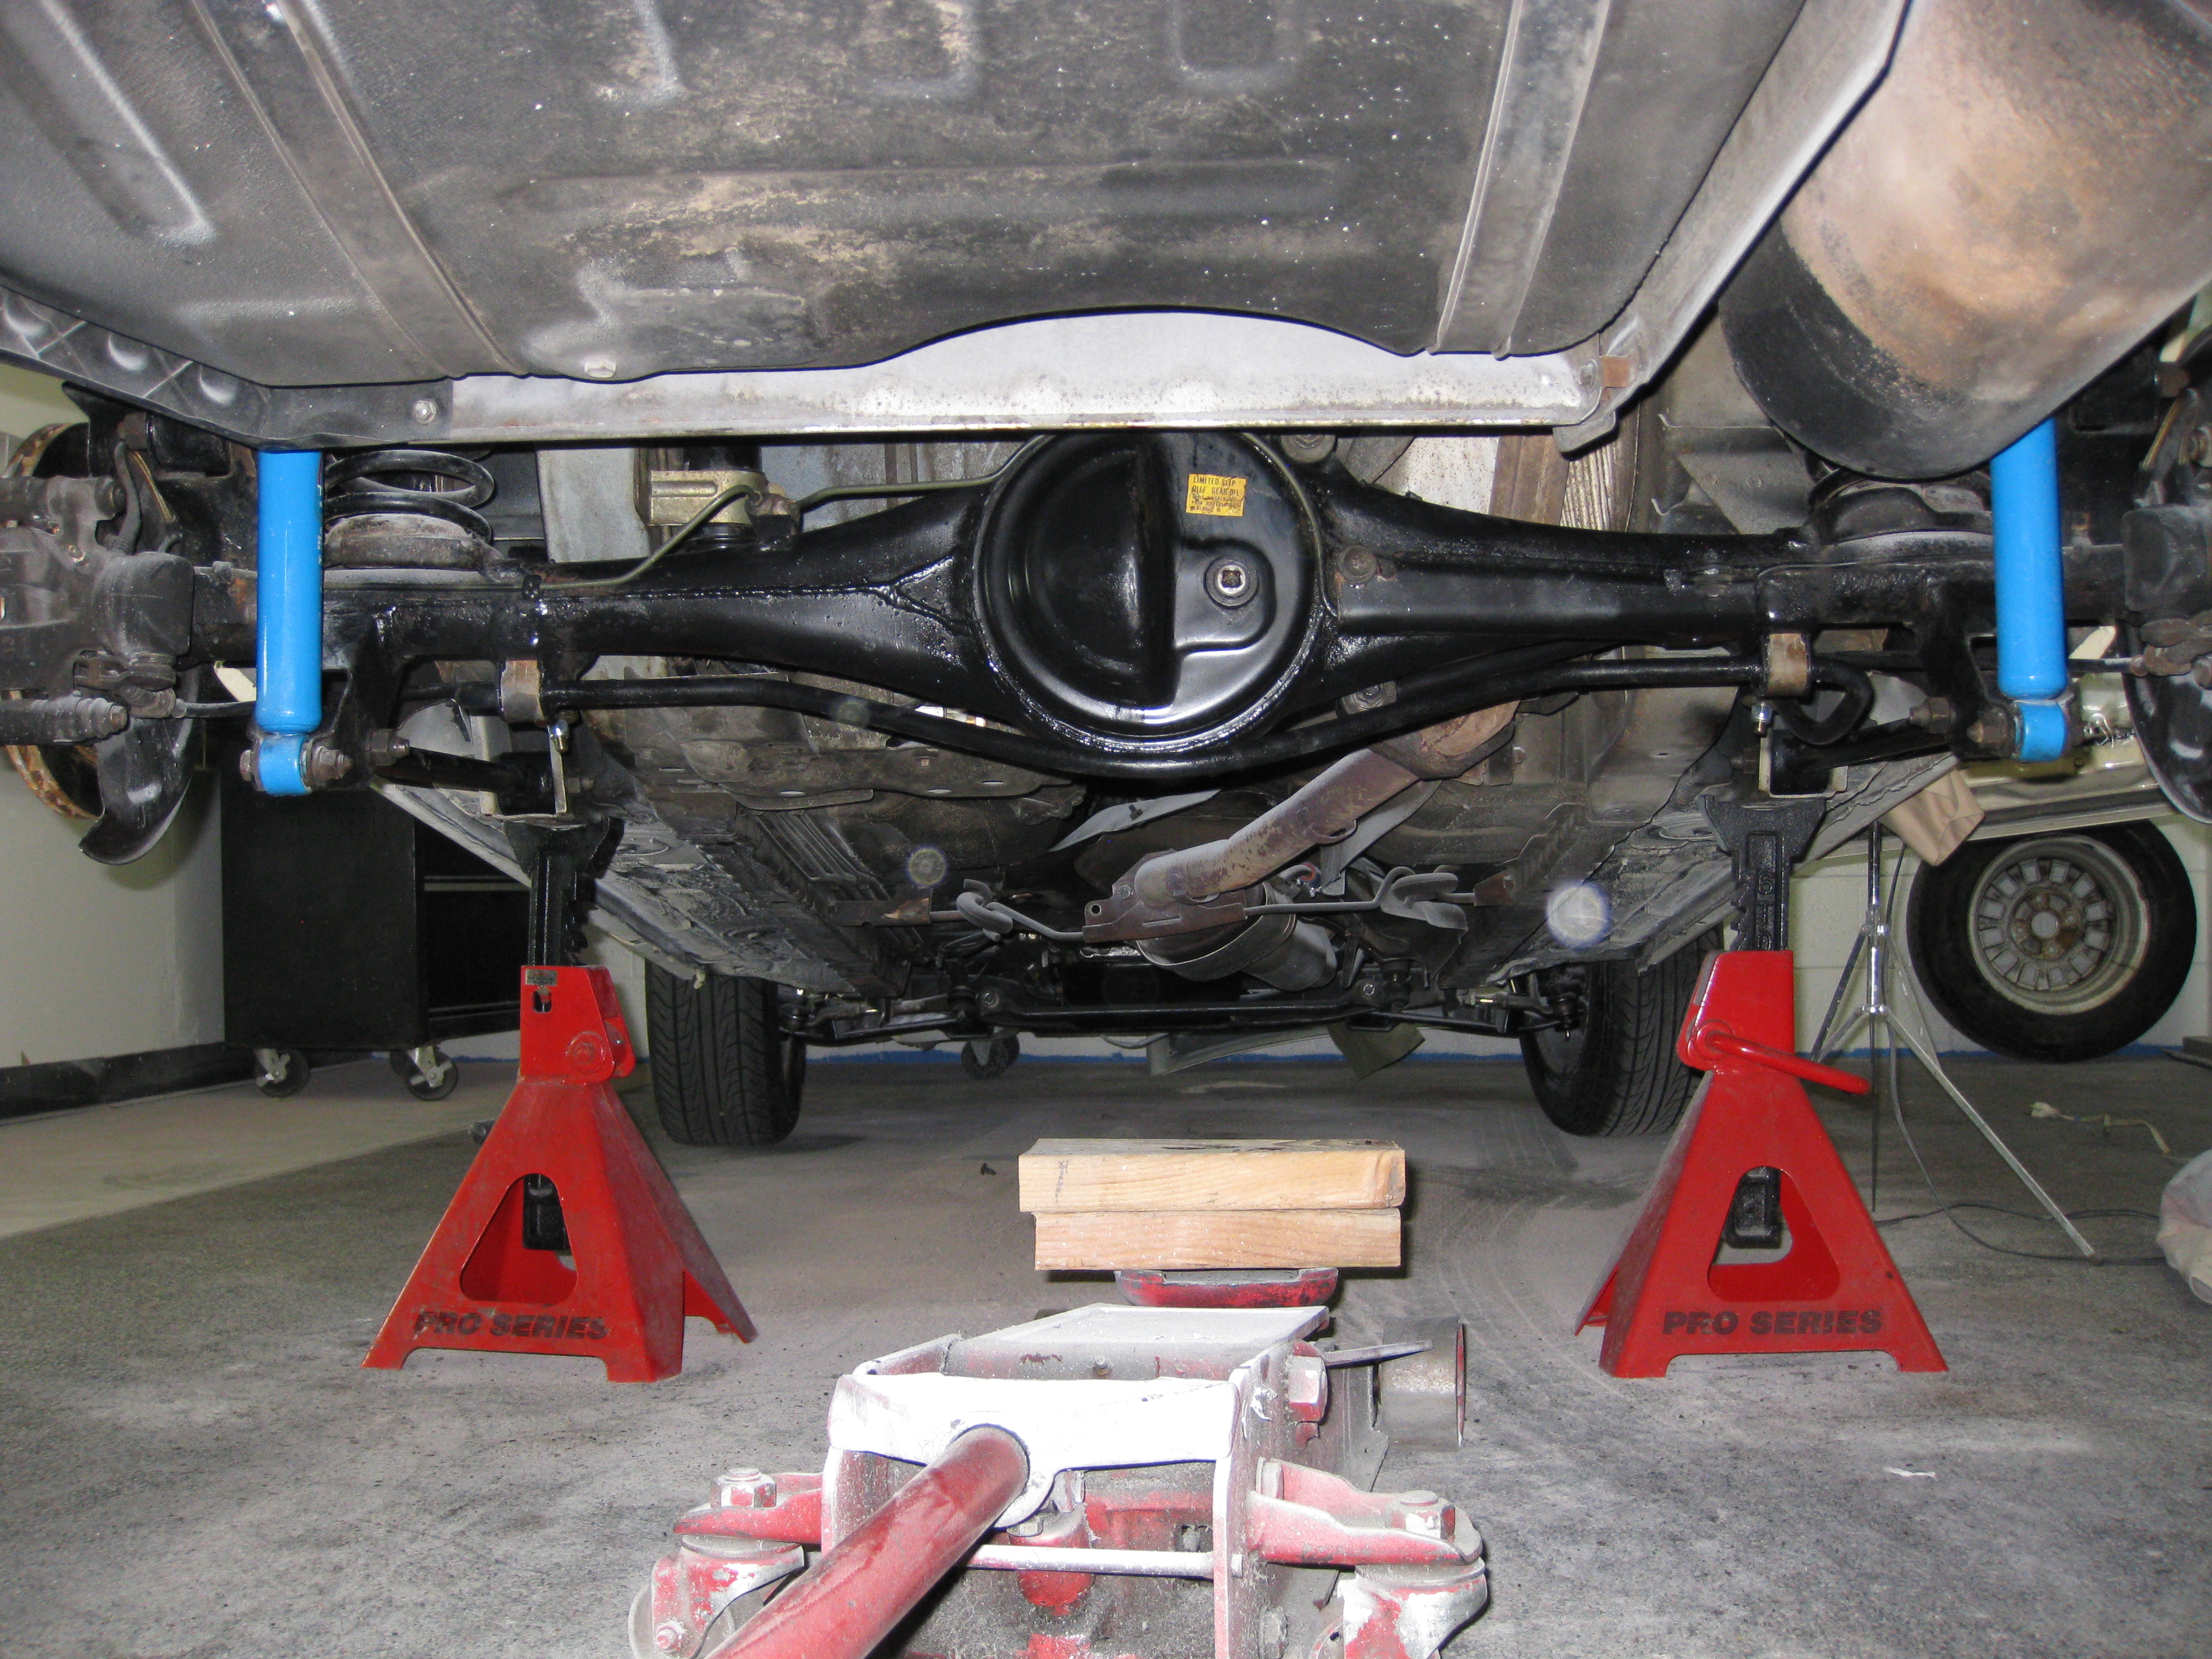
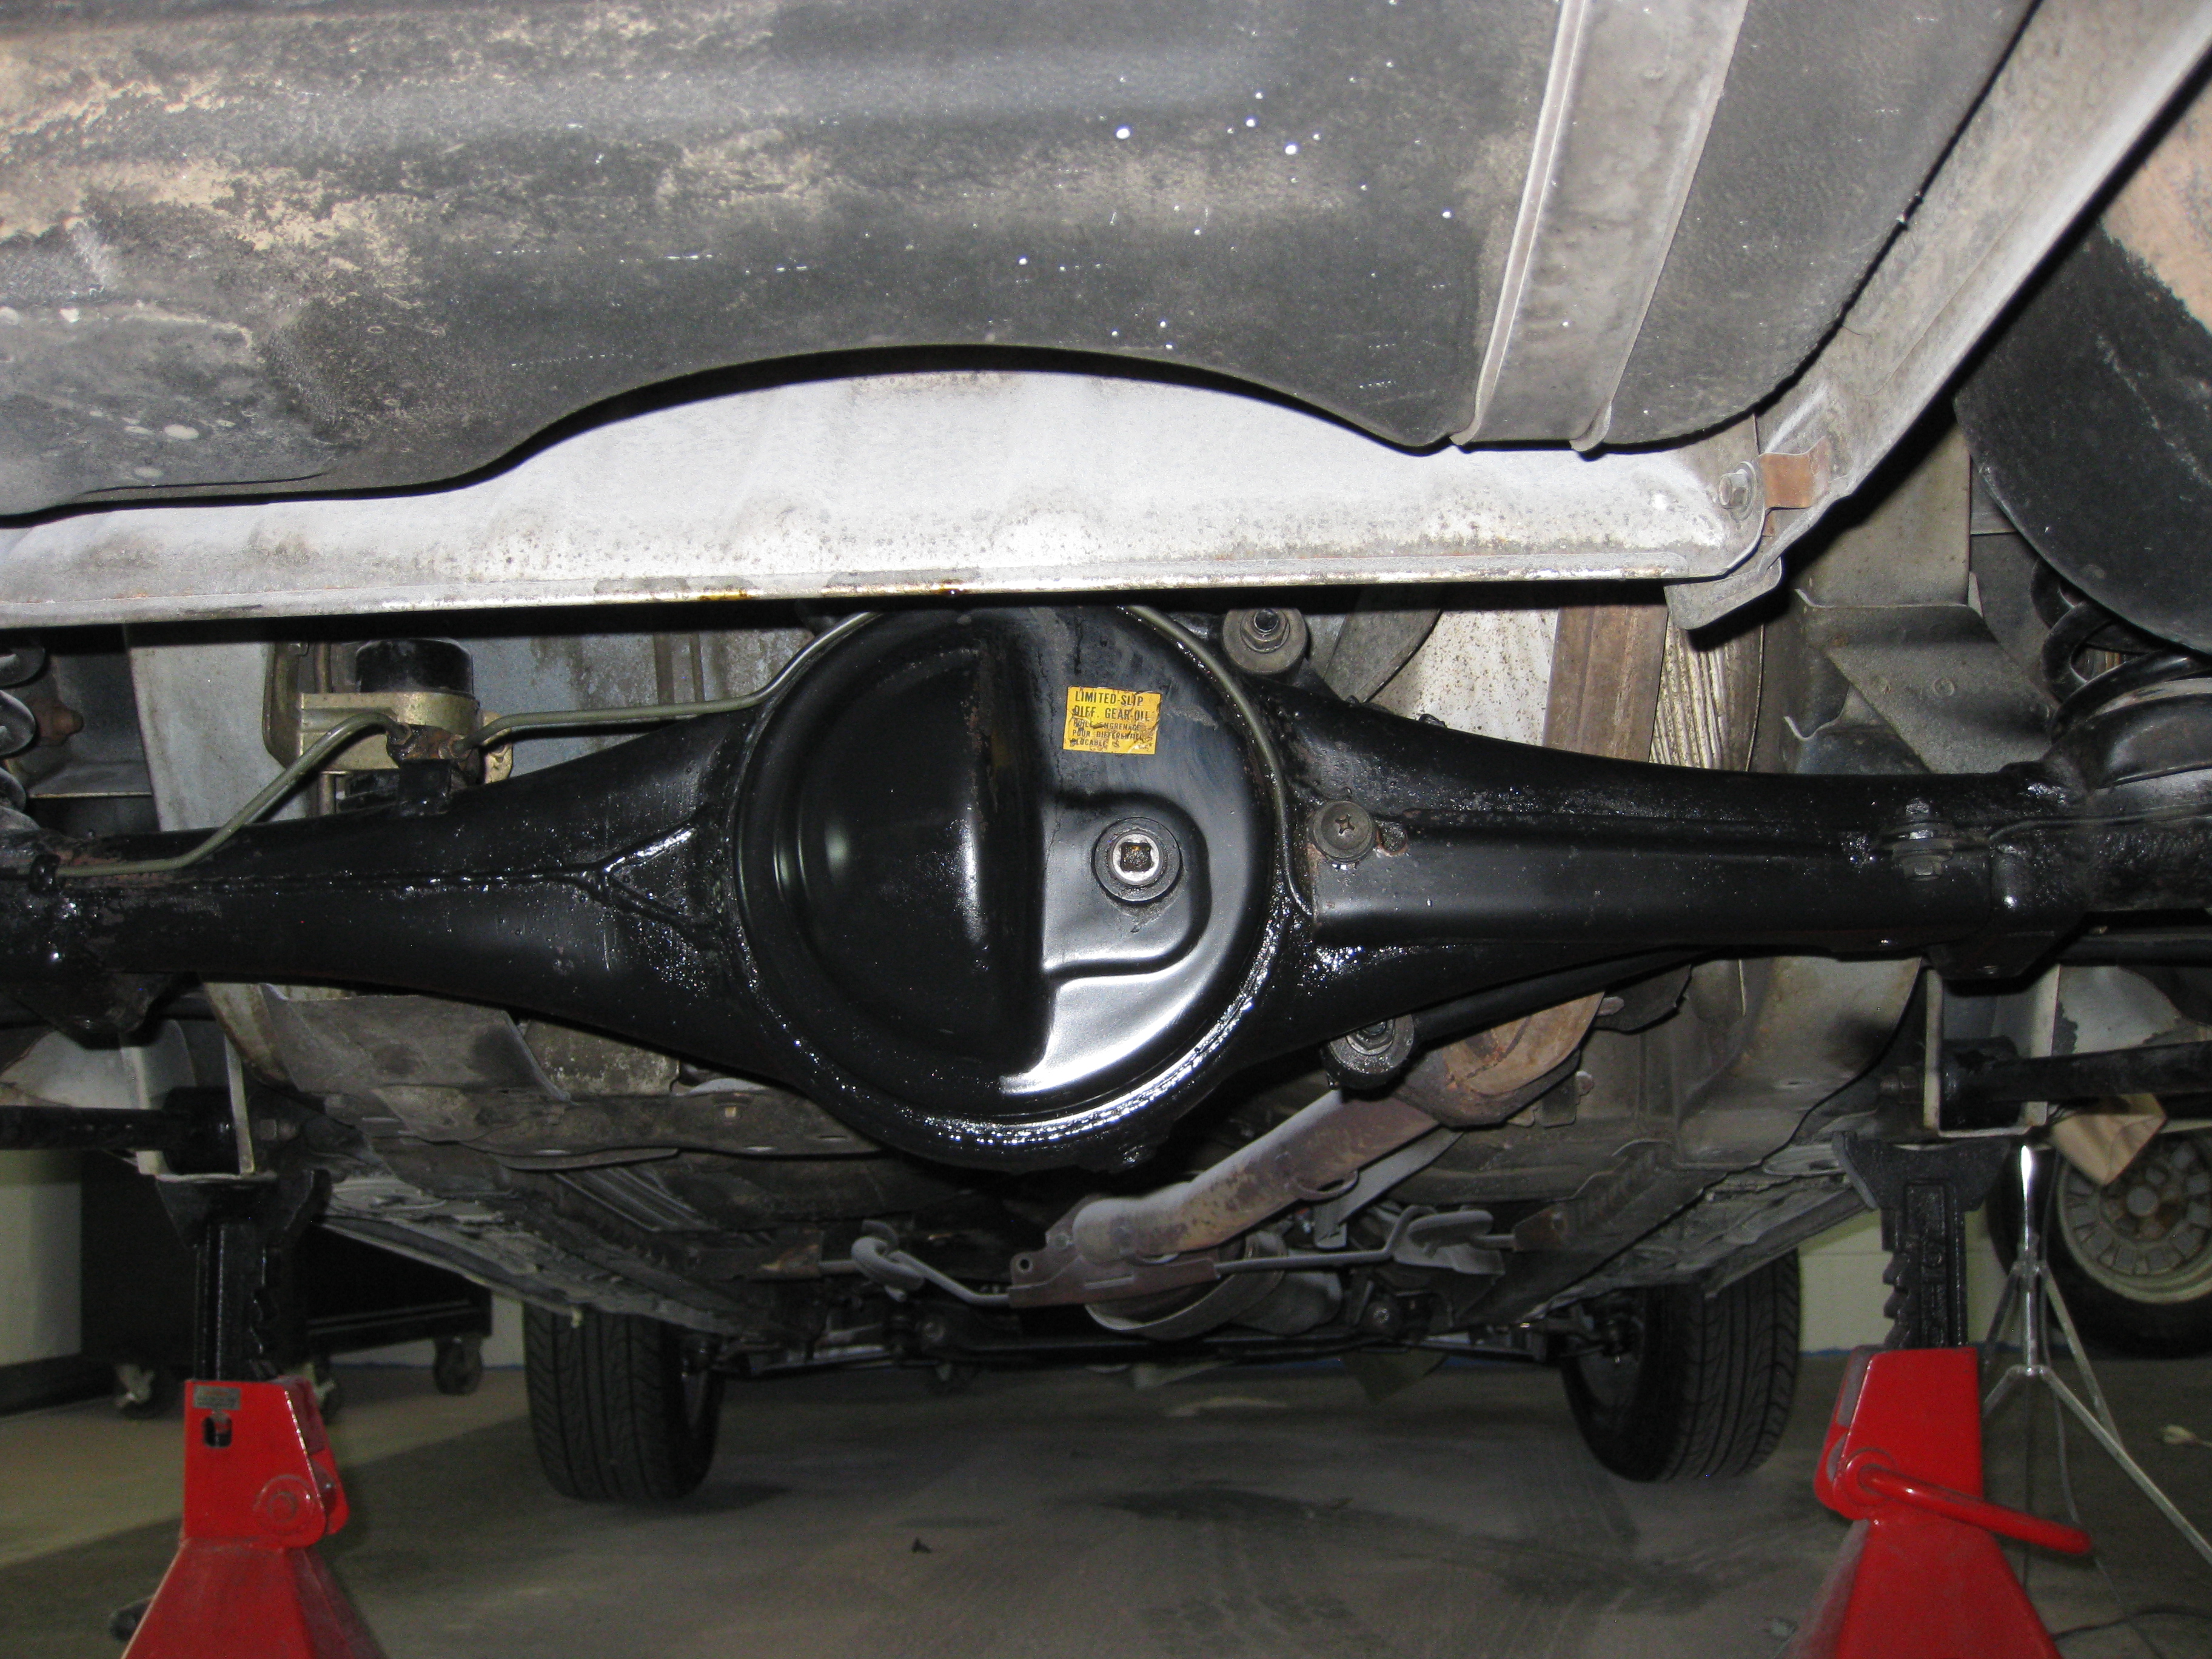
Rear end:
Once the rear wheel well rust was fixed, it was time to replace all the rear suspension bushings. I had an extra set of rear control arms and watts links in the garage that I restored and swapped into the car so the car wouldn’t be immobile for more than a few hours.
The first step was to remove the old bushings. I pressed them out using a floor shop press. The old bushings were not easy to remove and did not come out cleanly. The remainder of the bushings that did not come out with the press had to be burned out.
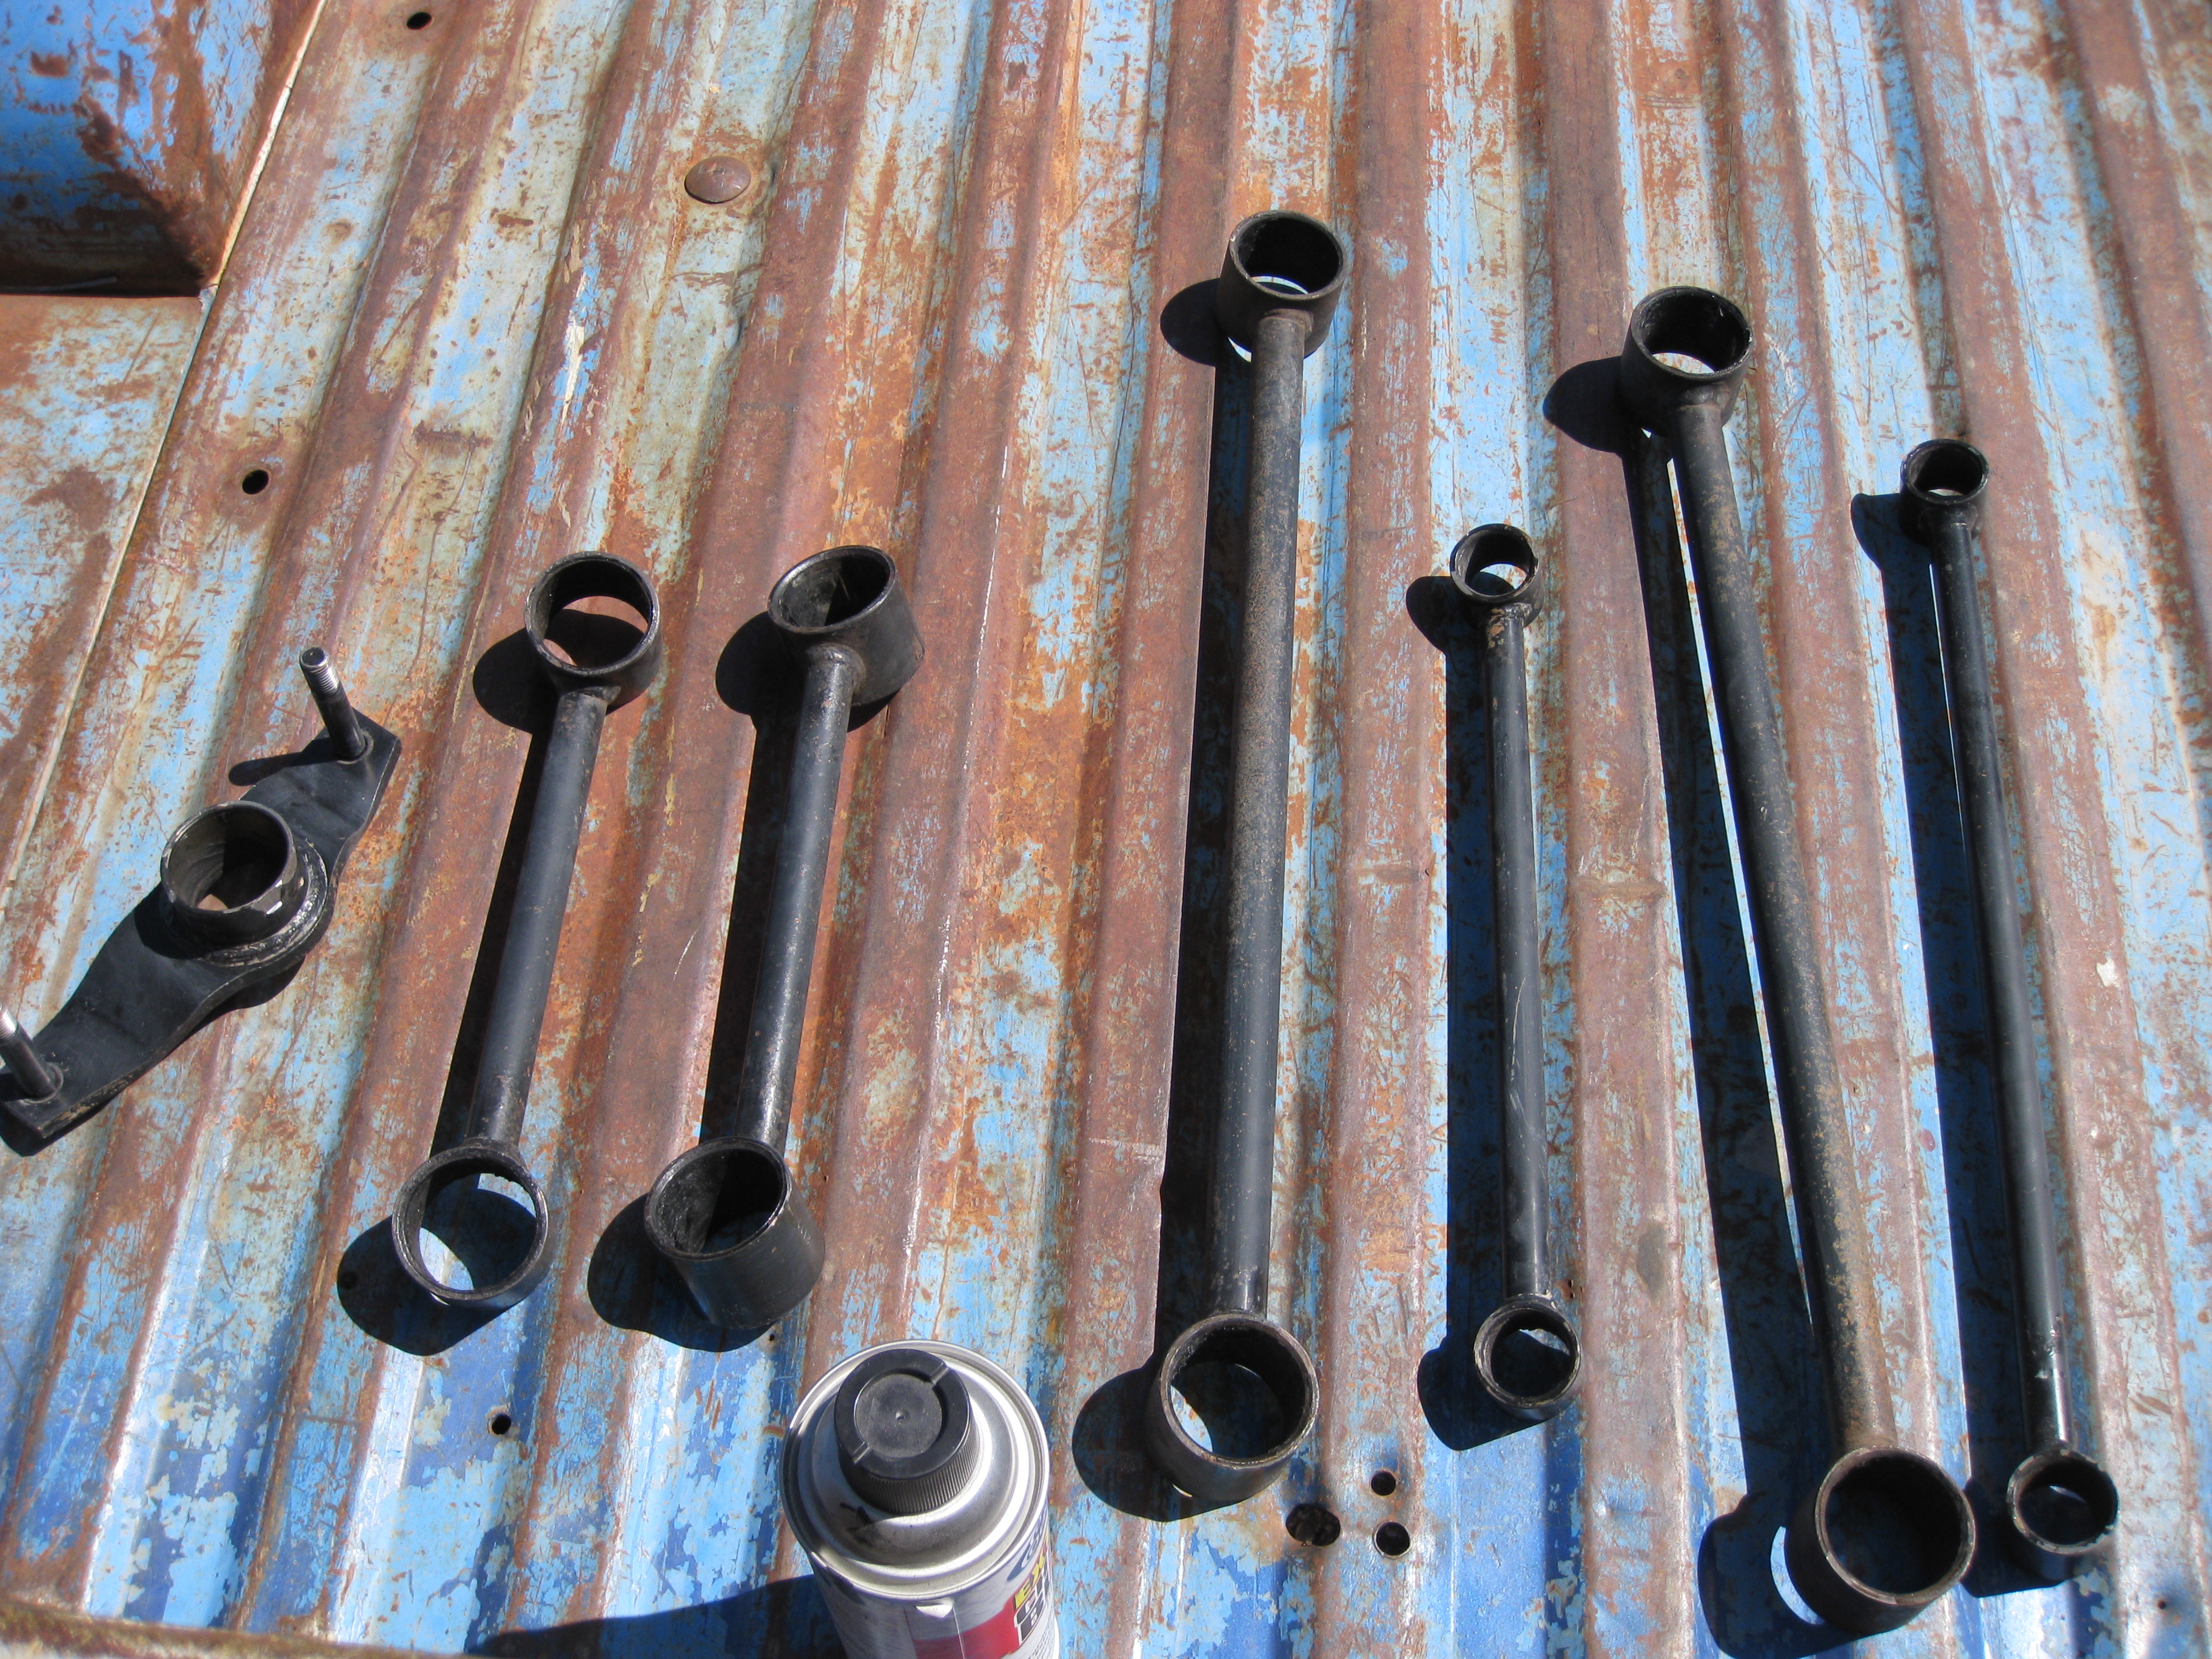
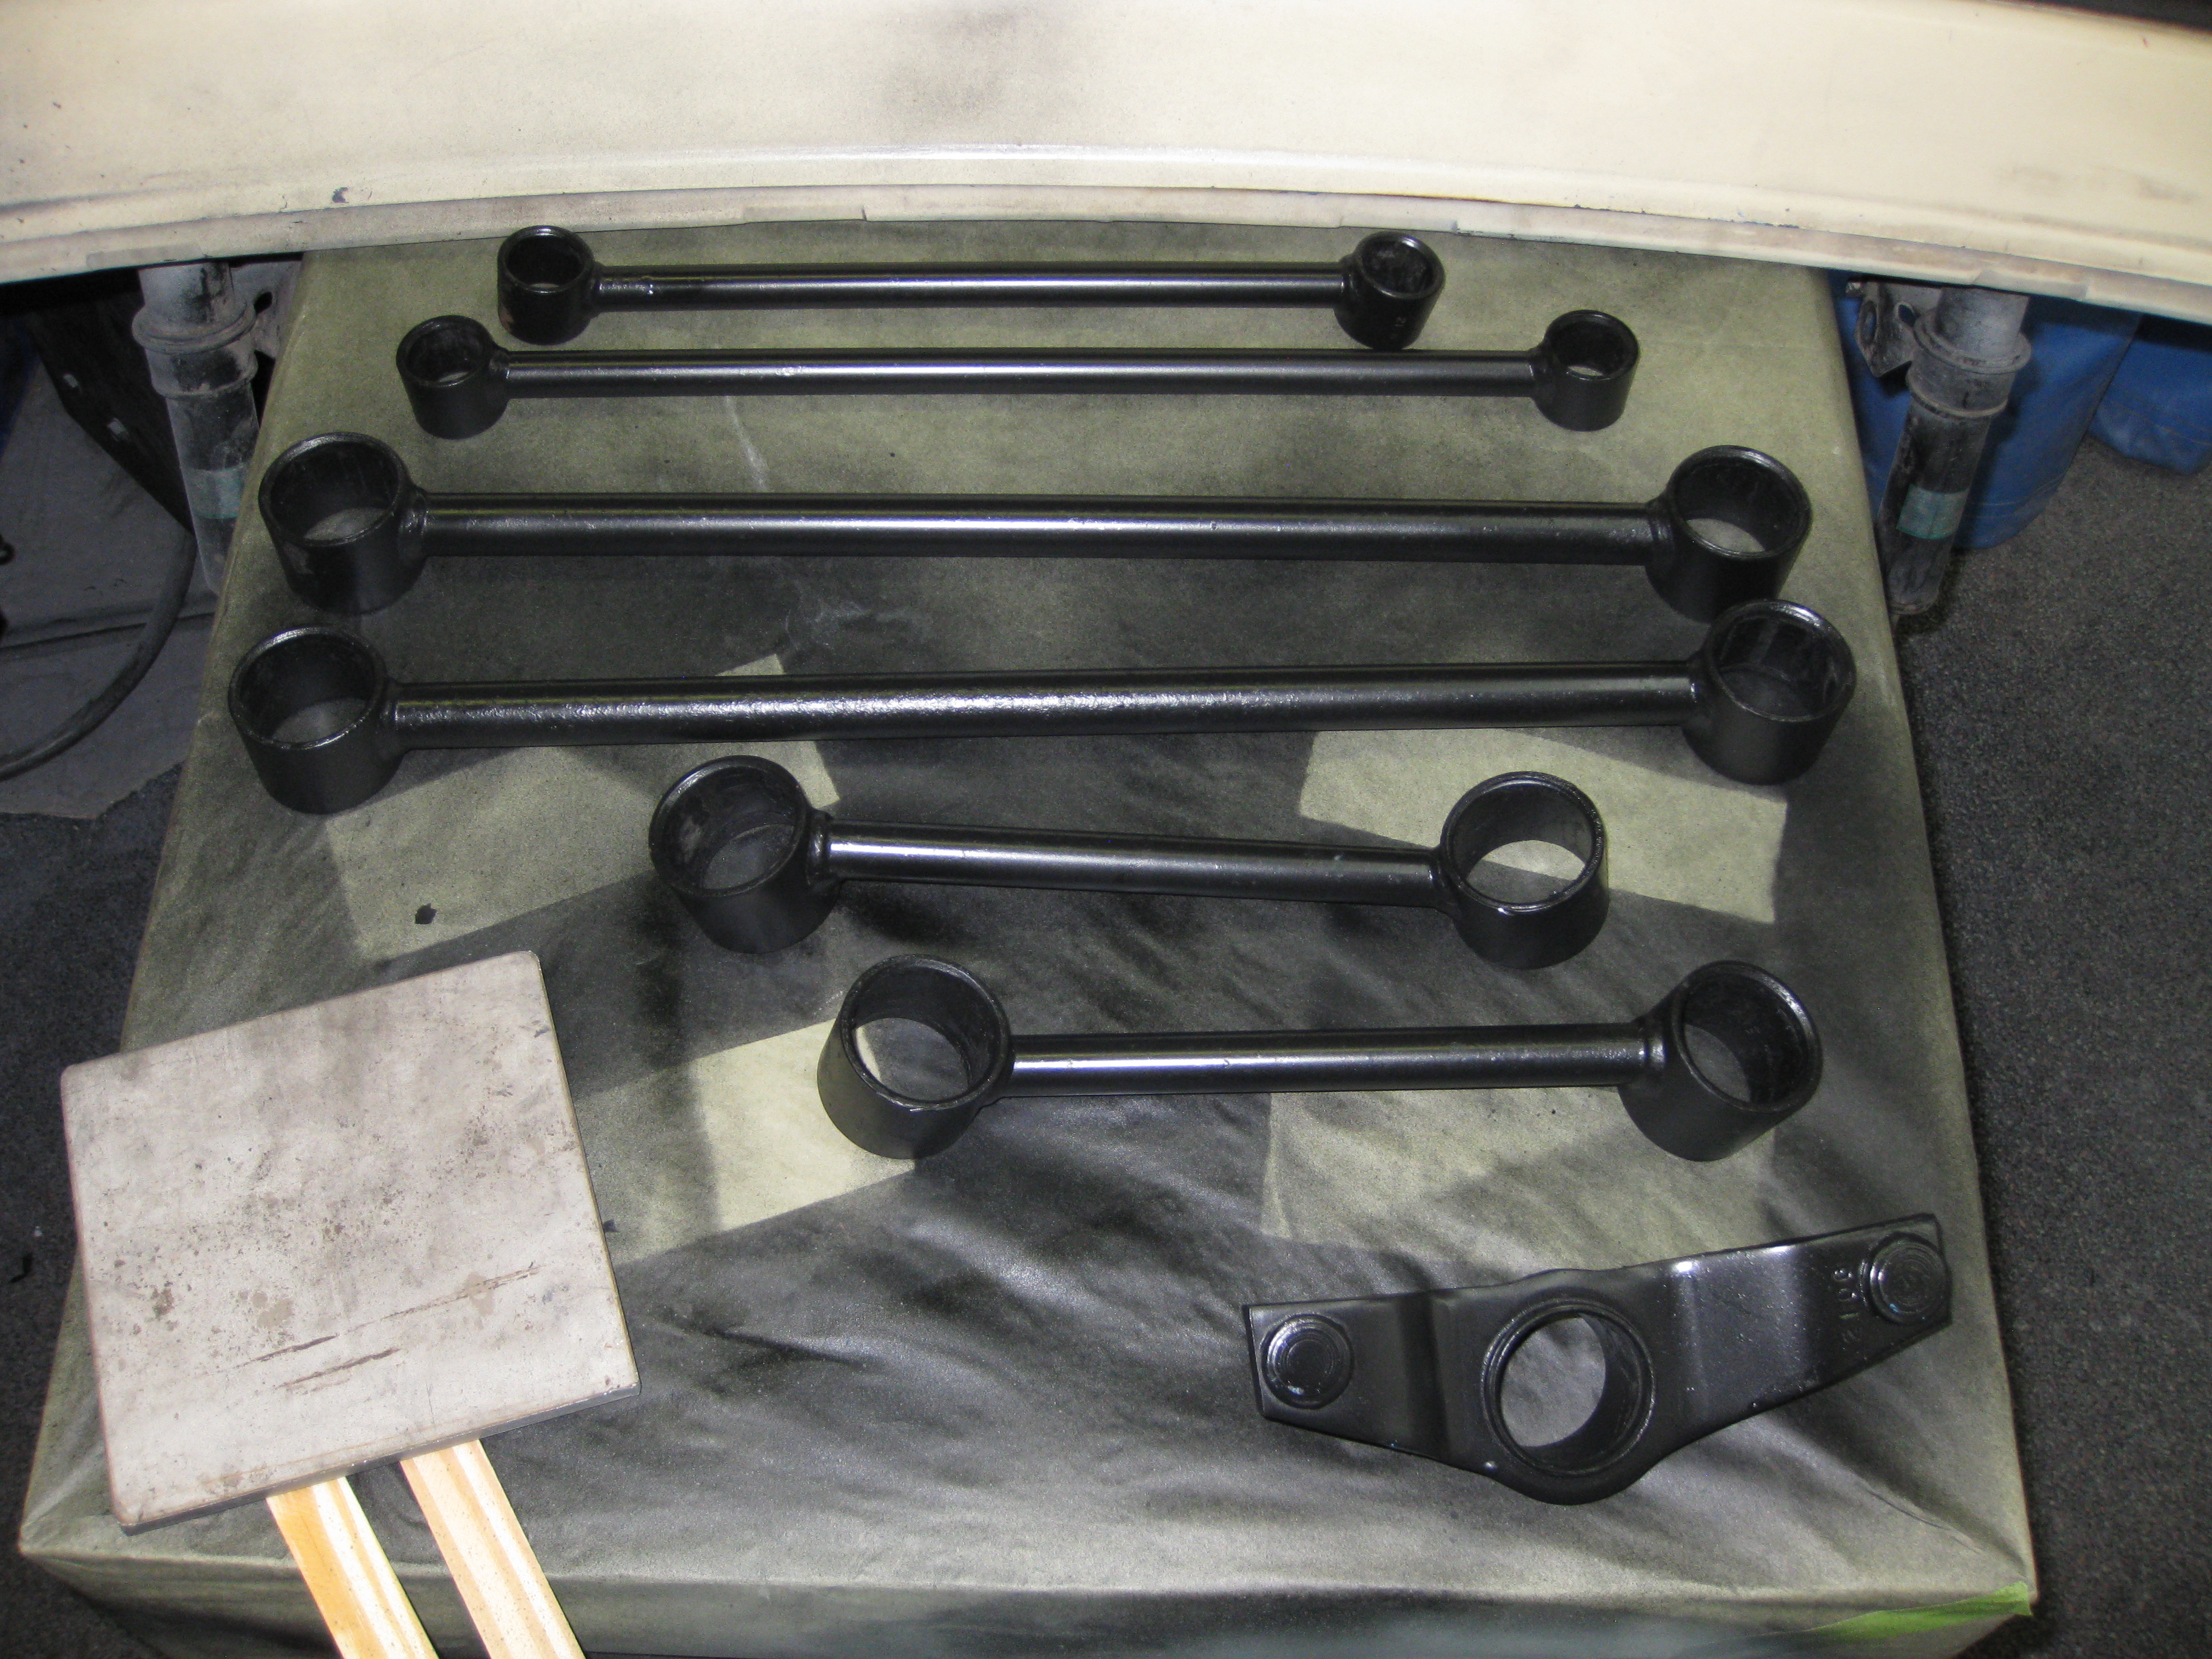
The bushings were then prepped and painted using the same paint I used for the front suspension. I cleaned then using simple green and sprayed them down with brake parts cleaner. I then sanded them with a red scotch brite pad. The parts were first primed with Eastwood’s extreme chassis black primer, then paint with two coats of Eastwood’s extreme chassis black paint.
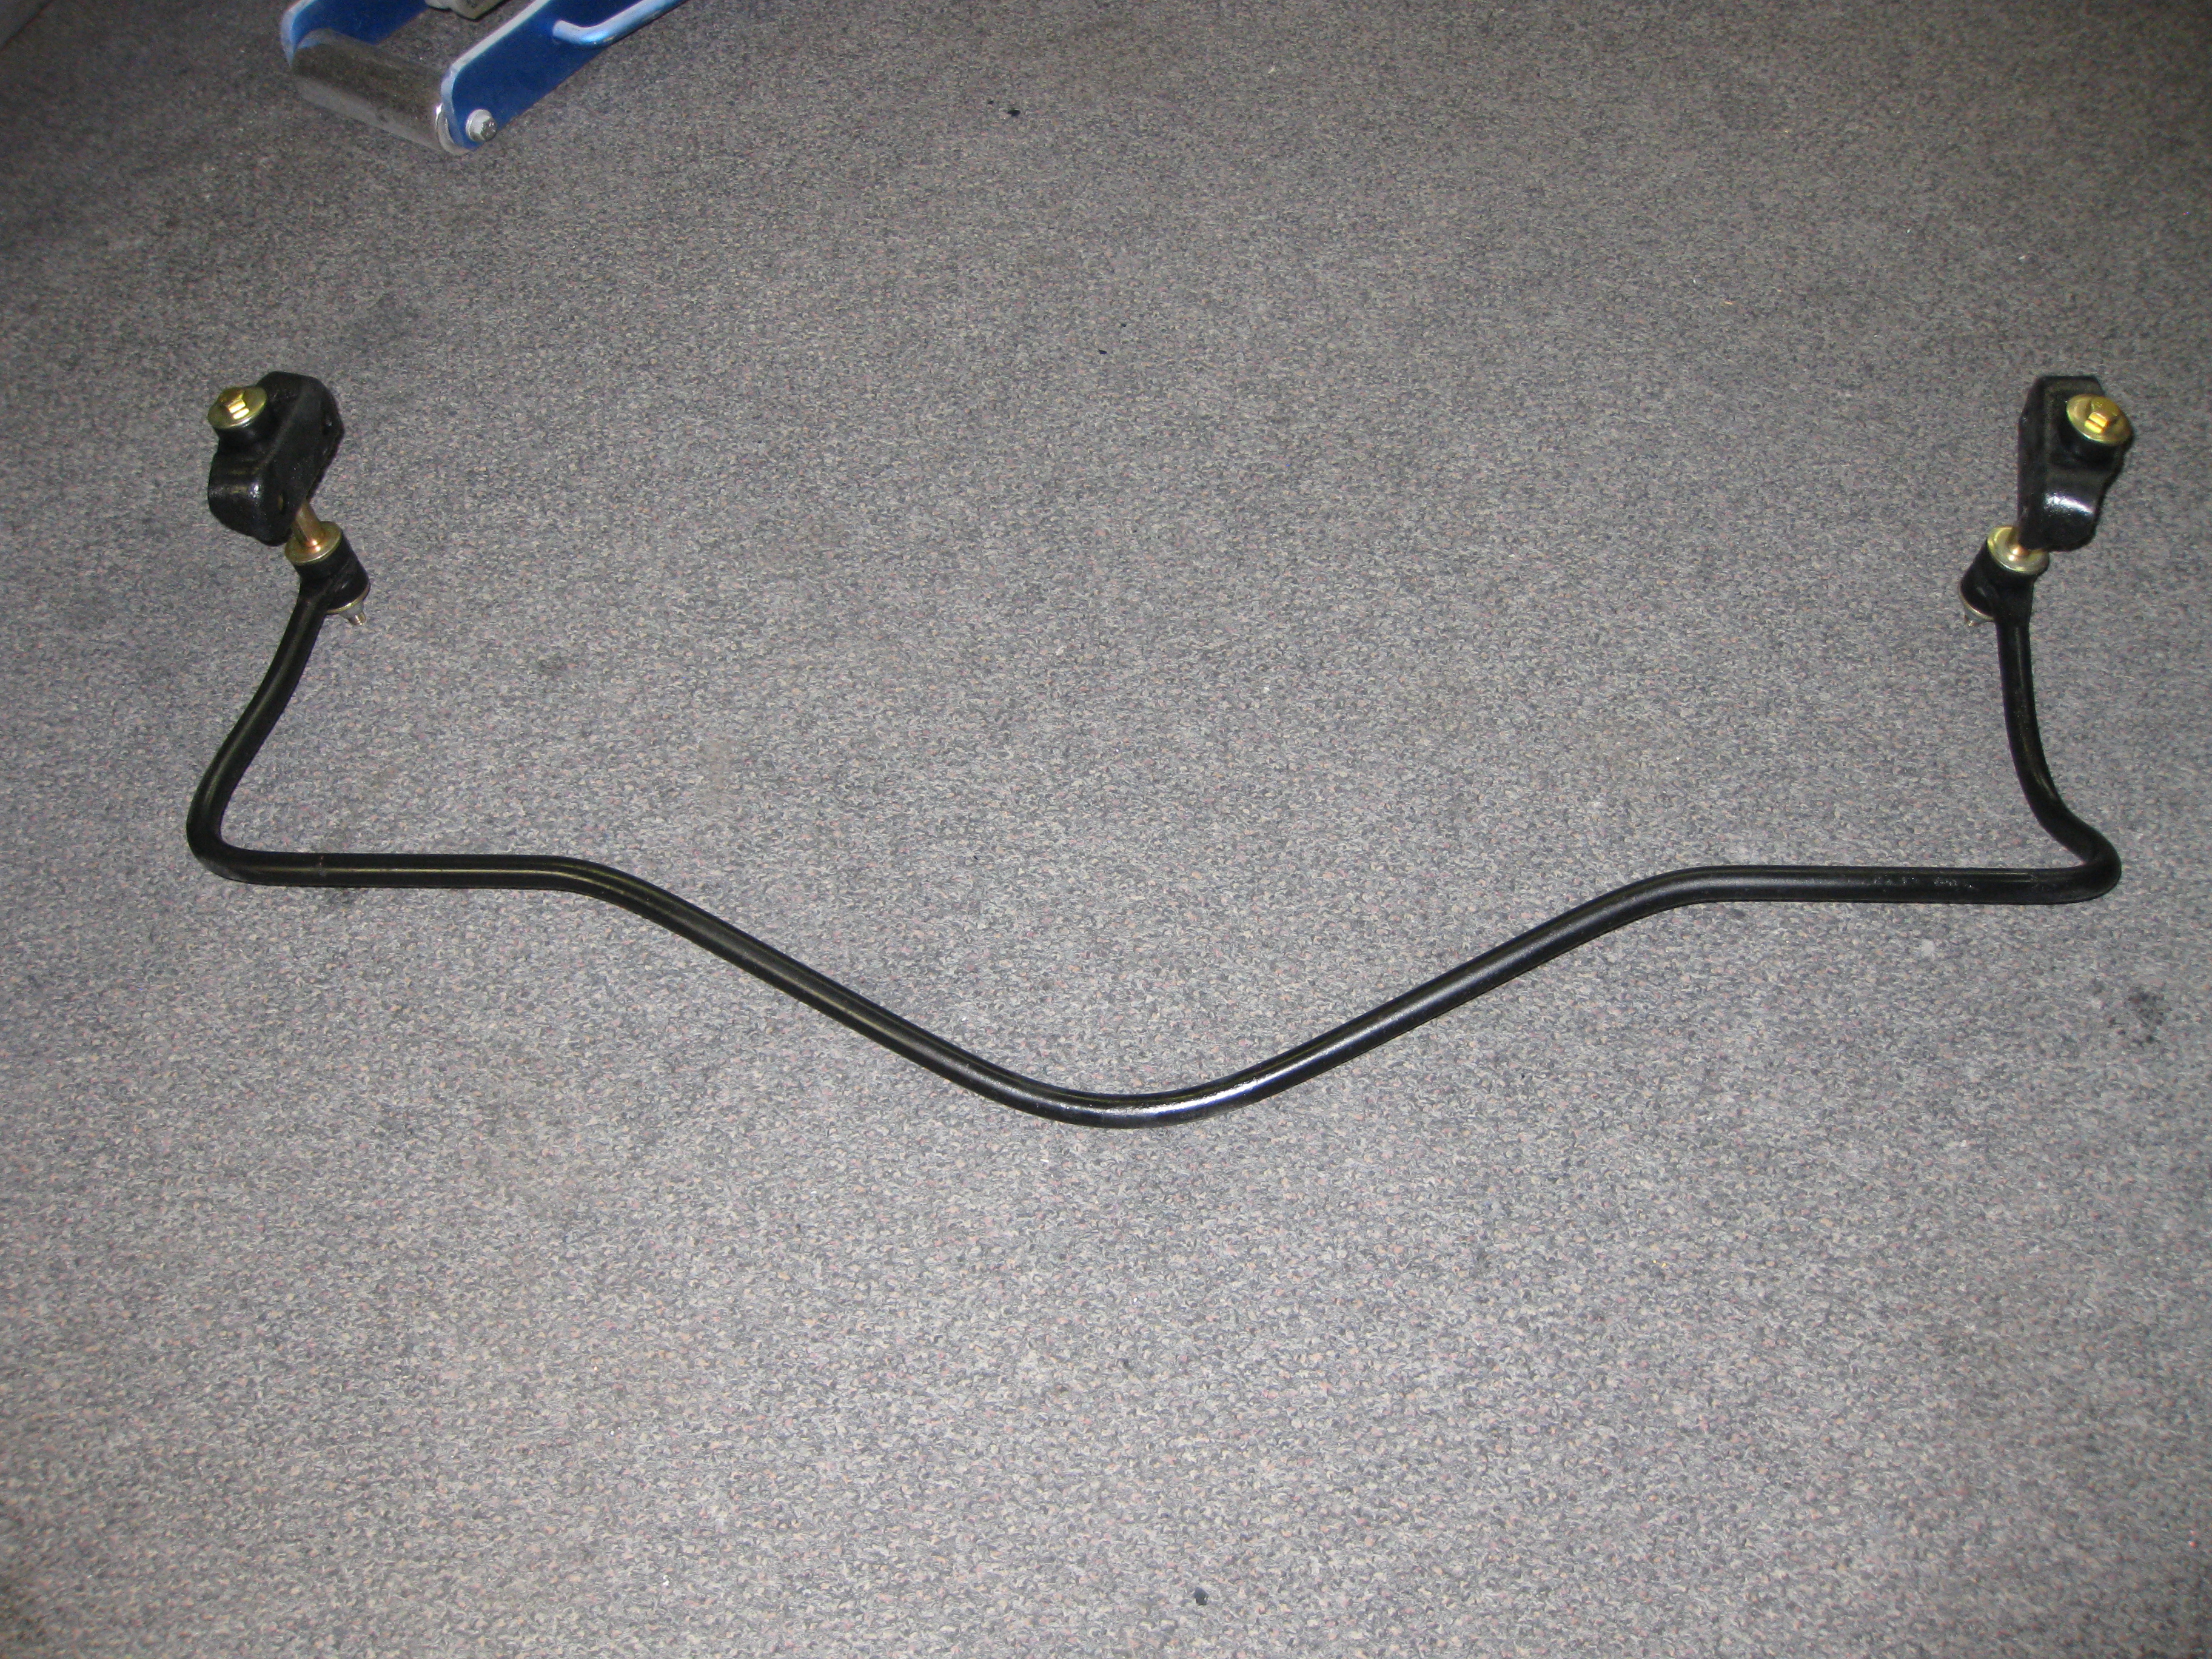
The rear end was coated in a thick layer of grease and grime. I removed the rear sway bar to get good access to the rear end for cleaning. I used Simple Green and and a wire brush to clean. I spent a total of about 2 hours cleaning the rear end. Once it was all cleaned, I used the same method to paint I used on the control arms and watts links.
The new bushings were fairly easy to install in the control arms and watts links. I used the remainder of the Energy Suspension, HYPER-FLEX SYSTEM graphite impregnated black bushing Complete Master Bushing Set from ReSpeed for the rear bushings. The control arm bushings were a three piece bushing plus a metal sleeve and the watts link bushings were a two piece. The lube that comes with the bushings is very messy and very sticky. Wearing disposable gloves is recommended. I followed the directions for the lubrication and installation. After the bushings were installed, I started to remove the old control arms and watts links one at a time and swapped in the new control arms. I did not completely torque down the bolts durring this stage. The old bolts required the use of a breaker bar to remove but did remove cleanly and were cleaned and reinstalled.
The was then painted and the end links were installed next.
Once the entire rear suspension was reinstalled, I was able to get everything torqued down. I first loaded the suspension with the entire weight of the car. This is required so the suspension doesn’t bind. Then I torqued down all the bolts.
I will post the completed pictures in the next post.
Part one of the wheel well rust will show you what we started with.
The loose rust was first knocked out by lightly tapping the surrounding area with a small ball peen hammer. It really helps to show the extent of the damage. Getting out the vacuum and keeping things clean helps to keep the dust down. Once all the loose rust has fallen off, brush the area with naval jelly and let it sit for 10-15 minutes. Rince the naval jelly off with water after it has sat on the area.
The rust repair was started on the exterior in the wheel well itself since this is the area that is actually seen. All the interior rust is covered up by the bins and trim pieces so the repairs don’t need to look perfect just functional and clean.
Before the actual rust repair started, all the rear interior trim needed to be removed. Sparks will fly during cutting, grinding, and welding. The last thing anyone want to happen is to set the car on fire. Also keep a fire extinguisher handy throughout the project. Once the interior was remove from the rear of the car, welding blankets were draped over the seats and front carpet to protect the remaining interior. An additional welding blanket was set on the wheel wells in the interior to keep sparks to a minimum.
We first started by cutting out the affected area cleanly.
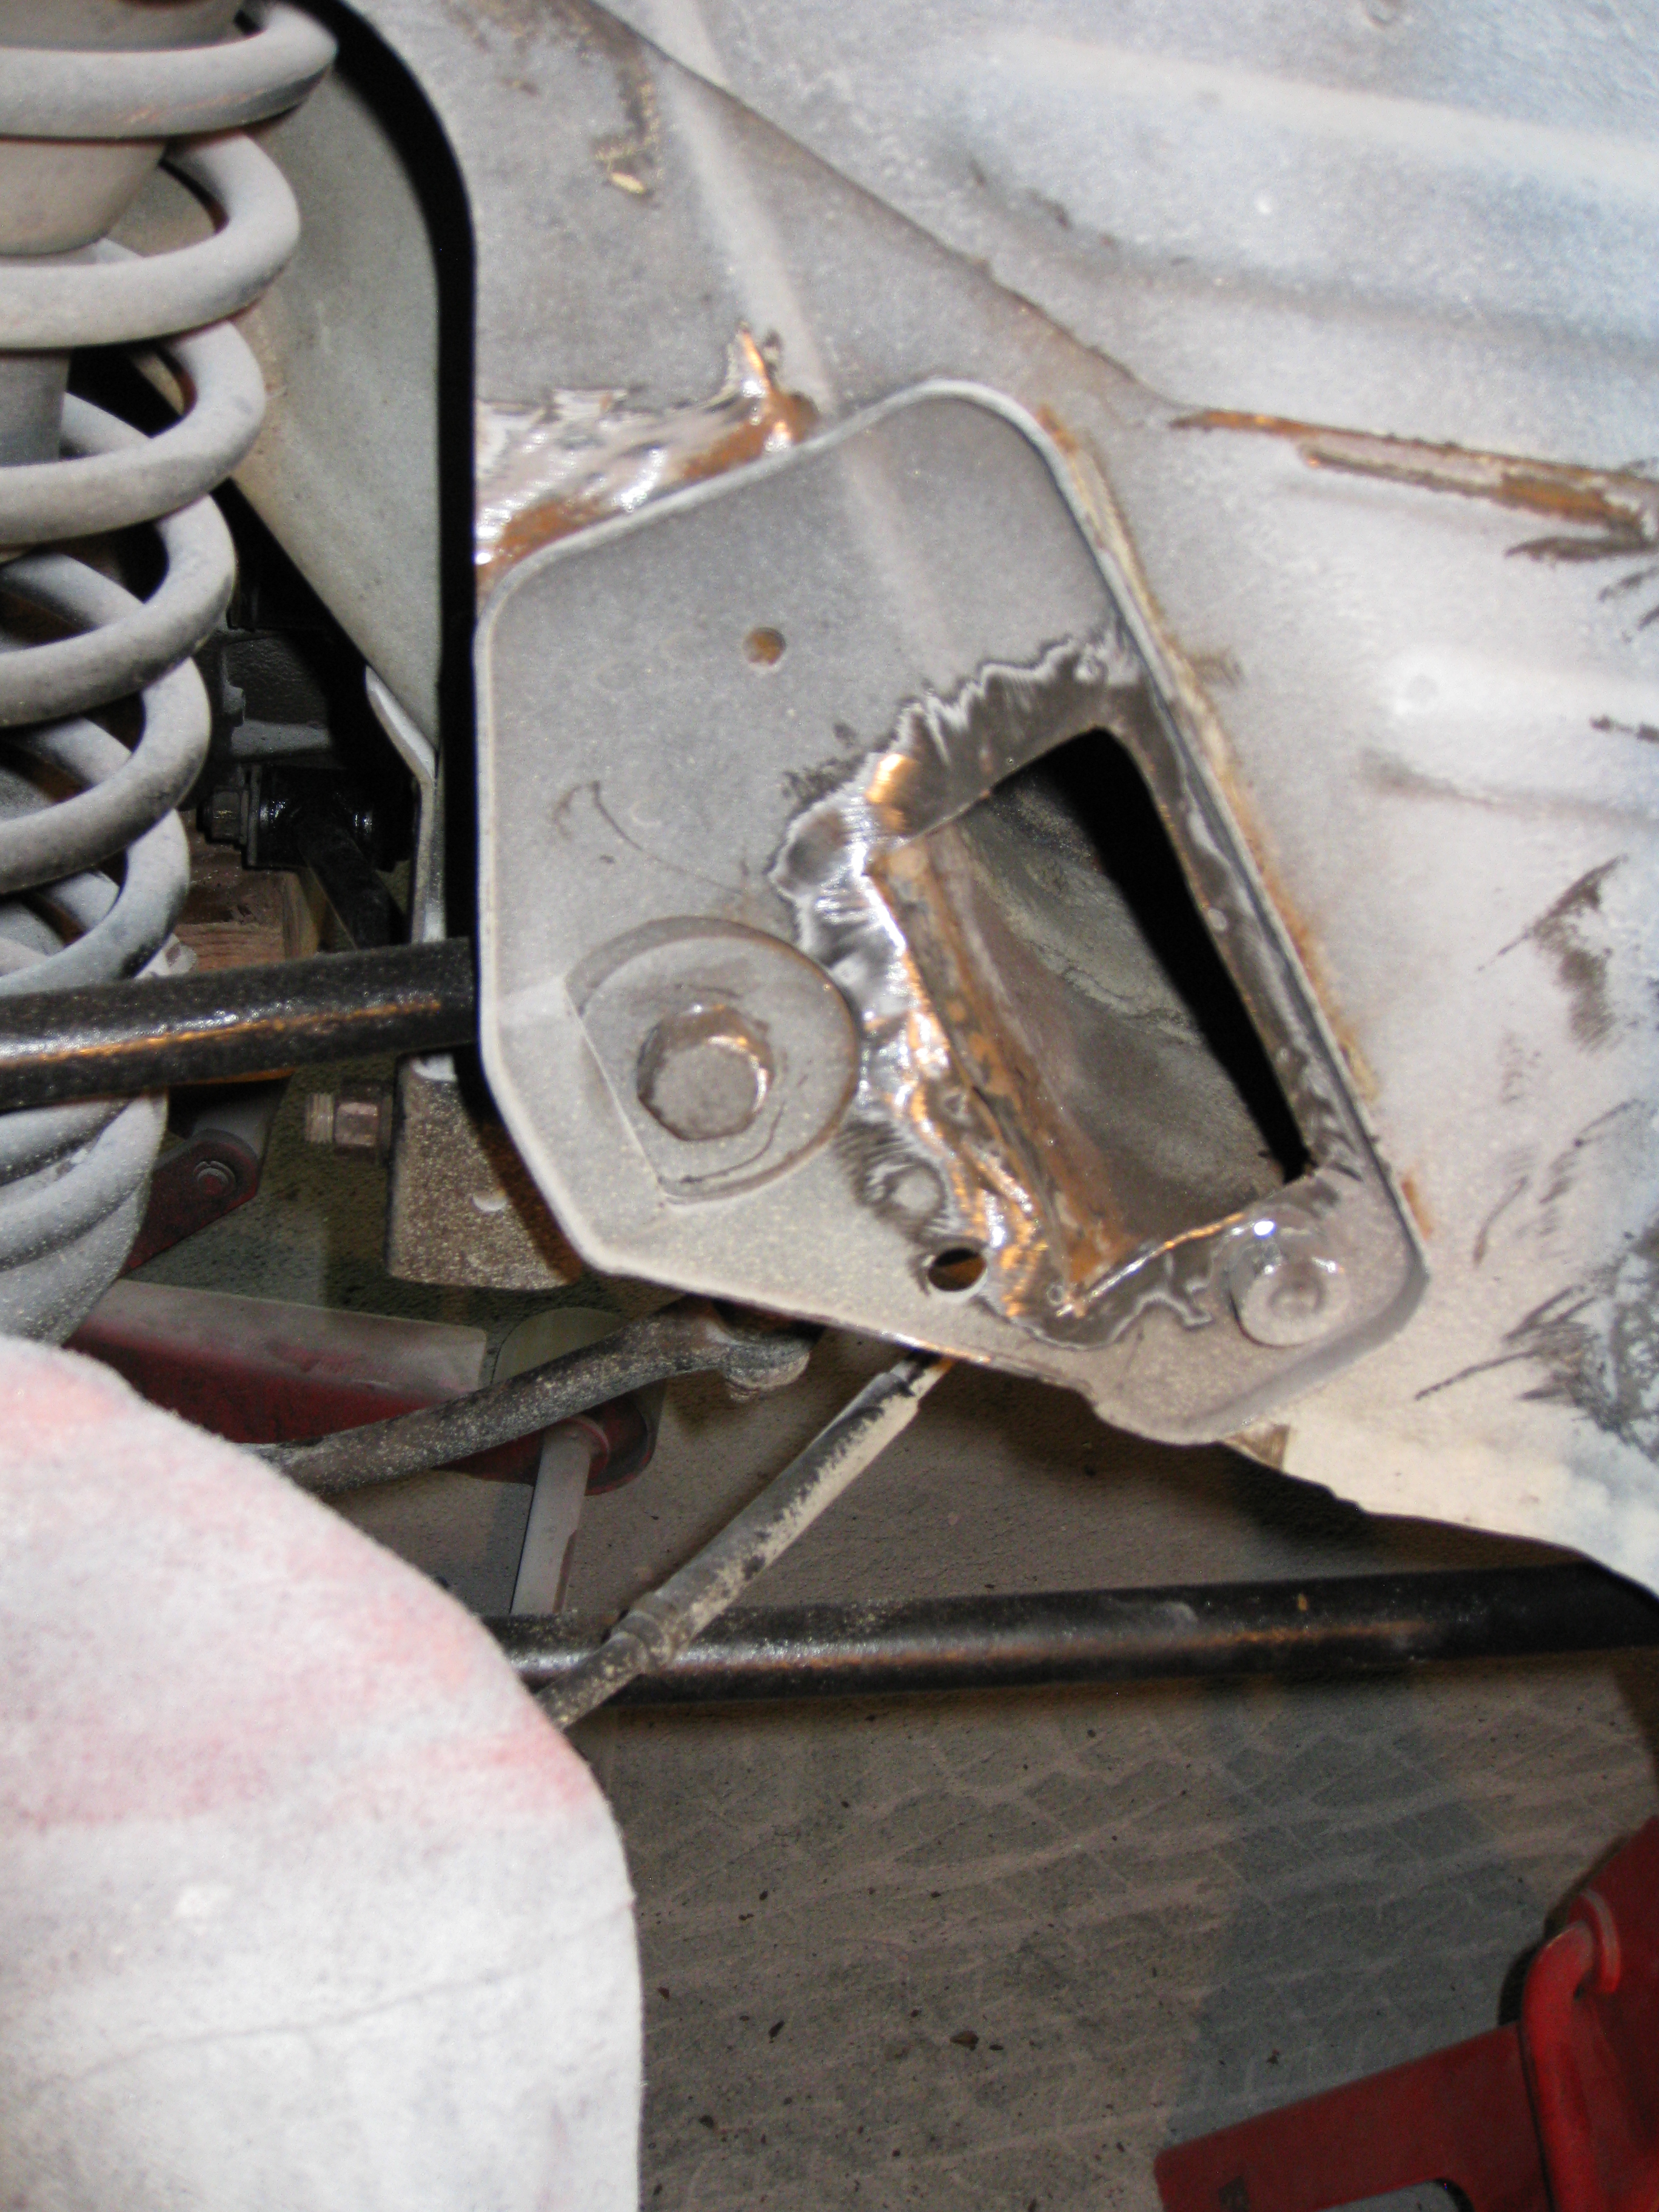
Also you can see all of the existing seam sealer was removed. The removed metal has two bends in it that needed to be replicated. The control arm bracket shown required 16 ga. metal. All the other repairs used 20 ga. metal. Welding was done with a MIG welder with gas using a stitching technique.
The welding at the top of the wheel well has compound curves and required multiple small pieces and scrap with compound curves left from a previous project were also used. Once all the exterior welding was complete, it was time to move onto the interior.
First the rusted interior areas were cut out than thoroughly cleaned with a vacuum. All the remaining rust was ground off the metal and treated with naval jelly. All hidden areas were sprayed with a weld through primer to prevent future rust.
Once patch panels were welded in place, it was time for finishing. A small amount of body filler was used so the repair would completely disappear. More care with the filler was used on the exterior since the repairs can be seen when looking past the wheels into the wheel wells. The interior did get some filler so the repair wouldn’t show through the interior panels.
After completion of the rust repair, the interior was painted to protect the metal from future rust.
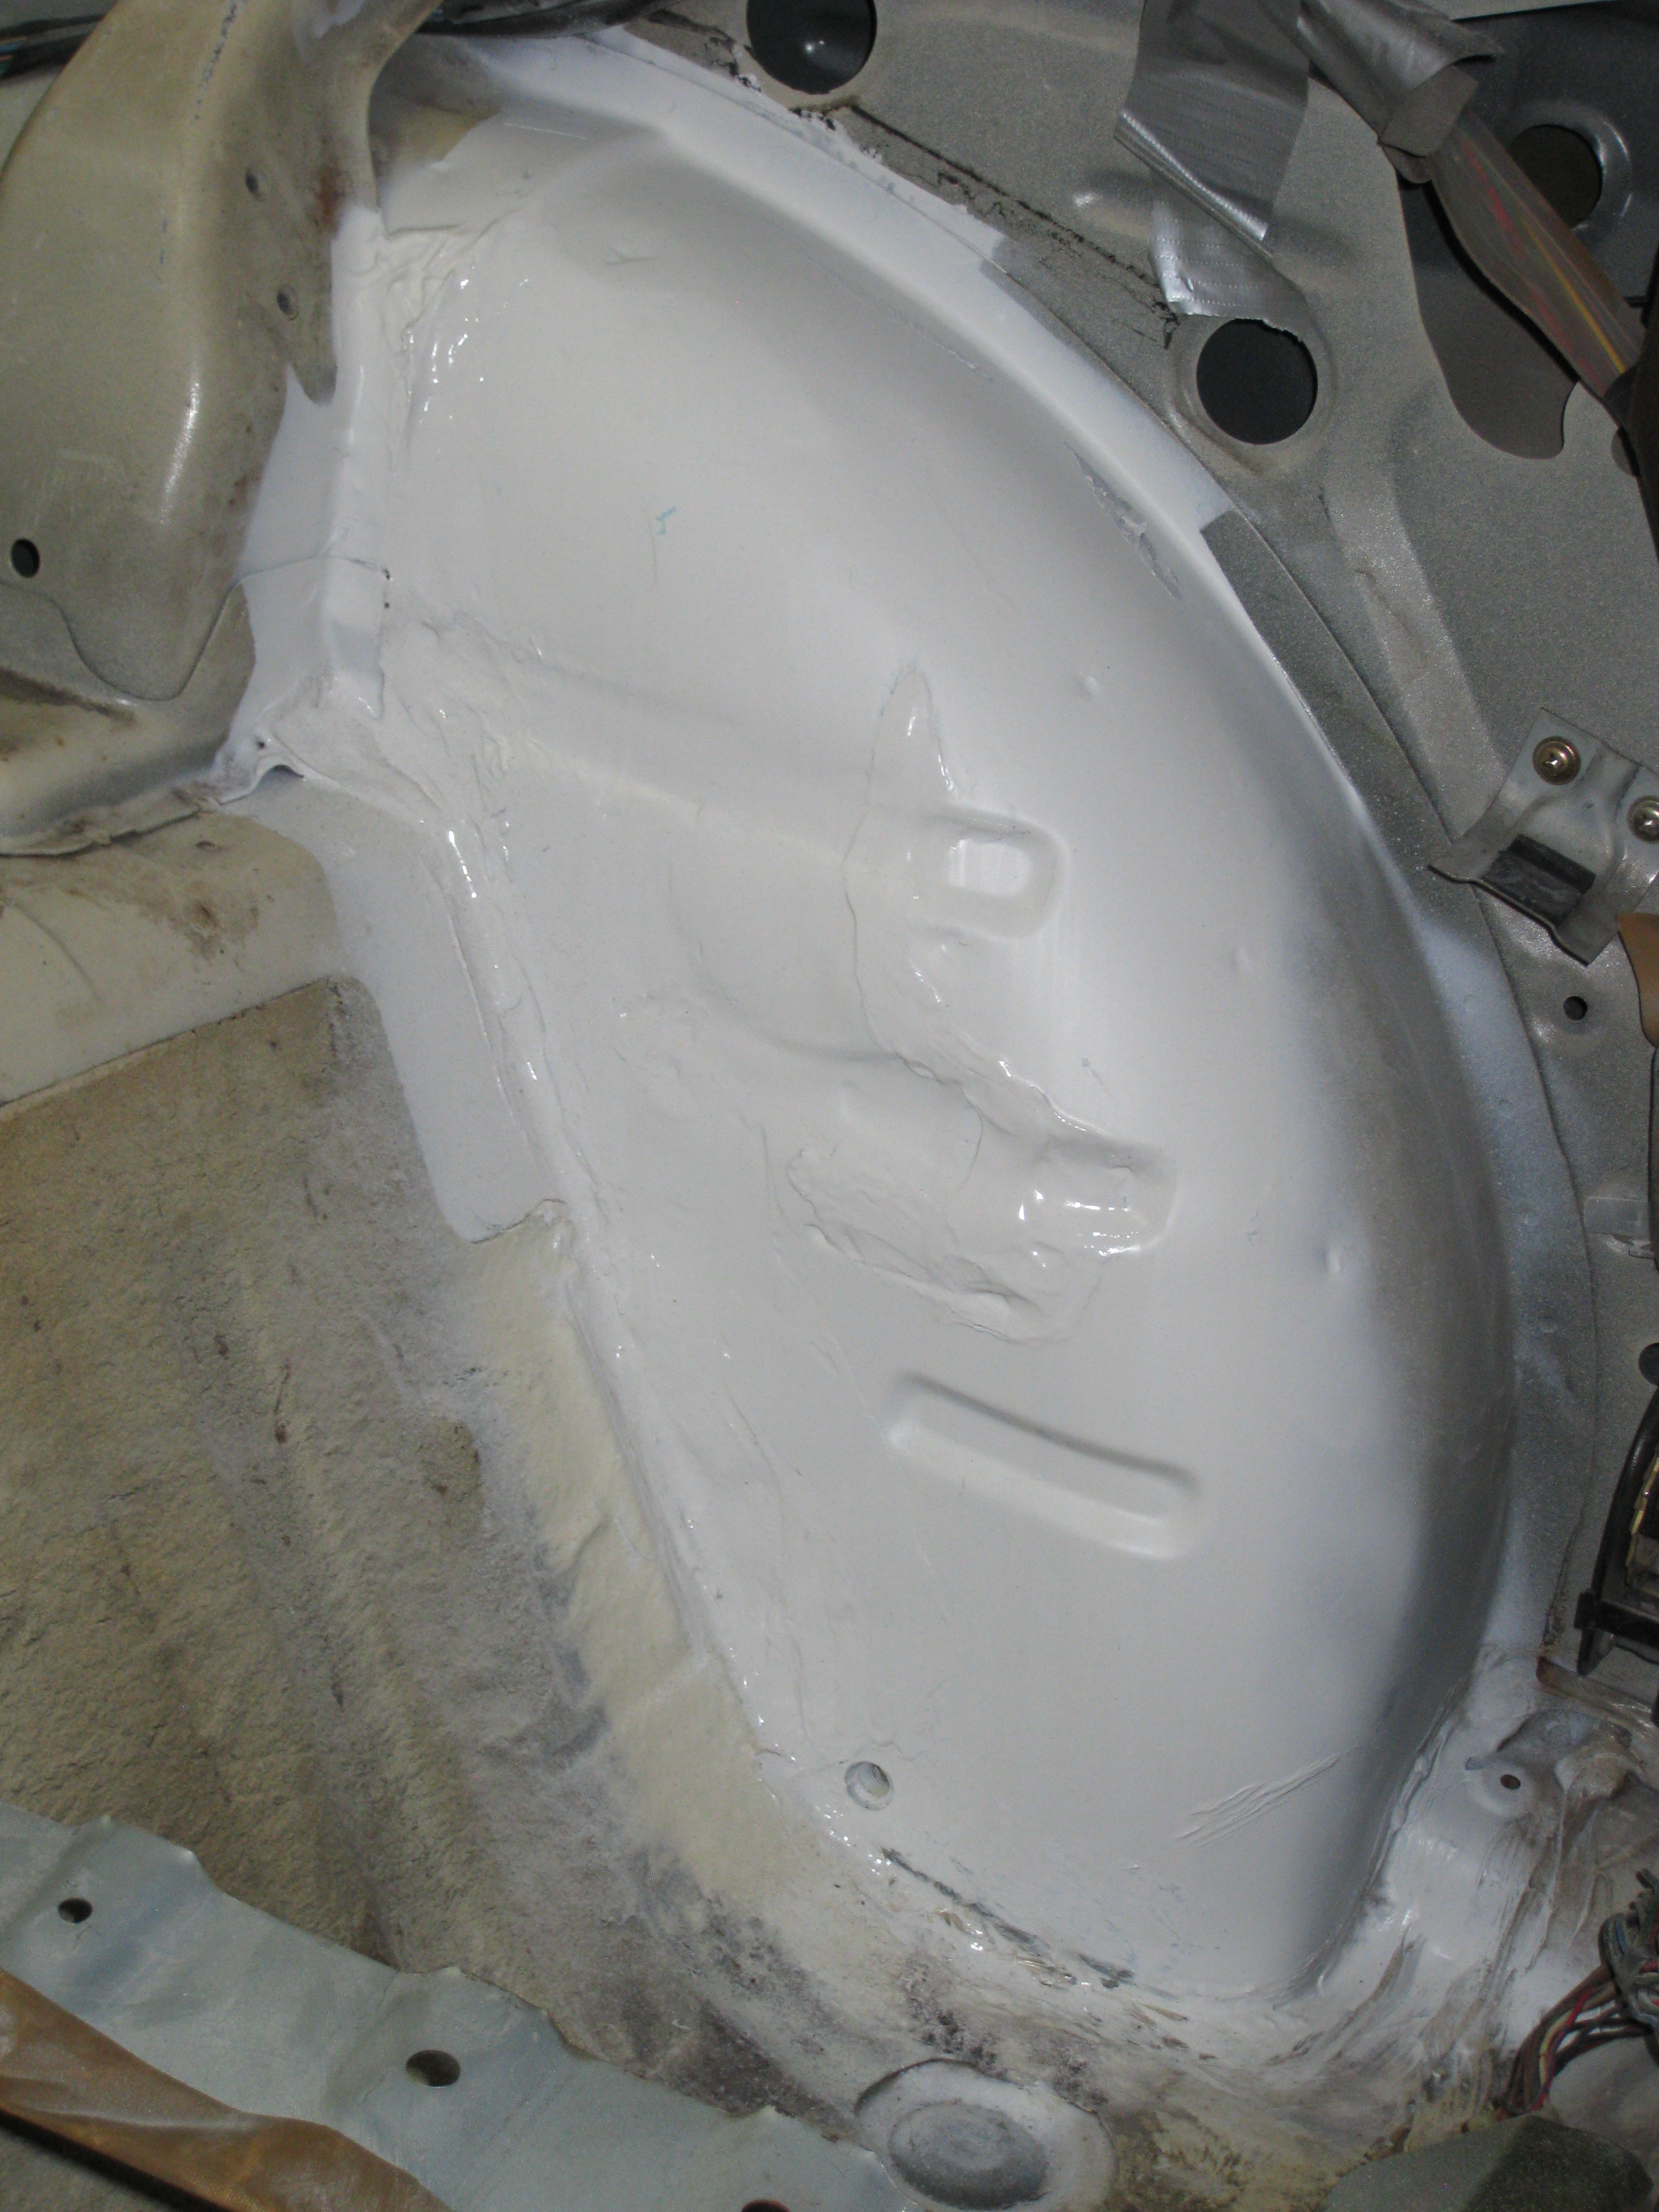
The exterior was seam sealed around the edge of the control arm mount and upper added structural support to prevent future rust. The factory didn’t do a good job of seal sealing the wheel well causing the rust to begin with. The wheel well was then primed and sprayed with undercoat.