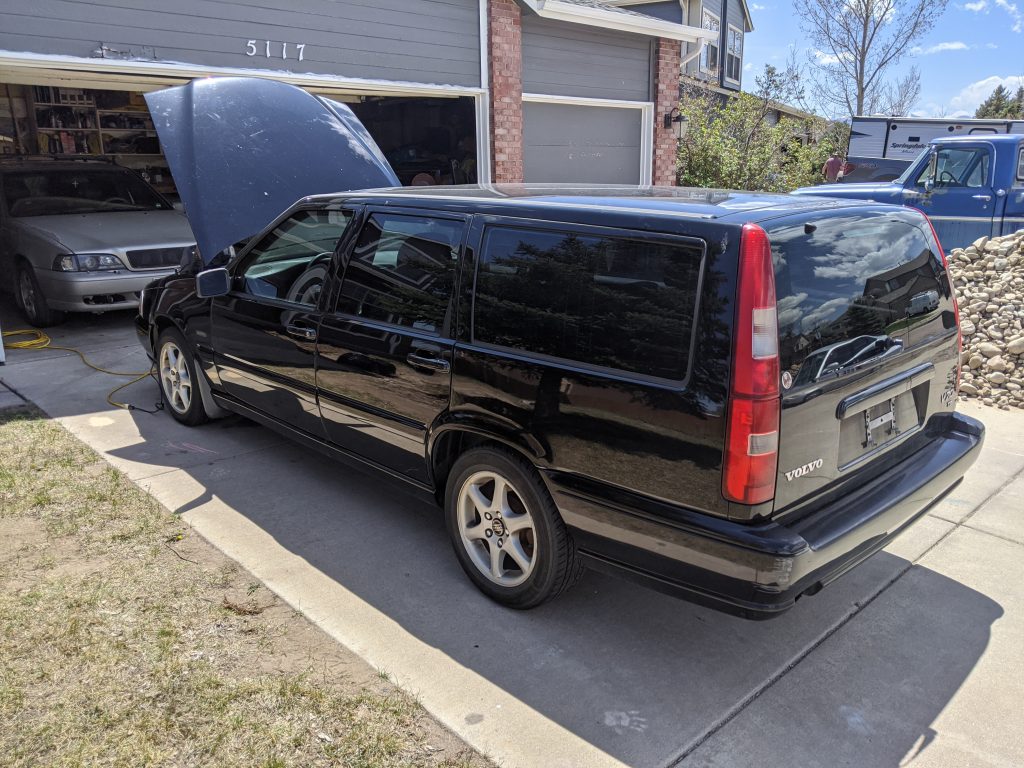
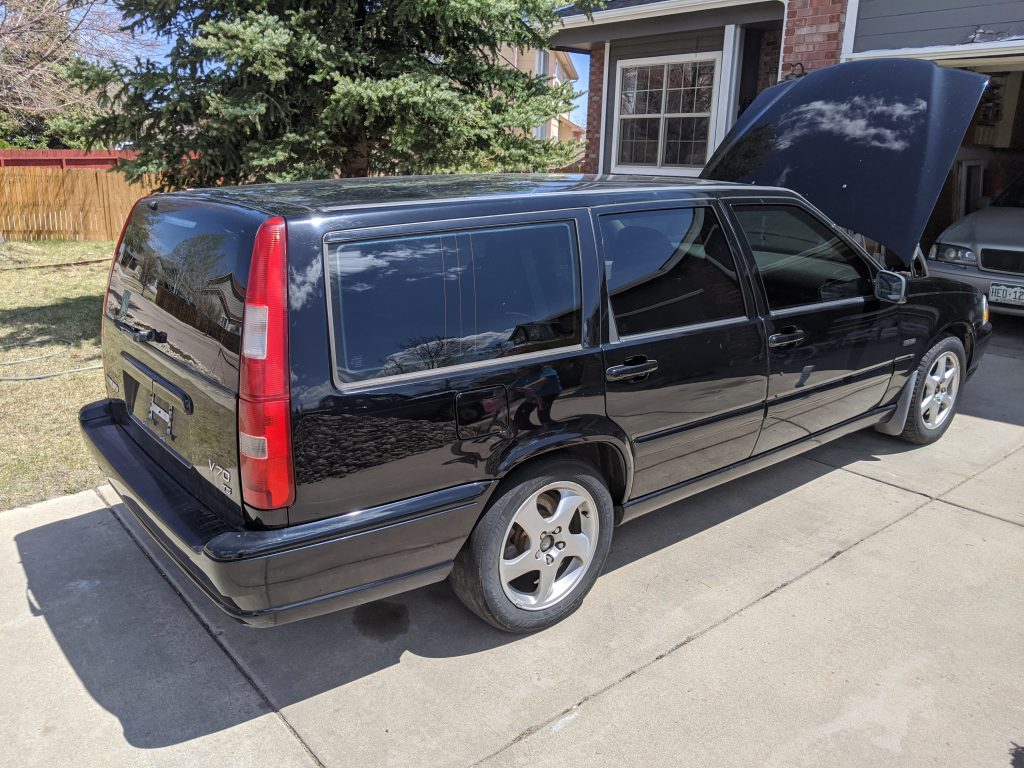
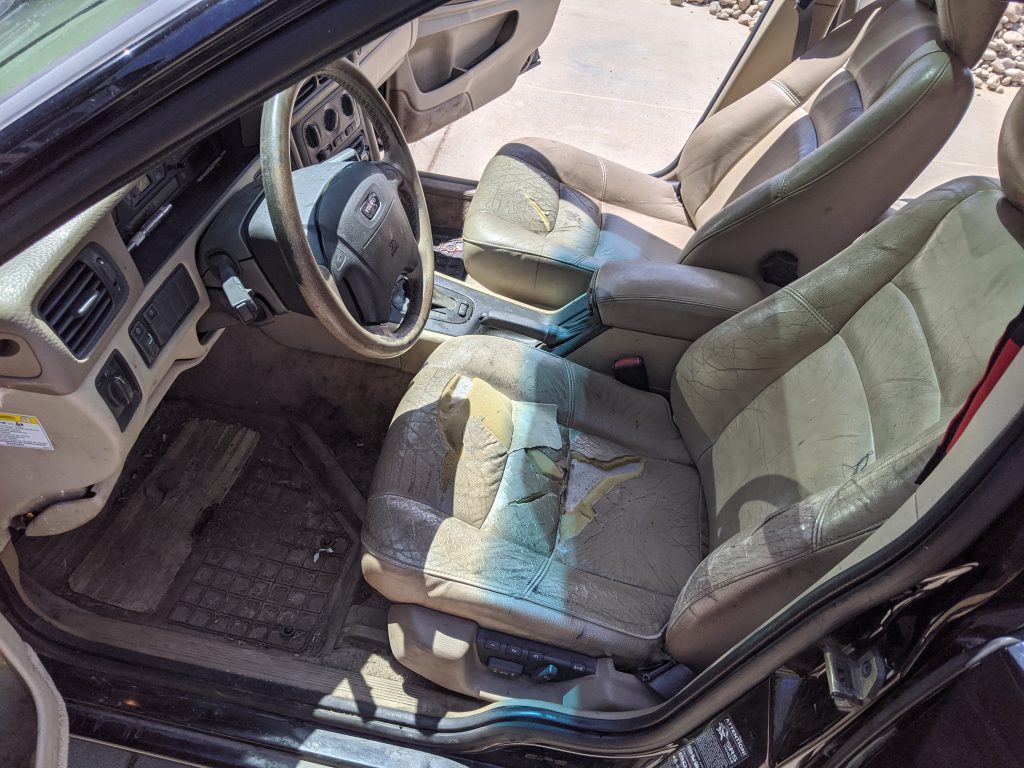
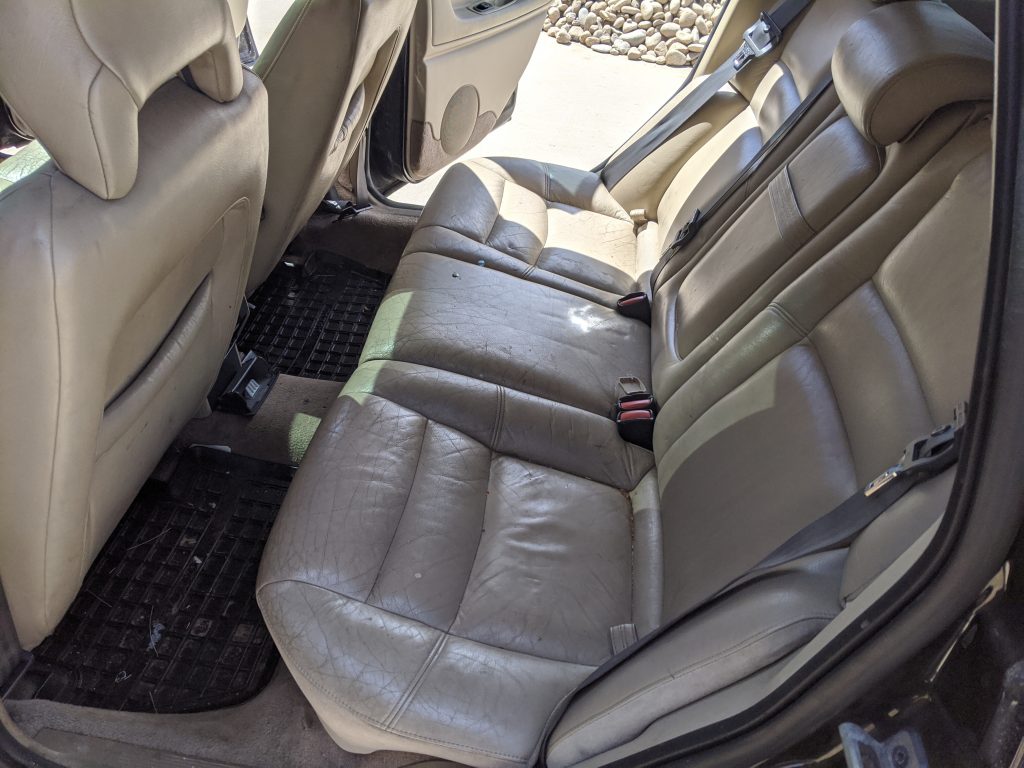
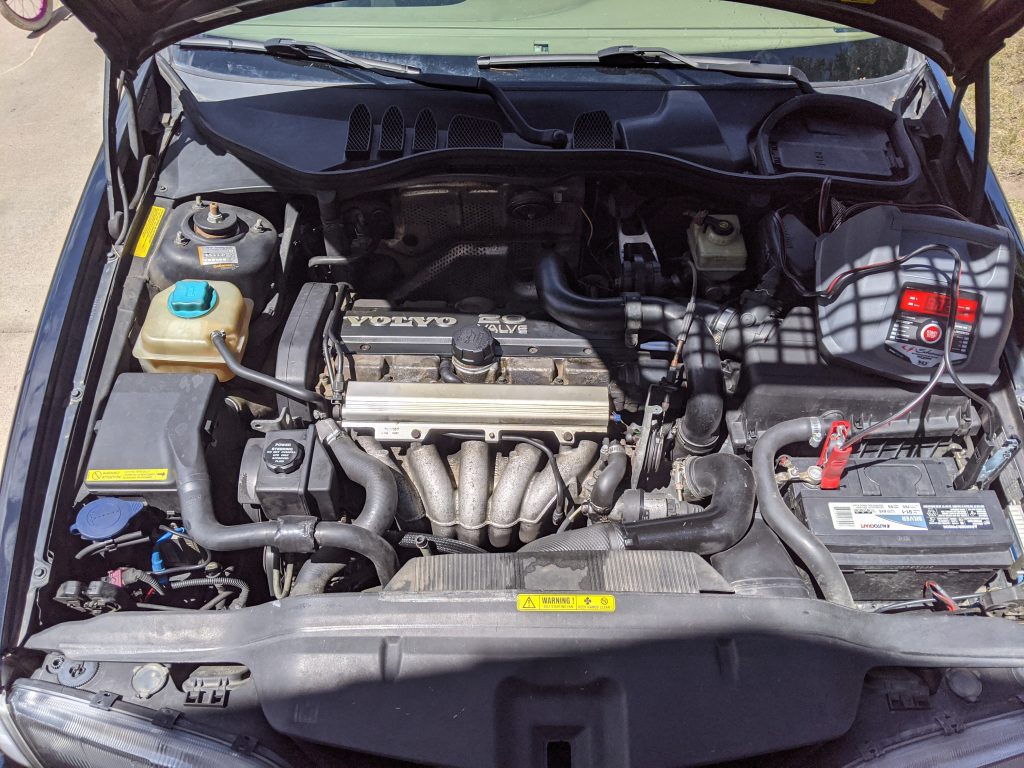
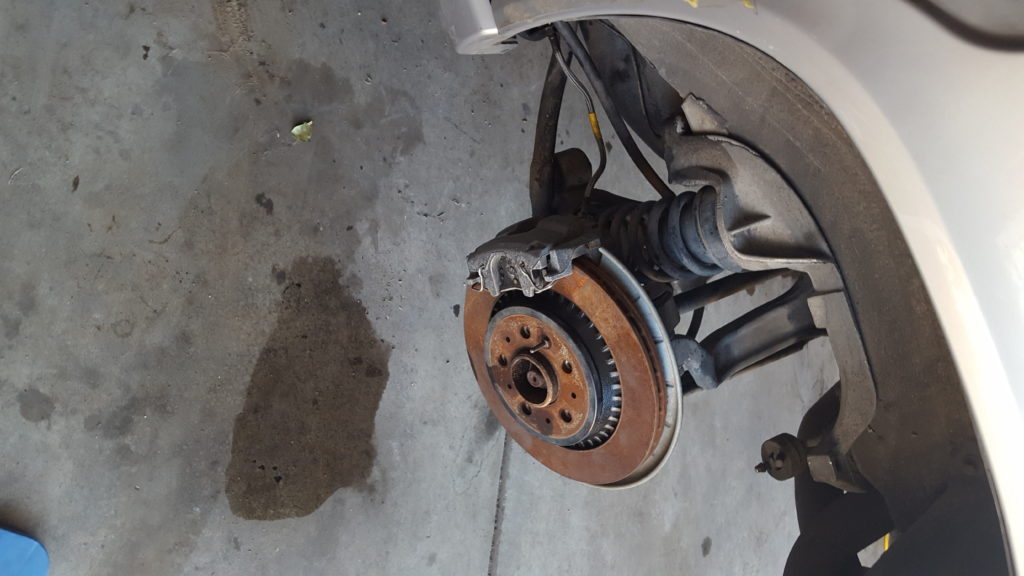
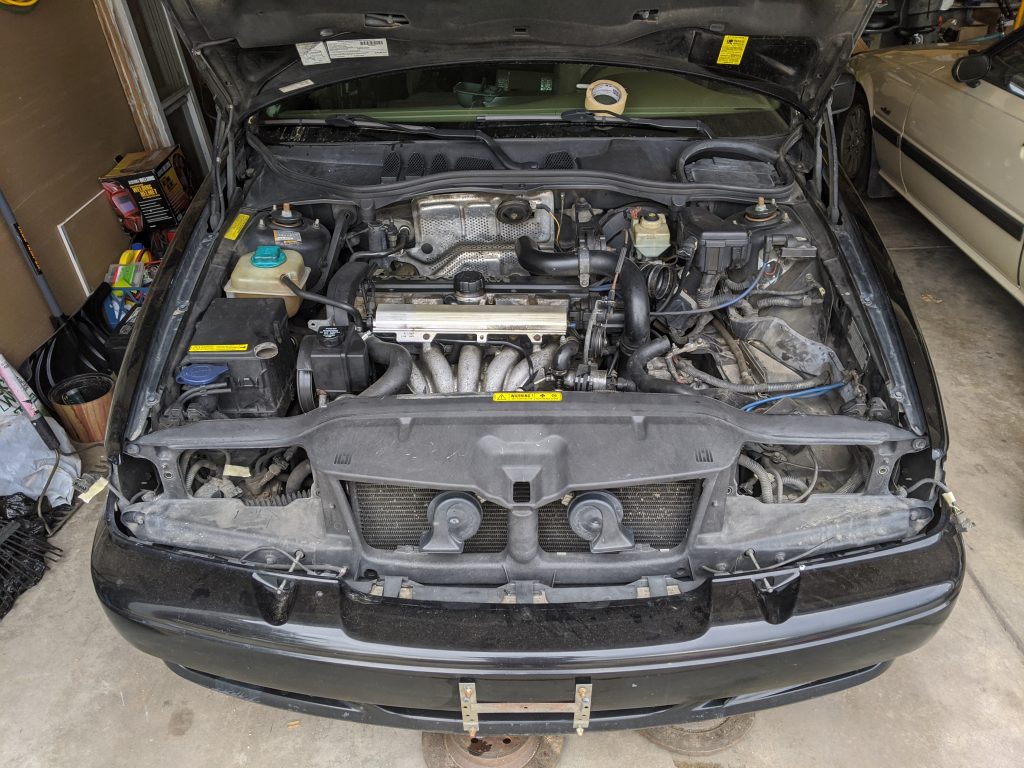
I started pulling a parts out of the engine bay yesterday. I also put a list together of non functioning components of the car like the passenger mirror and the front door lock mechanisms. I’ll pull everything worth keeping off of my other car before I scrap it.
Author Archives: Chris
First Round of Volvo Parts
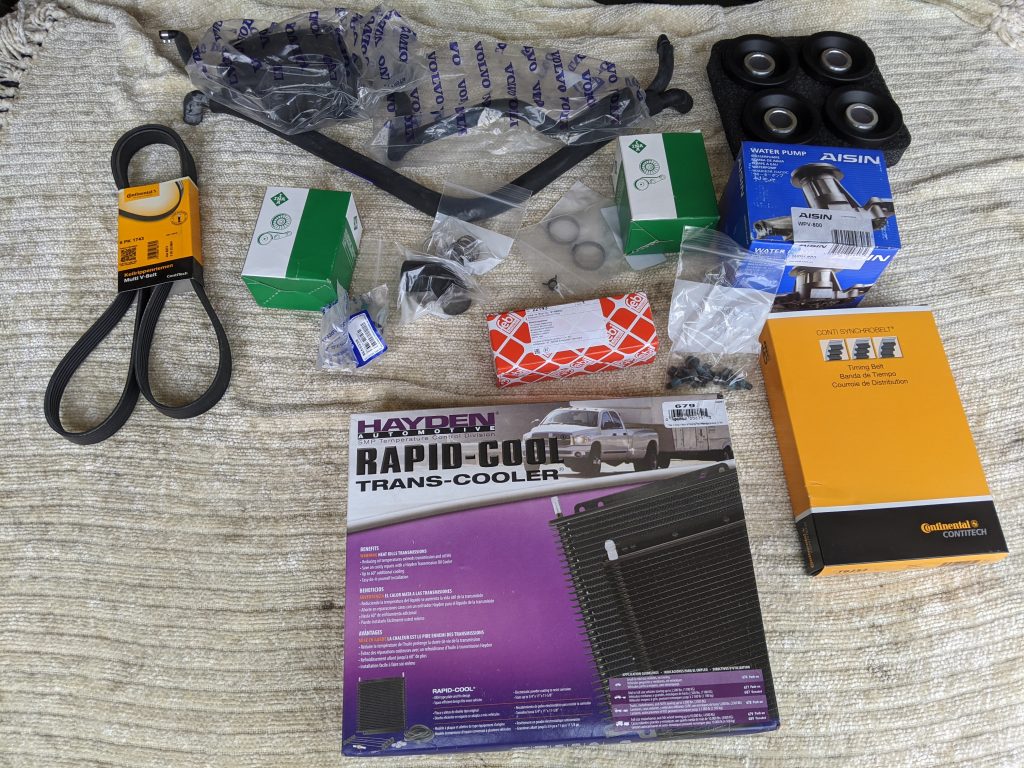
I have the first round of parts for the project ready to go. Delrin subframe bushings, full timing belt kit, transmission cooler, and pcv kit. The motor in the other car is due for timing belt and pcv in about 5,000 miles so I might as well do it when the motor is out.
The “New” Volvo
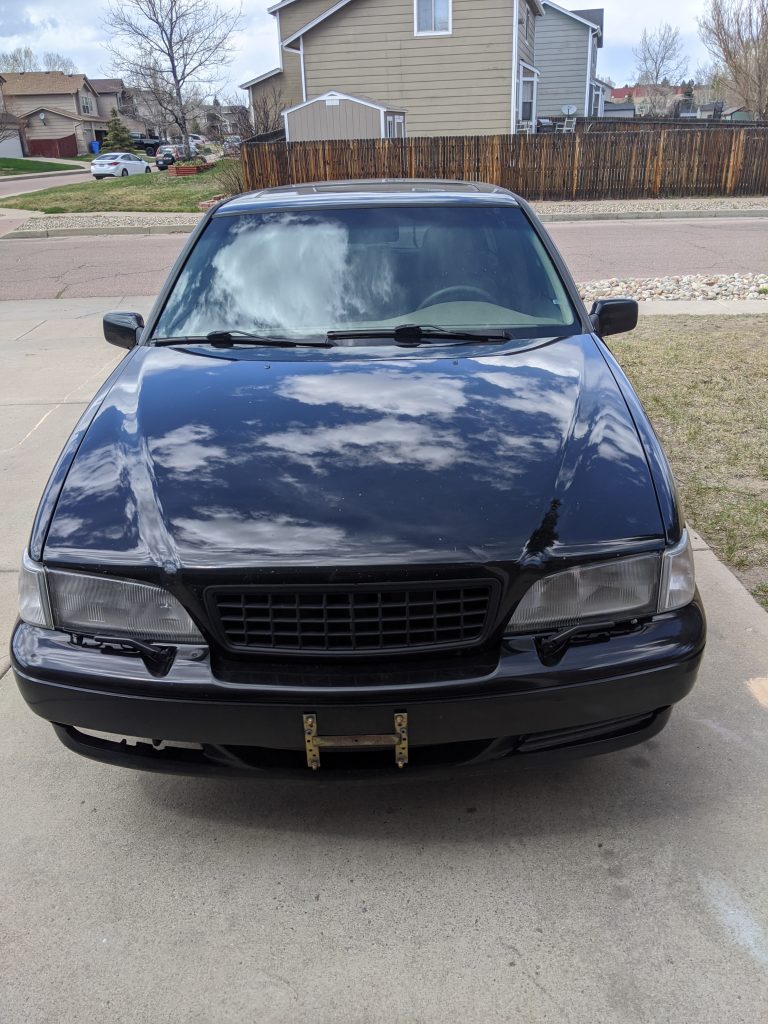
I now have my replacement car, a 1998 V70 T5. The body is overall in good shape and it looks like someone took care of it at some point. It has an IPD tcv, hid’s, IPD rear load springs, k&n air filter, and upgraded plug wires. The guy I bought it from trashed the interior, it’s nasty. The car has 217k on it. The motor has a very bad head gasket, there’s oil dumping out of the turbo, and I don’t know what the oil looks like because the dipstick is broken.
I plan to use my R motor and subframe assembly with front suspension from my pewter car. I will be using the T5’s transmission, A/C system, and power steering rack. I will also be using the full charcoal R interior out of the pewter car.
Saved by the Volvo
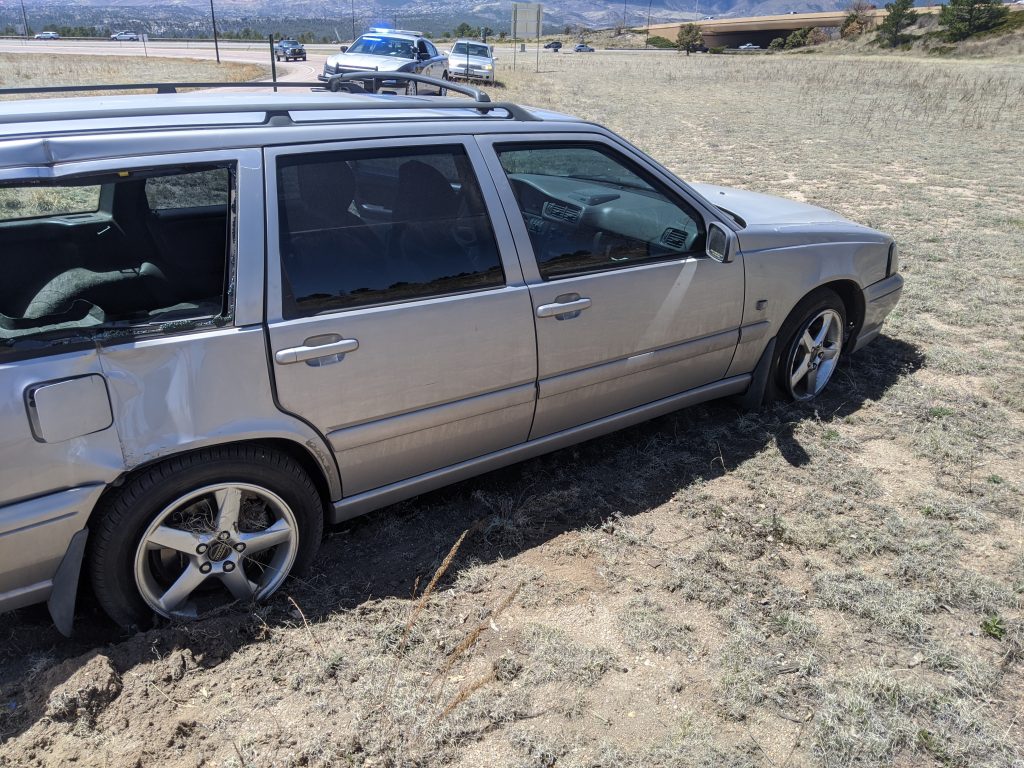
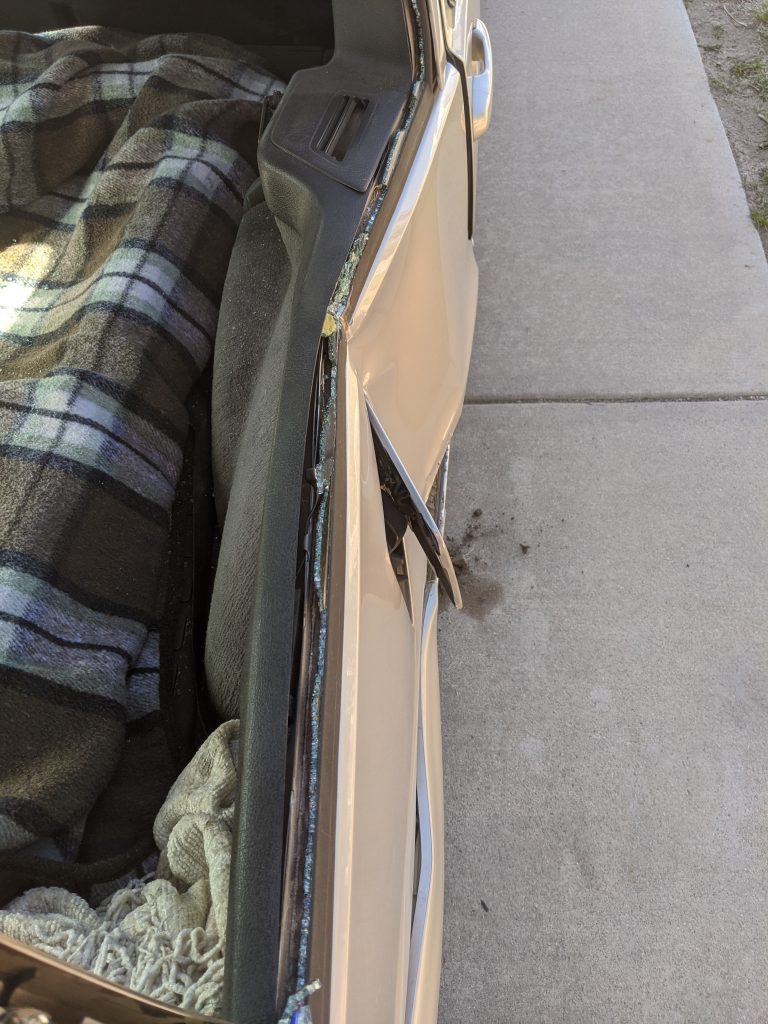
Just saved by my Volvo. I was getting off the Briargate Parkway exit off I-25 in Colorado Springs. Swerved to try avoid a minivan who came into my lane while going around the curve. I hit the sand on the side of the road and lost control doing a 180 and hitting a sign pole. I don’t know what I’m going to do being this is my dd.
Rear Subframe Swap
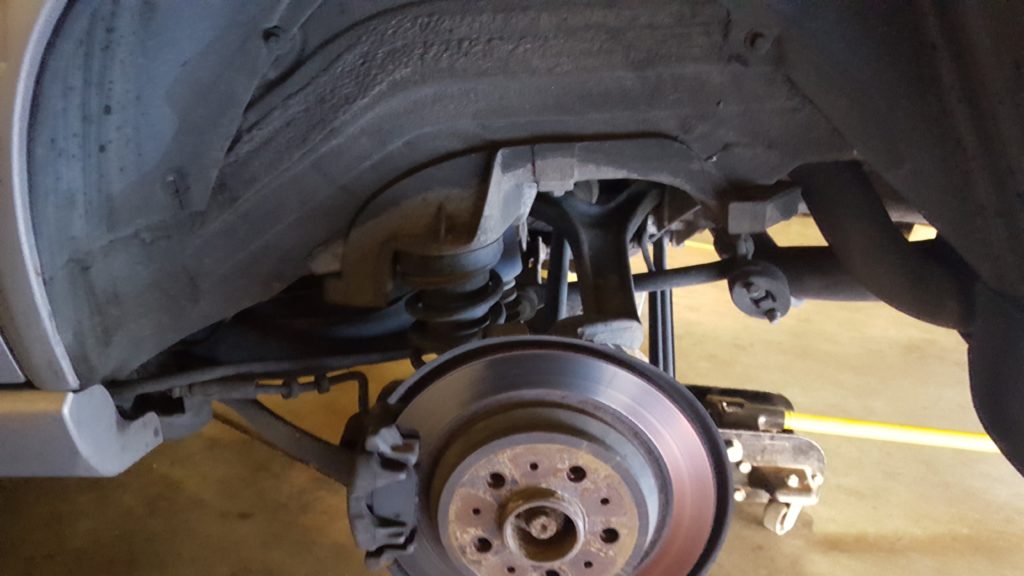
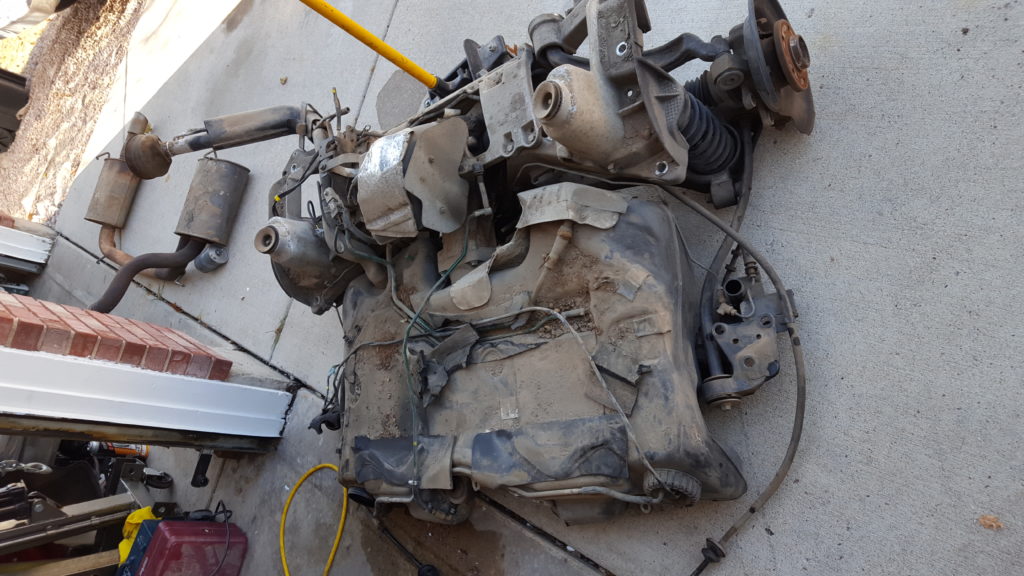
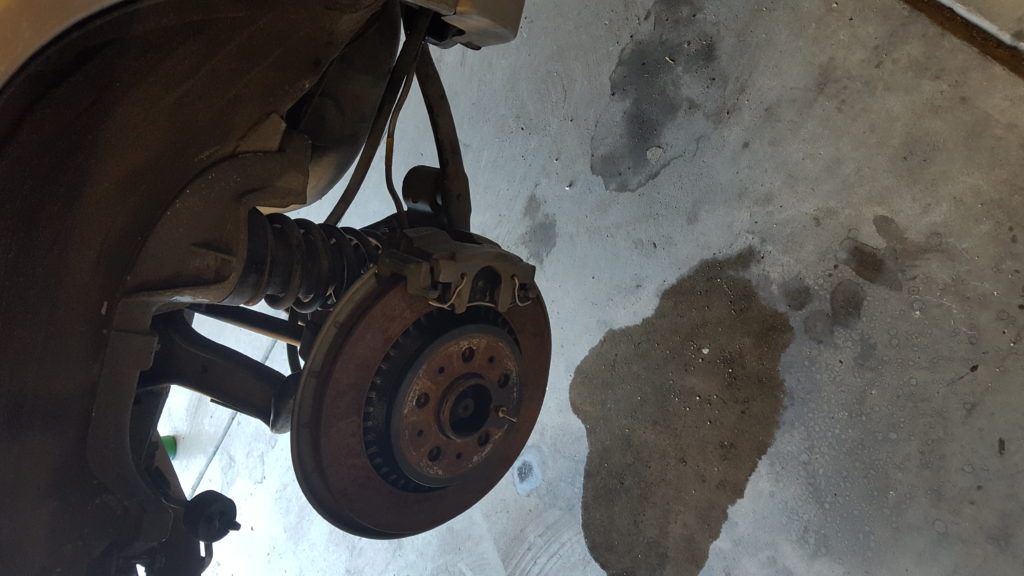
I decided to finally tackle the swap of the rear subframe and gas tank on the Volvo. The original rear end to the silver car has a center differential that is caked with grease, it appears that the halfshaft seals are leaking.
At about 7 hour in to get to the point of having the replacement rear subframe bolted into place.
At about 10 hours to have the car back together. I now have the good rear installed with 2000 V70R vented rear brakes with SS braided lines. I also got the IPD rear sway bar swapped onto this rear. All I have left is to replace the cv joints on the driveshaft and I will have AWD again.
Some tuning explaining
Right now I’m just running a stock European map, they tuned the car down in the US to meet CA emissions.
http://m44.wikia.com/wiki/M44_Wiki
That is an entire site that explains how to tune these cars. My first step before I start doing any tuning is getting high quality wideband and boost gauges. I also can’t really mess with it much without doing the downpipe because that is a huge restriction.
There is a lot of good info on that site explaining everything. The info is basically all the best of what was put on a huge thread in on Volvospeed.com. It just so happens that one of the guys who developed this method of tuning sells this as a service and lives in Denver. He does tunes for these car around the world.
From the tuning site:
“RECAP: First step, accurate boost guage and afr guage. I suggest having something to datalog afr, rpm, maf and ign adv at the minimum. Start with WOT tuning as this is the easiest approach(since tuning part load on the street would require holding the car at a steady rpm/load which is extremely hard). If you find any issues with your new boost value, try adding fuel, pulling ign or reducing boost if neither of those work. If you max your MAF / go over the max load on the table (8.02) use that column to tune. If your finding you cannot reach desired boost and keep increasing requested load and you dont see any changes try playing around with max duty for boost control solenoid. Remember dont go too crazy on this map! You risk bending rods at low RPM high TPS.”
The stock ECU actually limits the boost in first gear from a dead stop. This reduces tire spin but it also protects the motor from bending a rod.
Clanging out the injectors to the larger ones requires “Calibrating for injectors requires setting the ‘Injection Basic Adjustment Factor’ and the ‘Injector Opening Time by Voltage’.” This is really easy to do.
Also another restriction on the system is the MAF.
“The stock MAF can only measure flow up to 826Kg/h, this limit can be reached on a stock 850 with a 15g fairly easily. In order to maintain accurate fueling calculations past this rather low limit it is recommended to upgrade the size of the MAF by placing the stock sensor in a larger housing. Here are a couple of housings that are a direct fit for the original MAF sensor:
2.50″ ID Volvo 850/S/V/C70 826 kg/h (stock)
2.75″ ID Volvo S90/960 1056 kg/h
3.25″ ID 540i BMW 1612 kg/h
It is very important the increase in airflow is accounted for in your bin!”
Denver Salvage Yard Run
I made a run to the pull and pay in Denver on Friday.
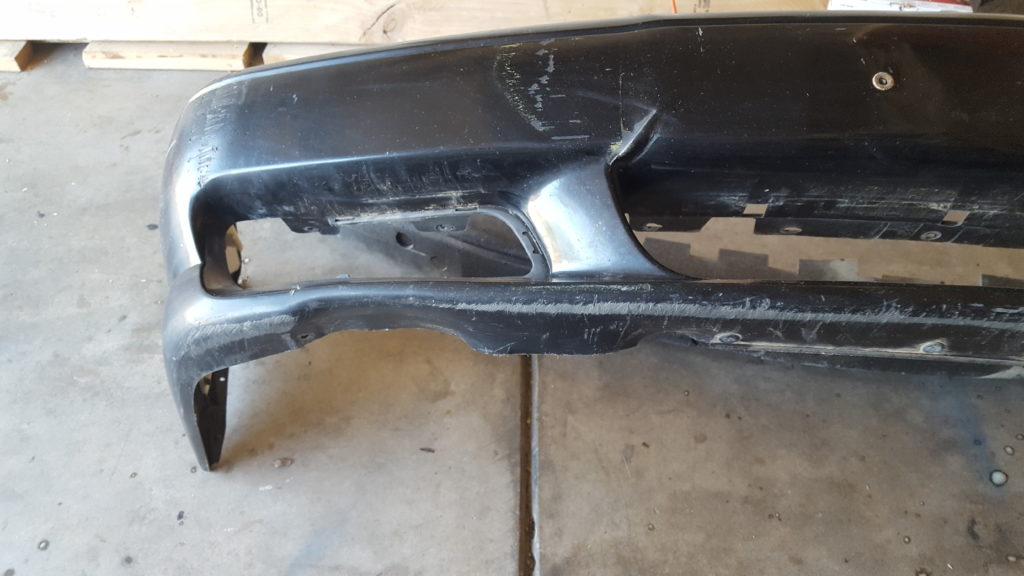
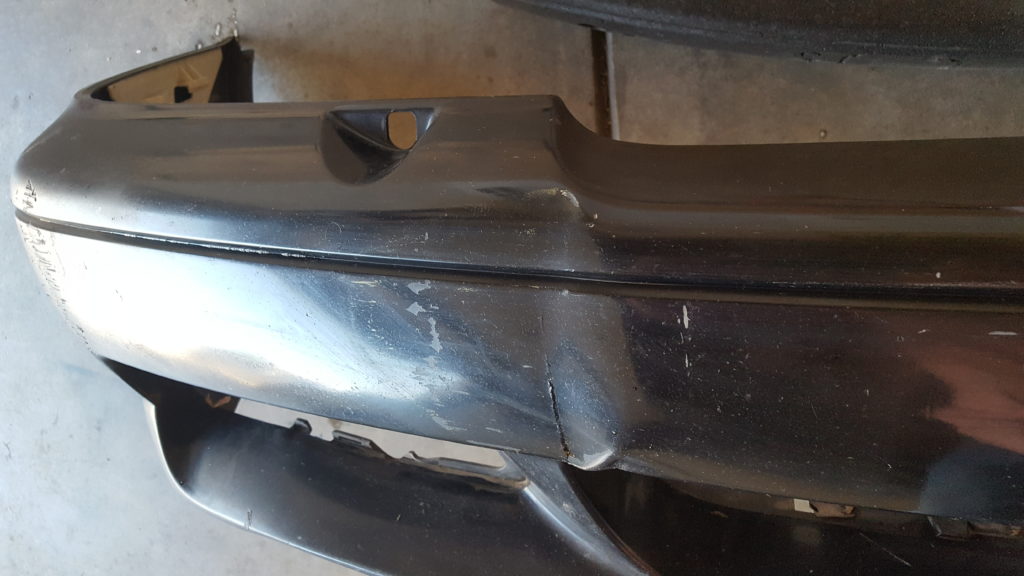
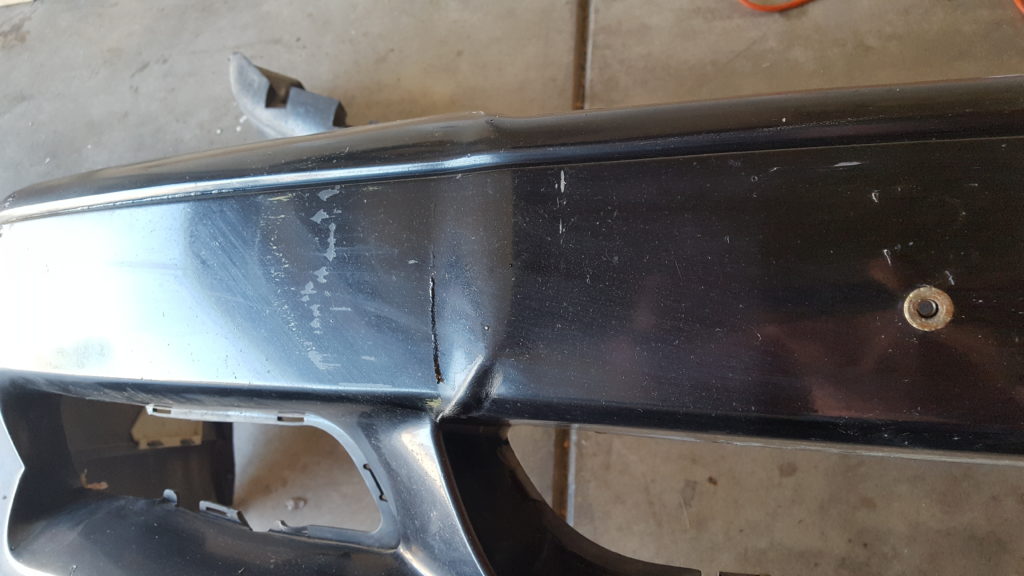
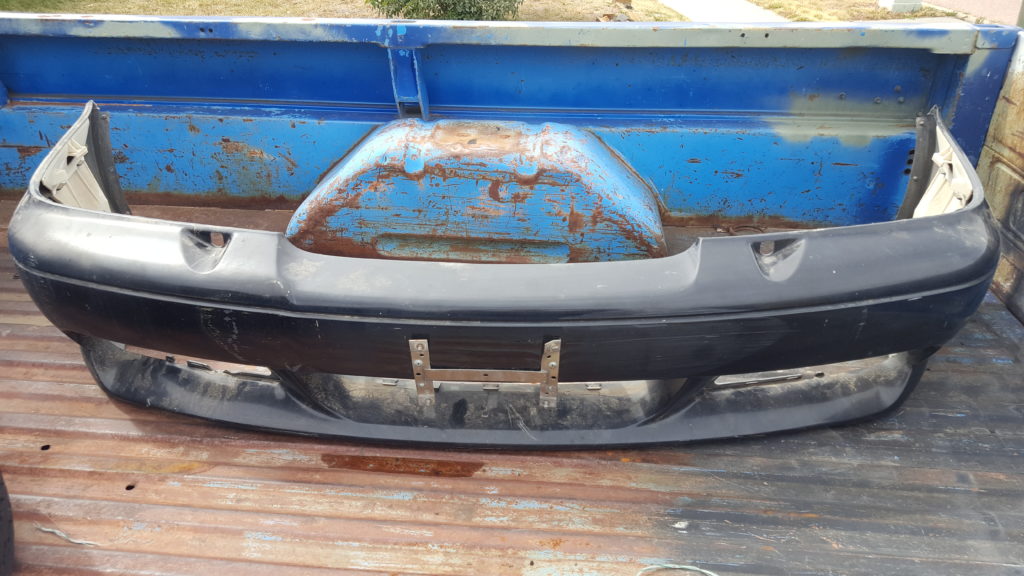
I picked up a ’99 V70R front bumper in black. The bumper had a little damage but I’ve already fixed most of it with a heat gun. I will need to paint it to match the car. This was the last part I was missing to make my car a V70R.
I also got a passenger plastic wheel well liner, plastic under tray, and green injectors.
Injector – Pressure – Flow Rate
Bosch Blue – 3bar – 347cc (stock on the 1998 V70R)
Bosch Green – 3bar – 448cc
The green injectors are a good flow upgrade for the car.
Base tune installed
I got some work done on the car. I swapped out the barometric pressure sensor on the car to deal with a check engine light. They are a common fail point on these cars and it only takes a few minutes to replace. The sensor costs $80 so I first tried a few junk yard sensors with no luck. I do still need to clear the code.
My car was boosting at about 5-7 psi but should have been 10 psi stock (240bhp). Since I installed the Euro tune, I’m now getting 12 lbs(250bhp). It definitely feels like a different car. The stock turbo that I’m running is a Mitsubishi TD04HL-16T and it maxes out at about 15 psi and (250whp). If I go with the ’99 V70R 18T or the 2000 V70R 19T, I can get to 20 psi max and close to 300whp.
300 WHP is about the max the auto tranny can hold. From what I’ve read, pushing the power to close to 300 whp is recommended to add a tranny cooler. Not a huge deal to add a tranny cooler and only costs about $60 so I will do it even without the added power.
https://www.amazon.com/dp/B000C3BBKS/?c … _lig_dp_it
The weak link on this motor is the connecting rods so I plan to keep it safe and not push the motor to 300 whp. At most I will probably install an 18t or 19t and push 17 psi max. The 1998 TD04’s have an straight flange exhaust hosing with a 2.5″ outlet and the ’99+ TD04’s have a angle flange exhaust hosing with a 2.75″ outlet. I plan to snag an angle flange housing from the junk yard in the near future and install a custom 3″ downpipe with a high flow cat.
I’m going to pick up the “upgraded” Pierburg 7.22908.03.0 BOOST CONTROL VALVE out of a Porsche since it does better at the higher boost numbers.
https://www.amazon.com/dp/B00FA364EI/?c … _lig_dp_it
I also plan to get an Innovate Motorsports PSB-1 Boost/Wideband Oxygen Gauge Kit.
https://www.amazon.com/dp/B013UG0ERE/?c … _lig_dp_it
I’m still back and forth on the tune, doing it myself vs having it done. I’m planning on loosing the distributor and going with Coil on Plug. I already have the coils.
Radiator Replacement
I replaced the radiator in the car. Not a fun project, it required removing the entire front of the car.
The old radiator was packed with what looks like hair. This was between the intercooler and the radiator. So not only was it leaking but it was clogged.
What was actually done:
-radiator replacement
-cleaned the intercooler
-ported my extra intake to recieve the NA big bore throttle body with 960 plate
-installed Snabb RIP kit
-installed Snabb fresh air pipe
-replaced the spark plugs
-removed the SAS system
-replaced the driver’s side fender
Coolant leak and Updates
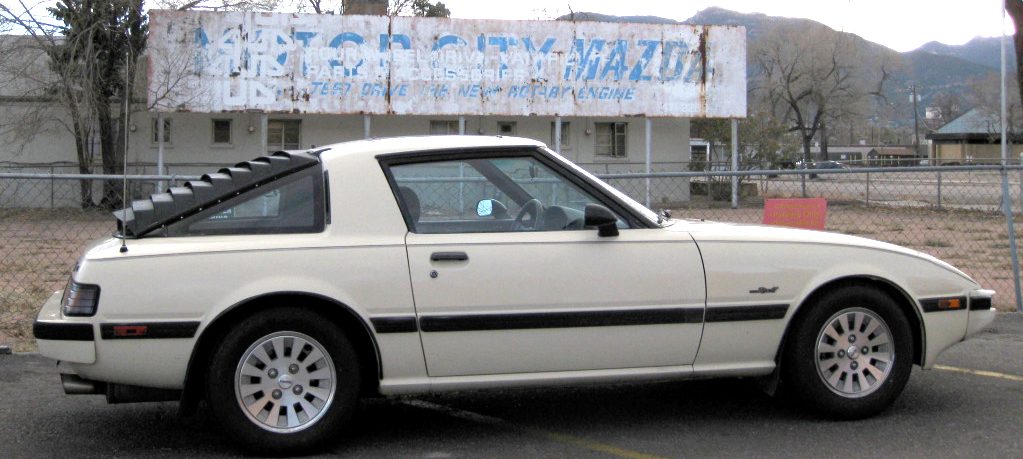
So my really small coolant leak turned into leaving a puddle under the radiator. I parked the car for the week and will be driving my Mazda until I can get around to finishing up the repairs.
The list of retairs:
-replace the radiator
-turbo drain line seals
-tranny to angle gear seals
-passenger side front wheel bearing
-fuel pump tank seal
-spark plugs
“Fun” stuff:
-Snabb RIP kit
-Snabb fresh-air pipe
-silicon vacuum lines
-SAS delete
-tuning
I have a laptop setup for tuning and I have everything I need to add the switch to the old AWD ECU.
I will get pictures posted of everything soon. I need to get a wideband and a 3″ downpipe to complete my plans for the car.