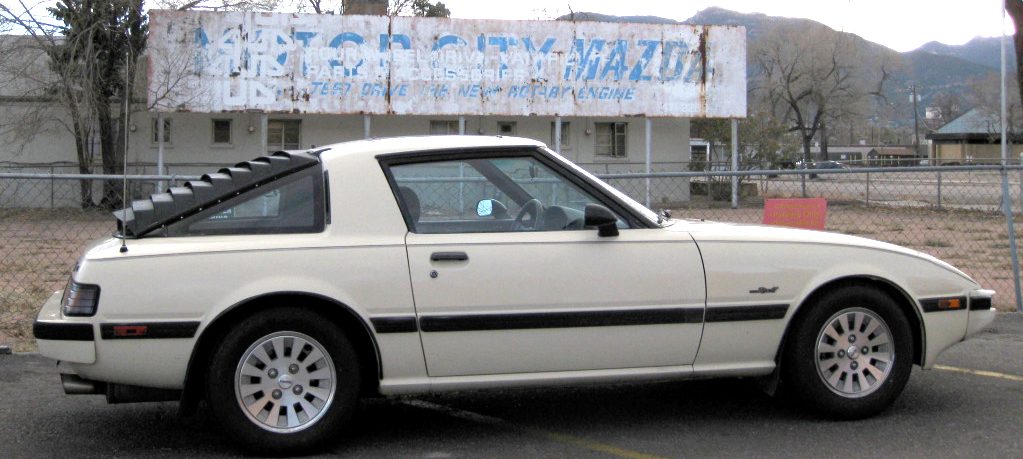
I did some detailing of the door jambs (needed painting) and under the hood.
I also touched up the bolts that the paint was chipped on when installed. I may have to give them one more coat.

Wheel well molding is on and door edge guard. I also waxed the car with an overspray remover. Alignment is also done.
What is left to do:
-final alignment of front panels and installation of under tray
-assemble and paint rear louvers
-wheel polish
-windshield molding install
-pinstriping
-finish install of emblems, stickers, etc (I will be doing)
-paint metal sunroof
-detail engine compartment and interior
Once the car is done with paint:
-new tires
-replace carpet (have in garage)
-driver’s seat repair (sometime this year)
Steven Porter asked me to show him what the change that actually is in the mounts for the GSL-SE RX-7. Mazda says in the 1984 RX-7 Brochure, “GSL-SE lower control arms are lowered 20mm to improve road holding and grip.” Other than that one sentence, Mazda doesn’t give any more information. I’ve gone ahead and taken pictured of the standard RX-7 lower control arm mounts and the GSL-SE mounts.
The mount show below is on a 1983 GS. It is the standard mount on all first generation RX-7’s. The picture shows that the bottom of the mount is level with the floor. The bolt sits at about 50mm and the bottom of the mount is at 80mm.
The GSL-SE mount does not sit level with the floor, it flairs down. The bolt sits at about 70mm and the bottom of the mount is at 100mm. Overall it is a very slight change in the suspension geometry but it does actually make a difference in the car.
I took two extra pictured of the GSL-SE mounts for reference.
The front end is all back together except the bumper and under tray. The hood and cowl are all adjusted. As soon as the front bumper is installed, we can finish up the install of body parts.
I worked on the car for about five hours on Saturday.
I cleaned and painted the salvage yard under tray. There was a lot of grease on the under tray but is was dent free.
After the cleaning was finished:
The under tray painted cast iron gray:
I will install the under tray after the bumper.