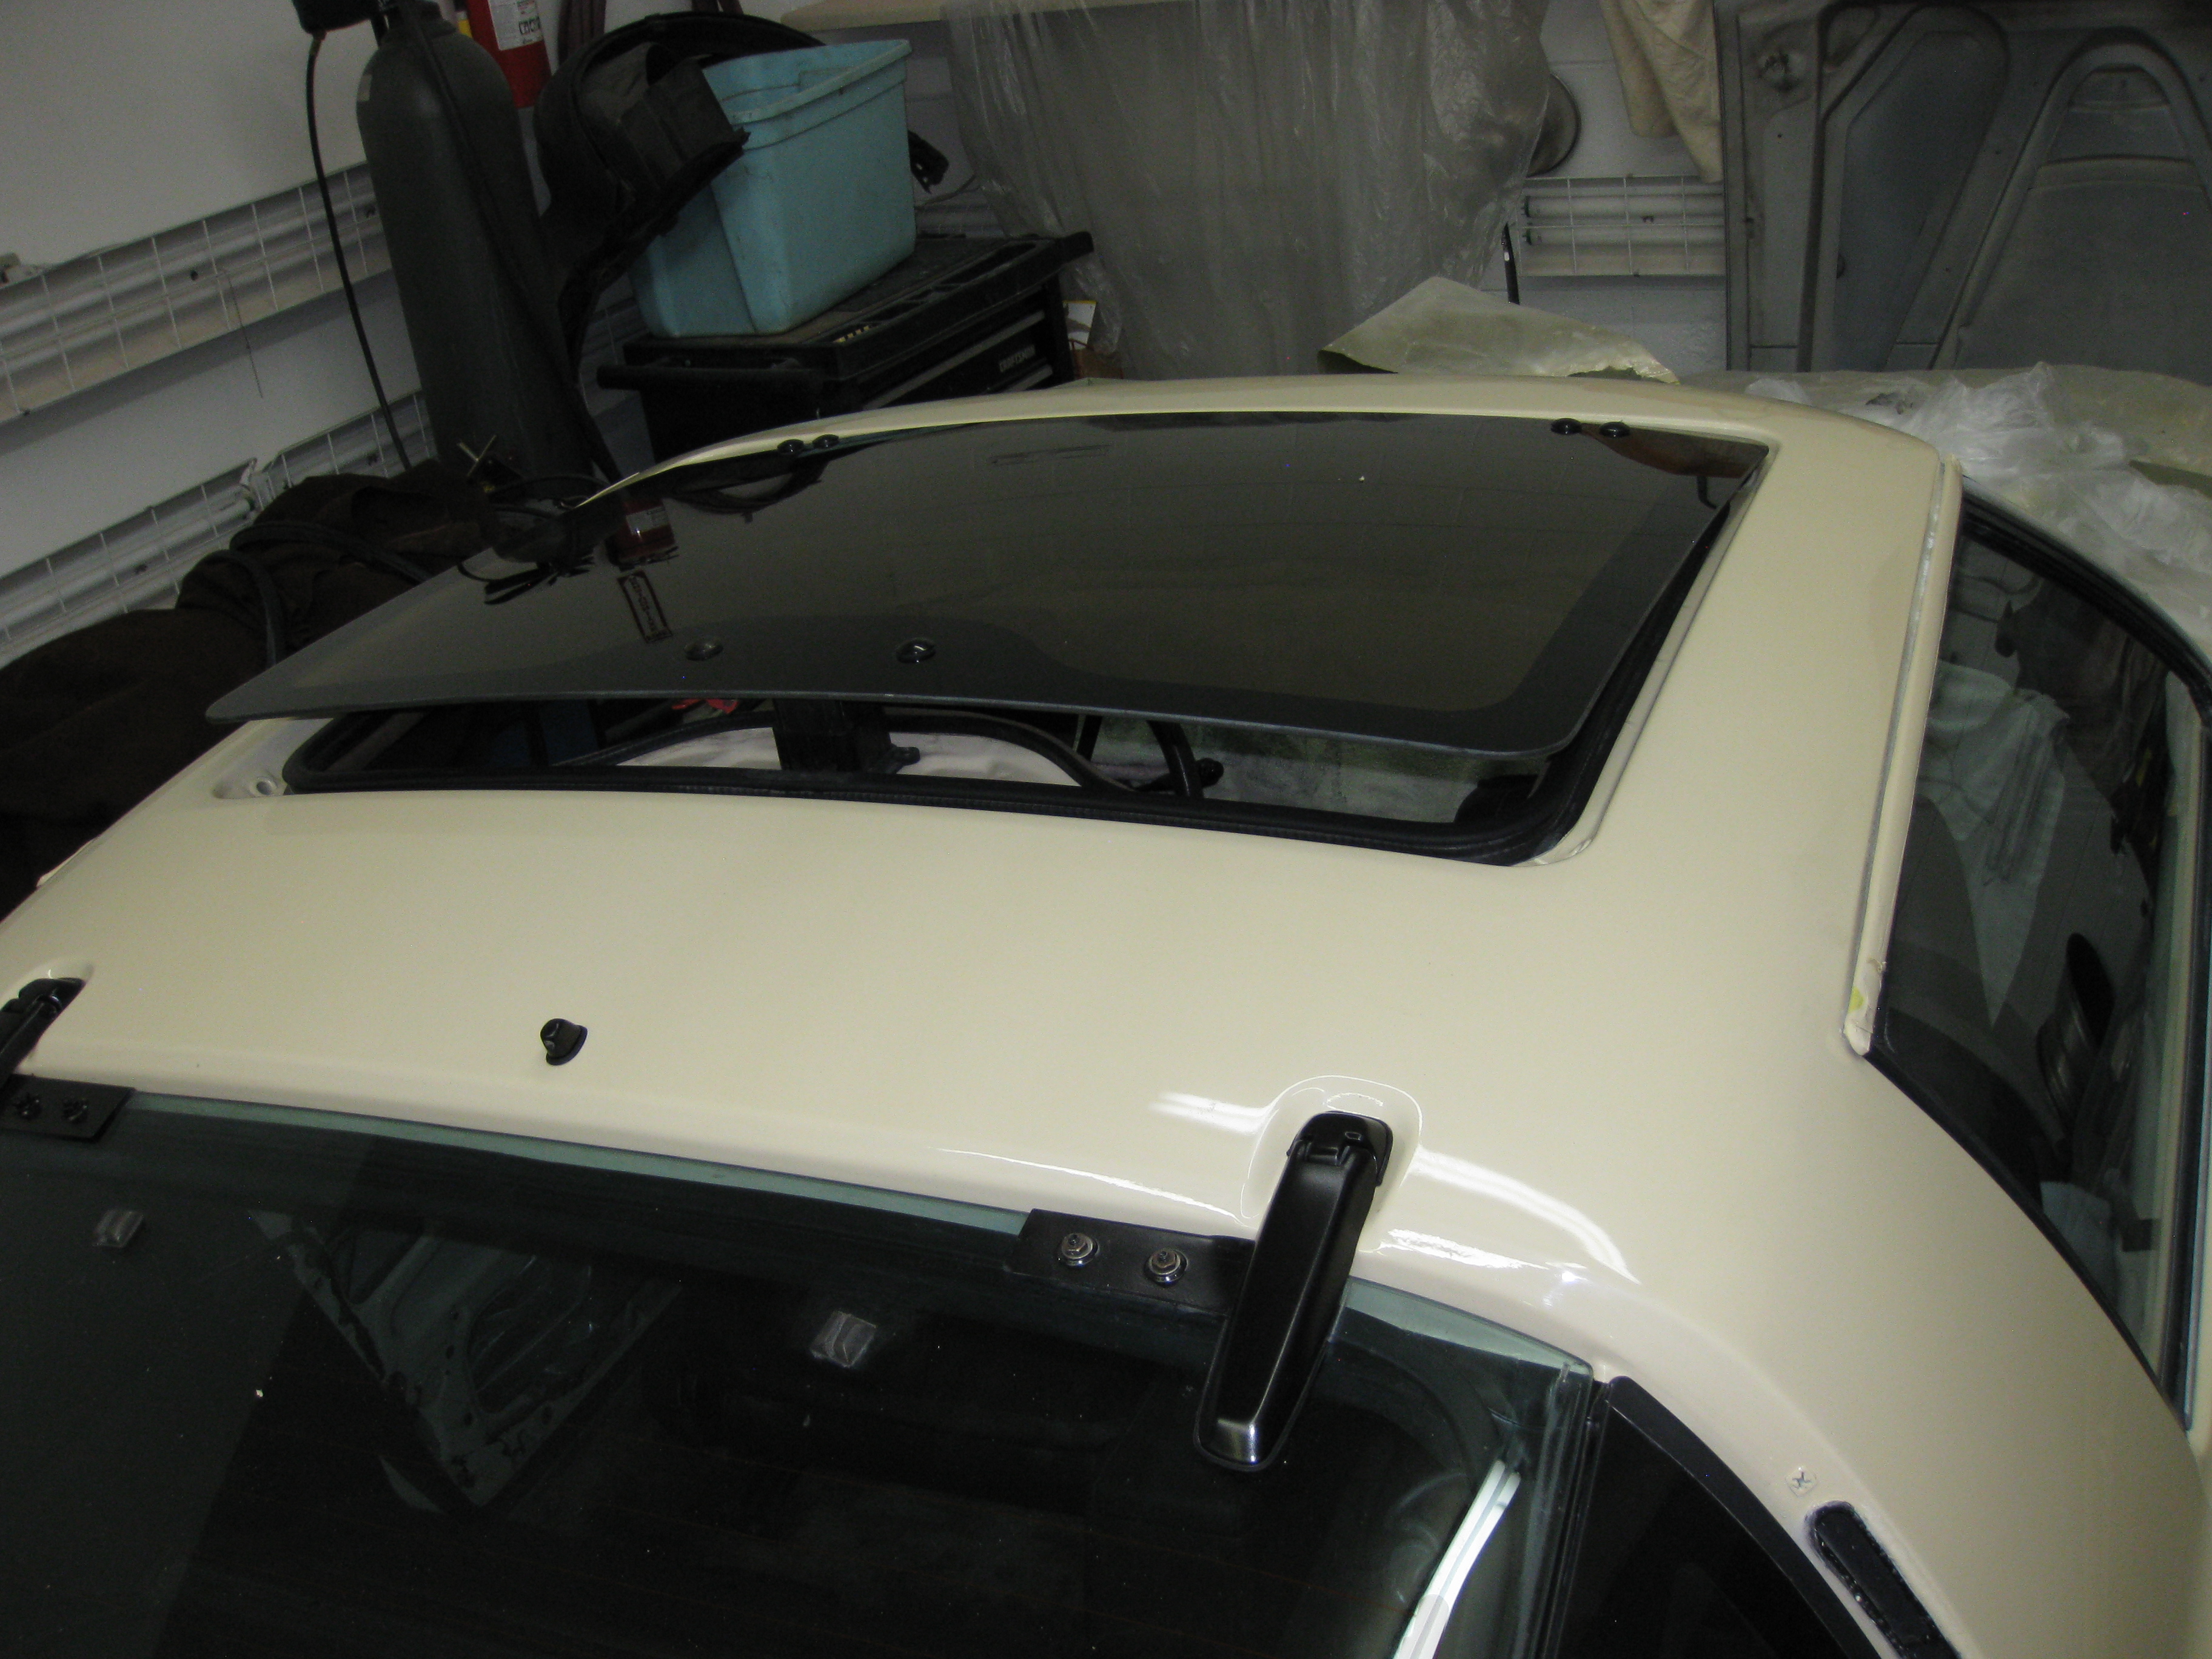
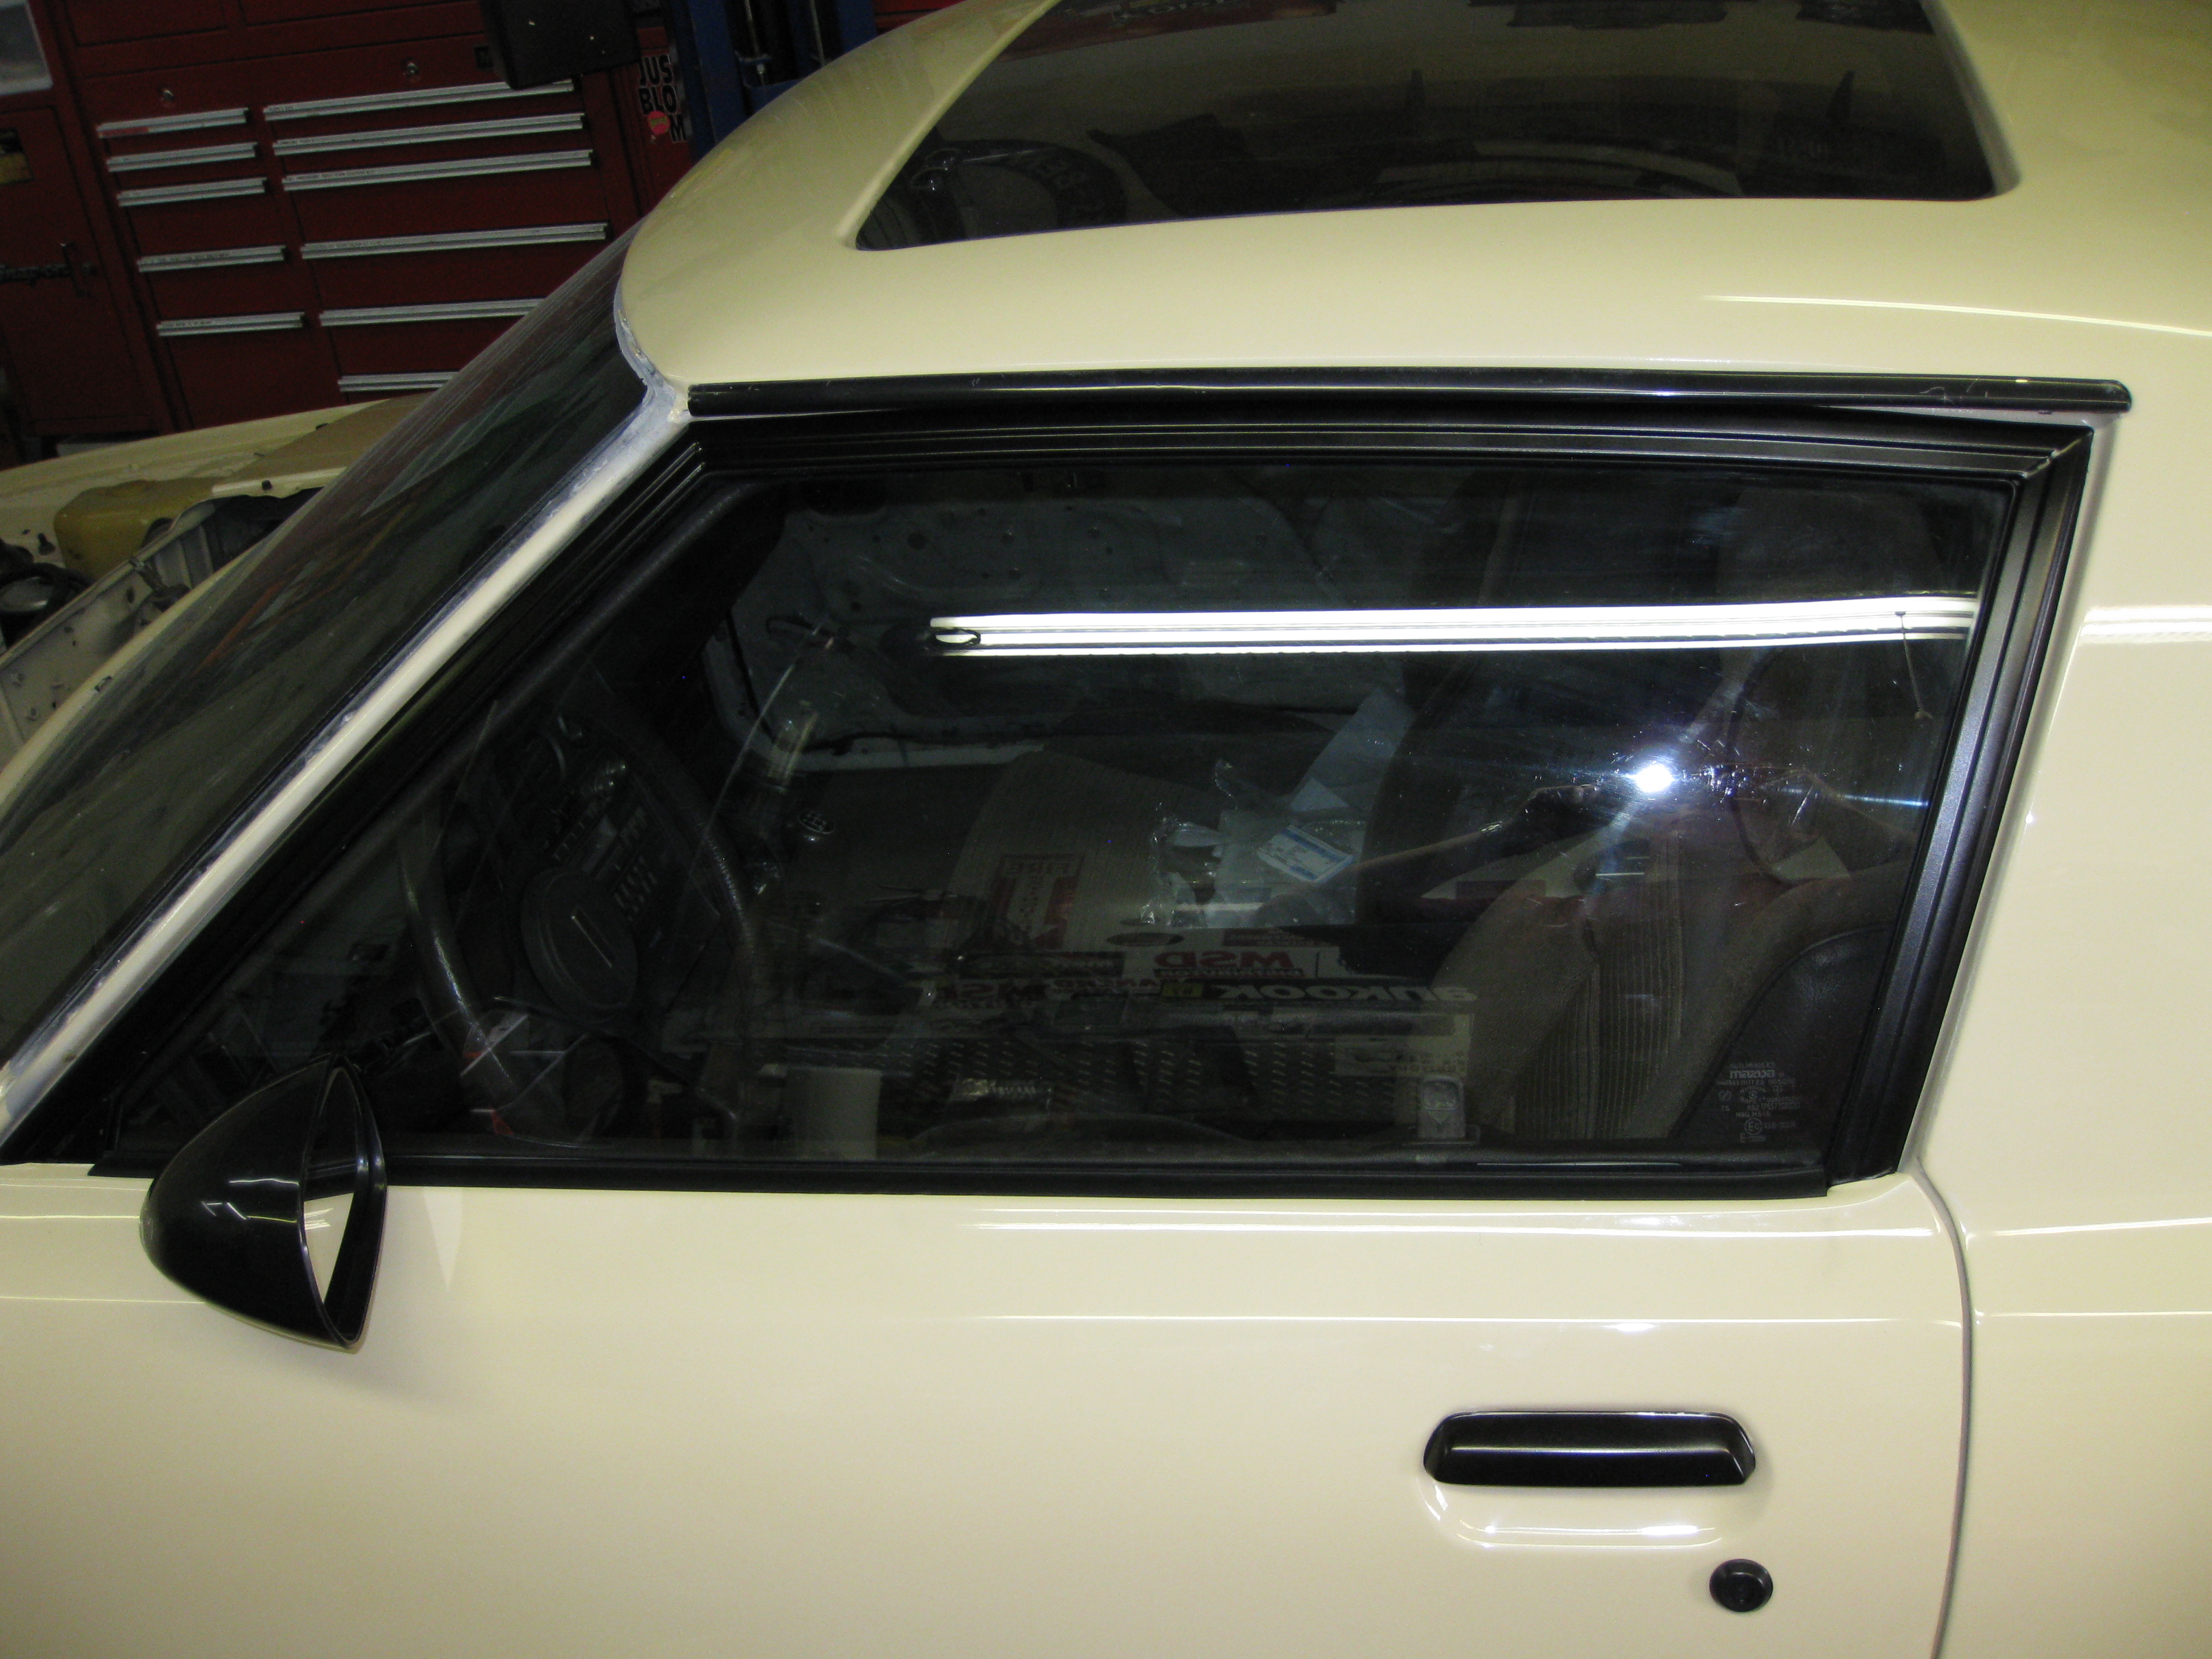
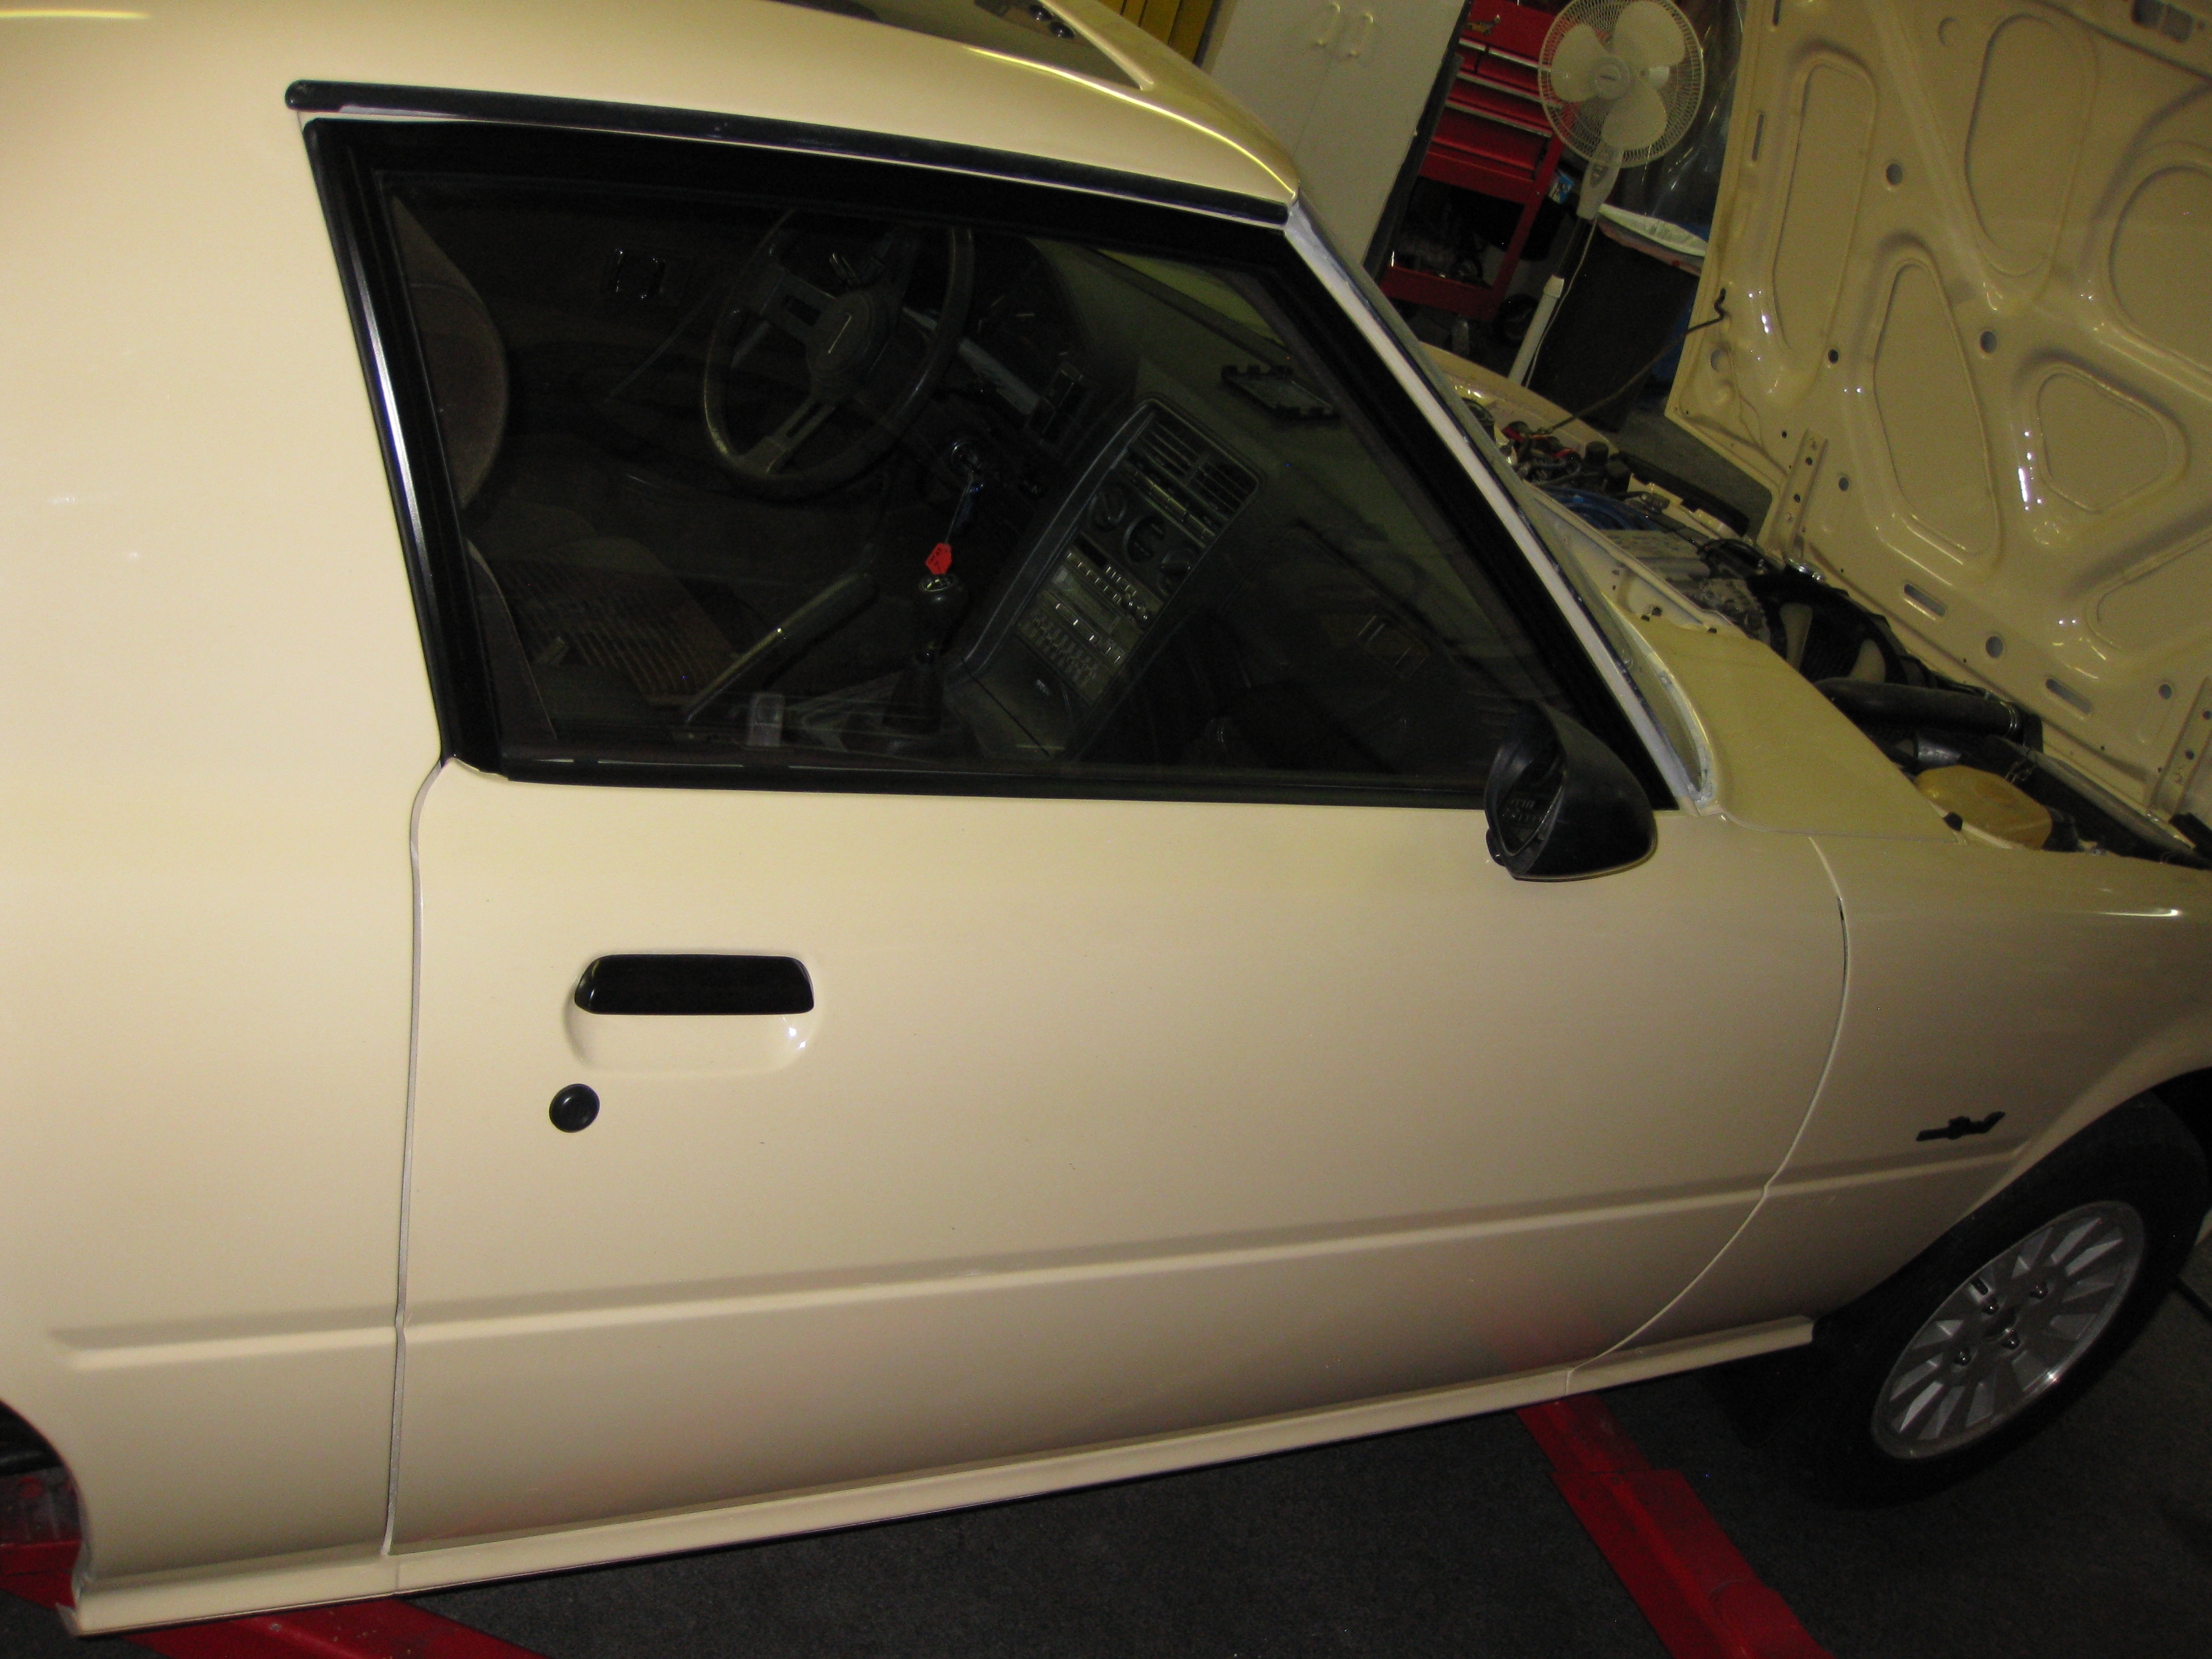
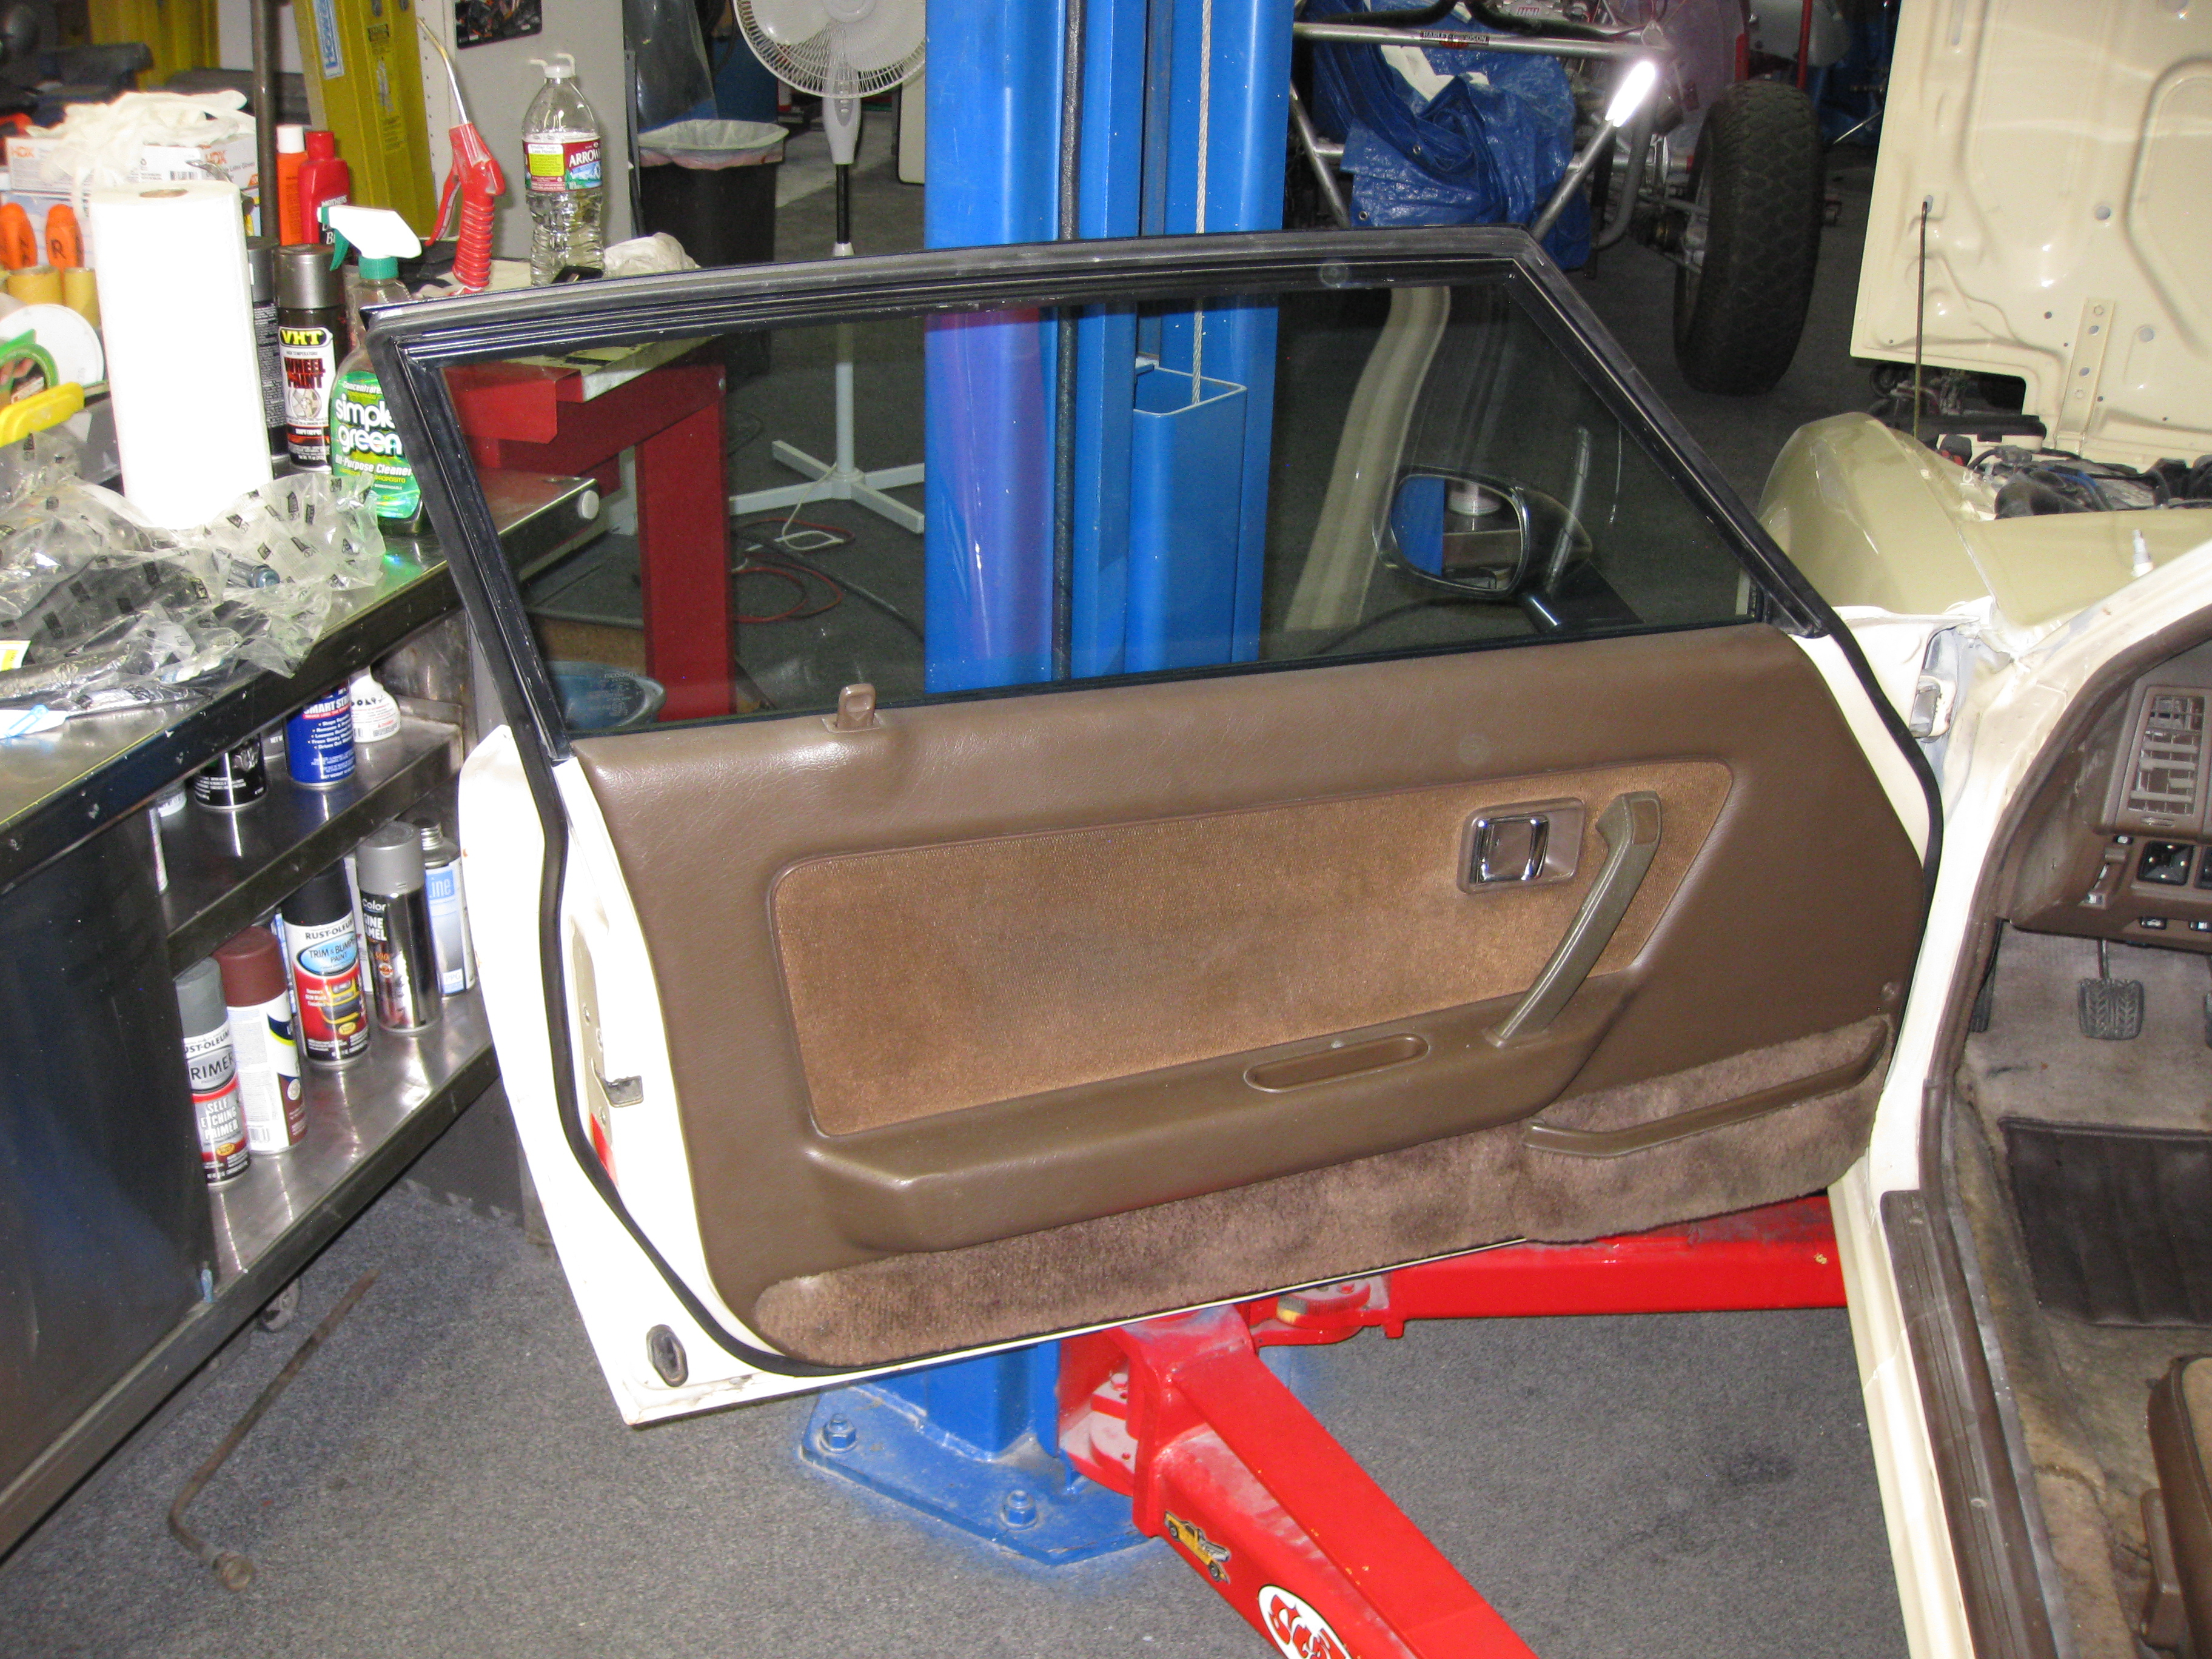
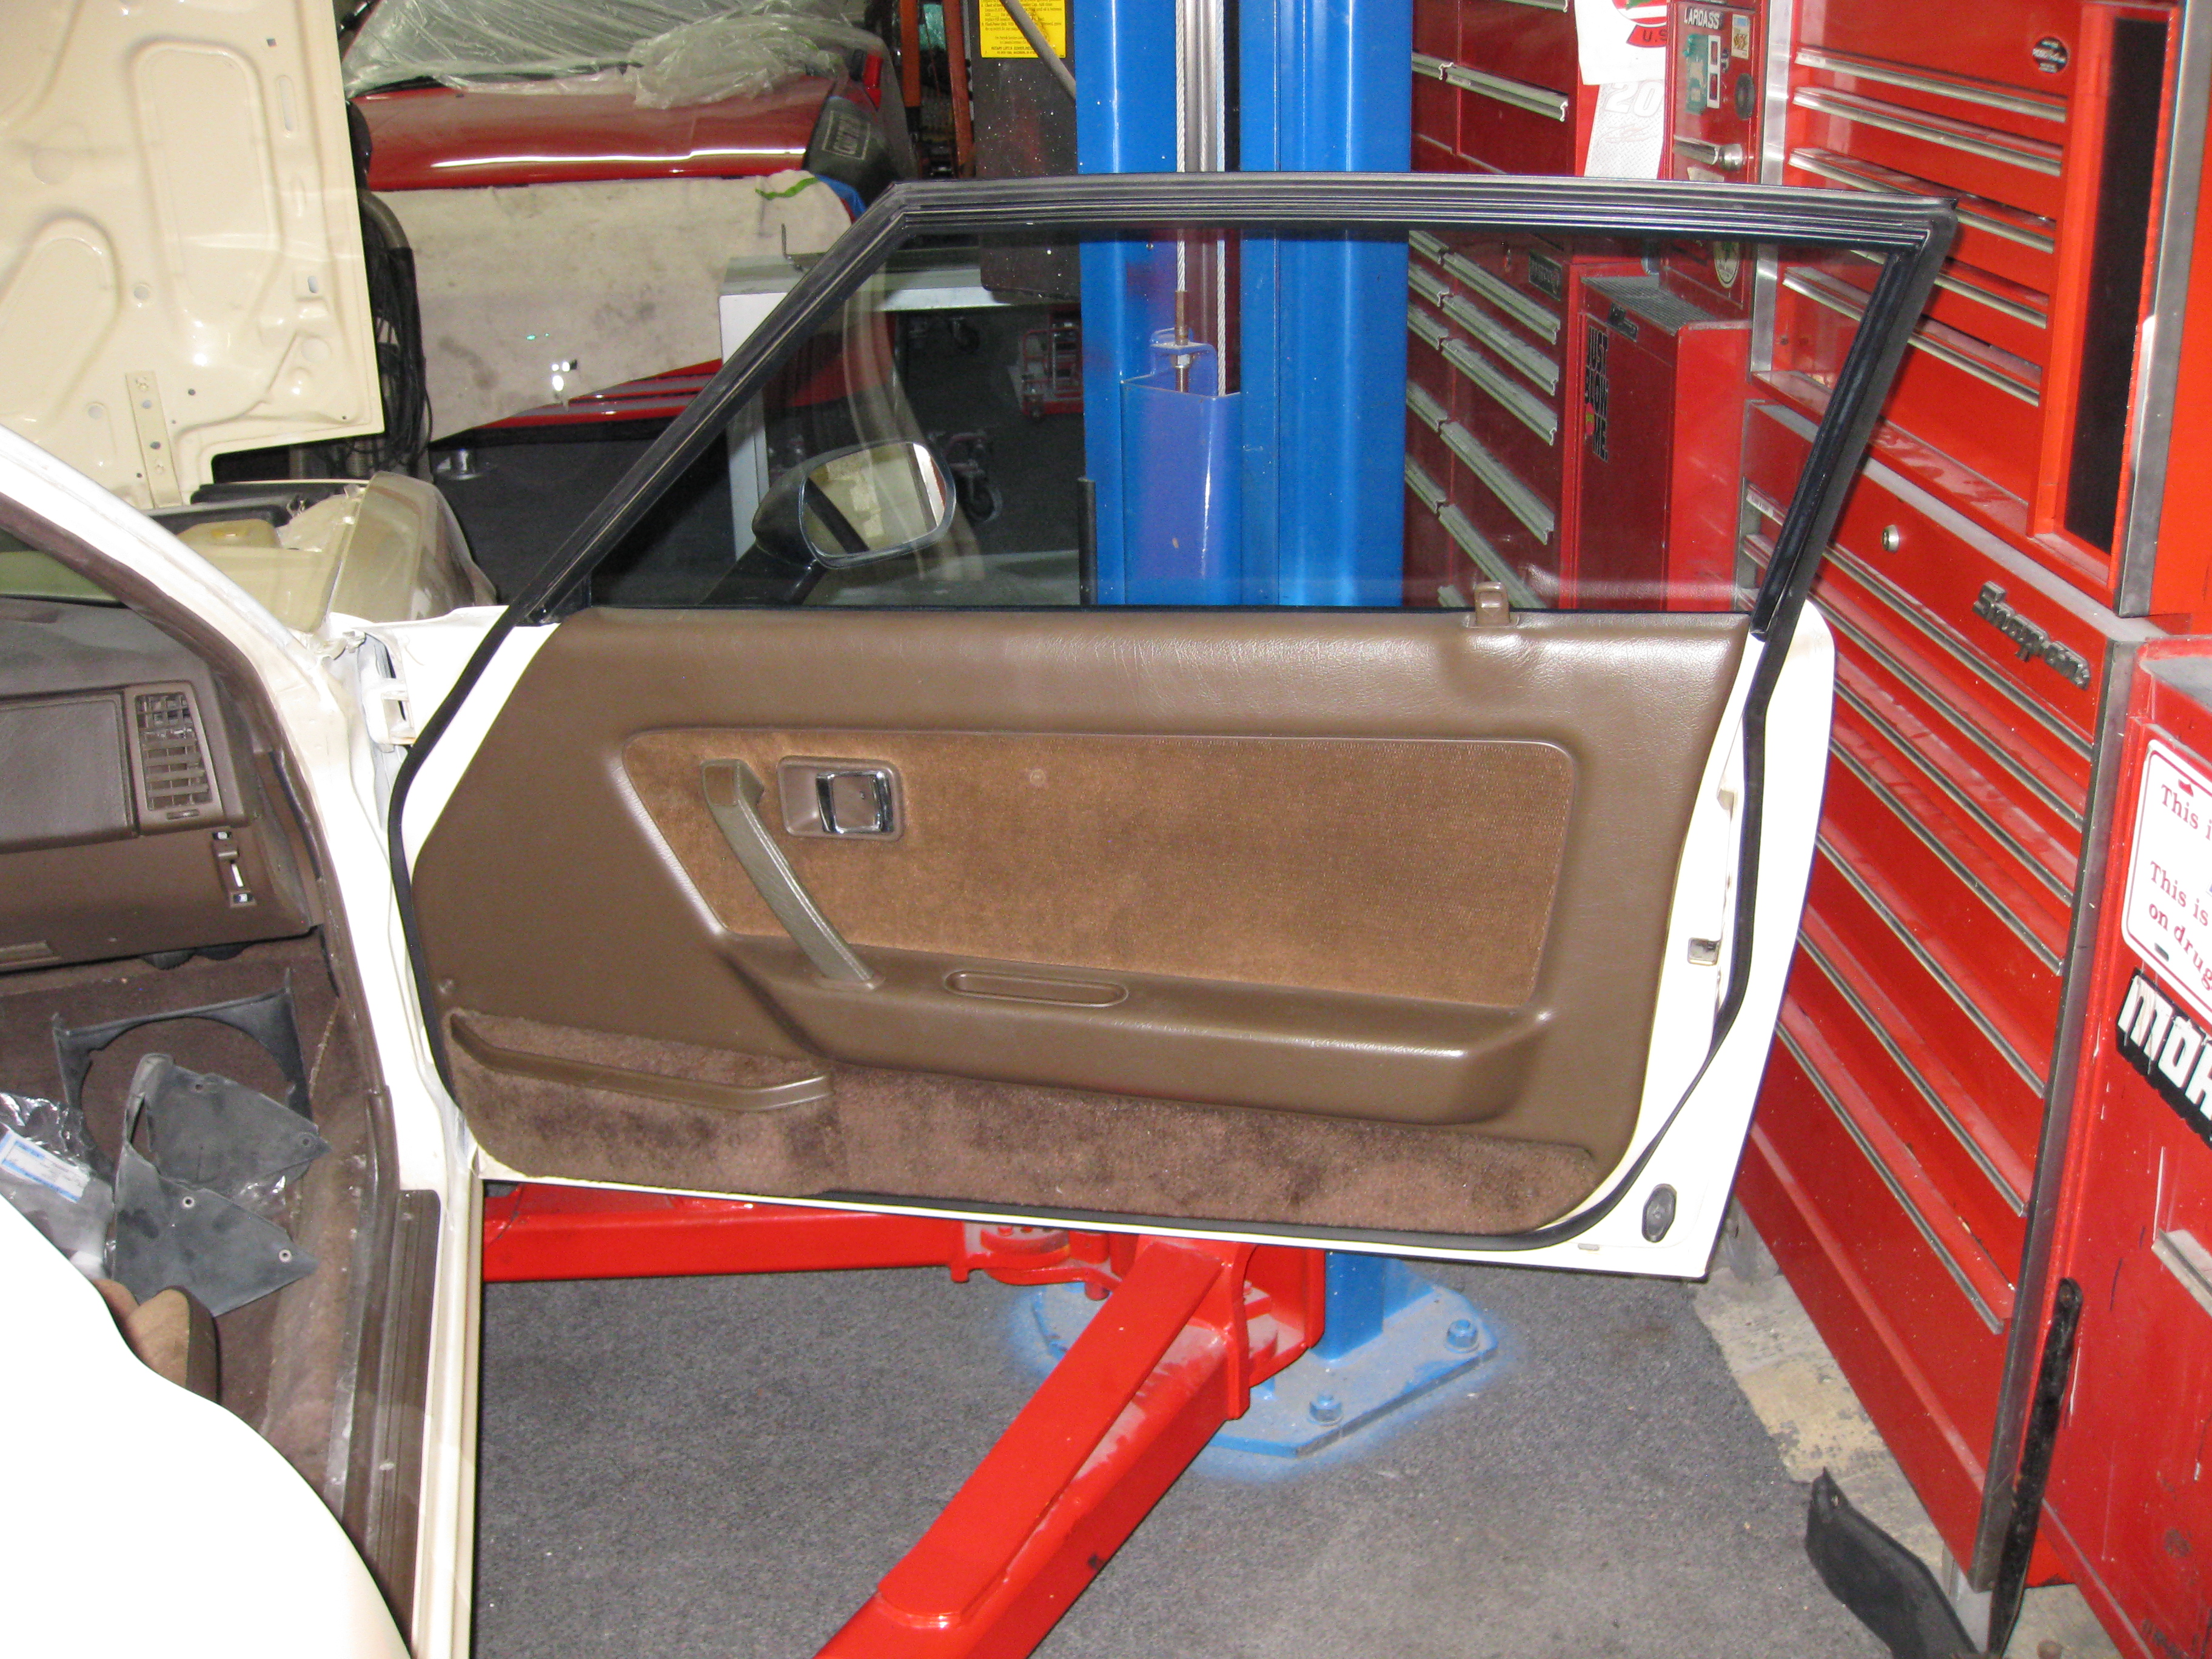
I installed all the remaining seals. The sunroof seal, door seals, window
channels, and the inner and outer window seals. I also installed the mirrors and
the door panels. I cleaned the door edges and adjusted the windows as well.
I installed all the remaining seals. The sunroof seal, door seals, window
channels, and the inner and outer window seals. I also installed the mirrors and
the door panels. I cleaned the door edges and adjusted the windows as well.
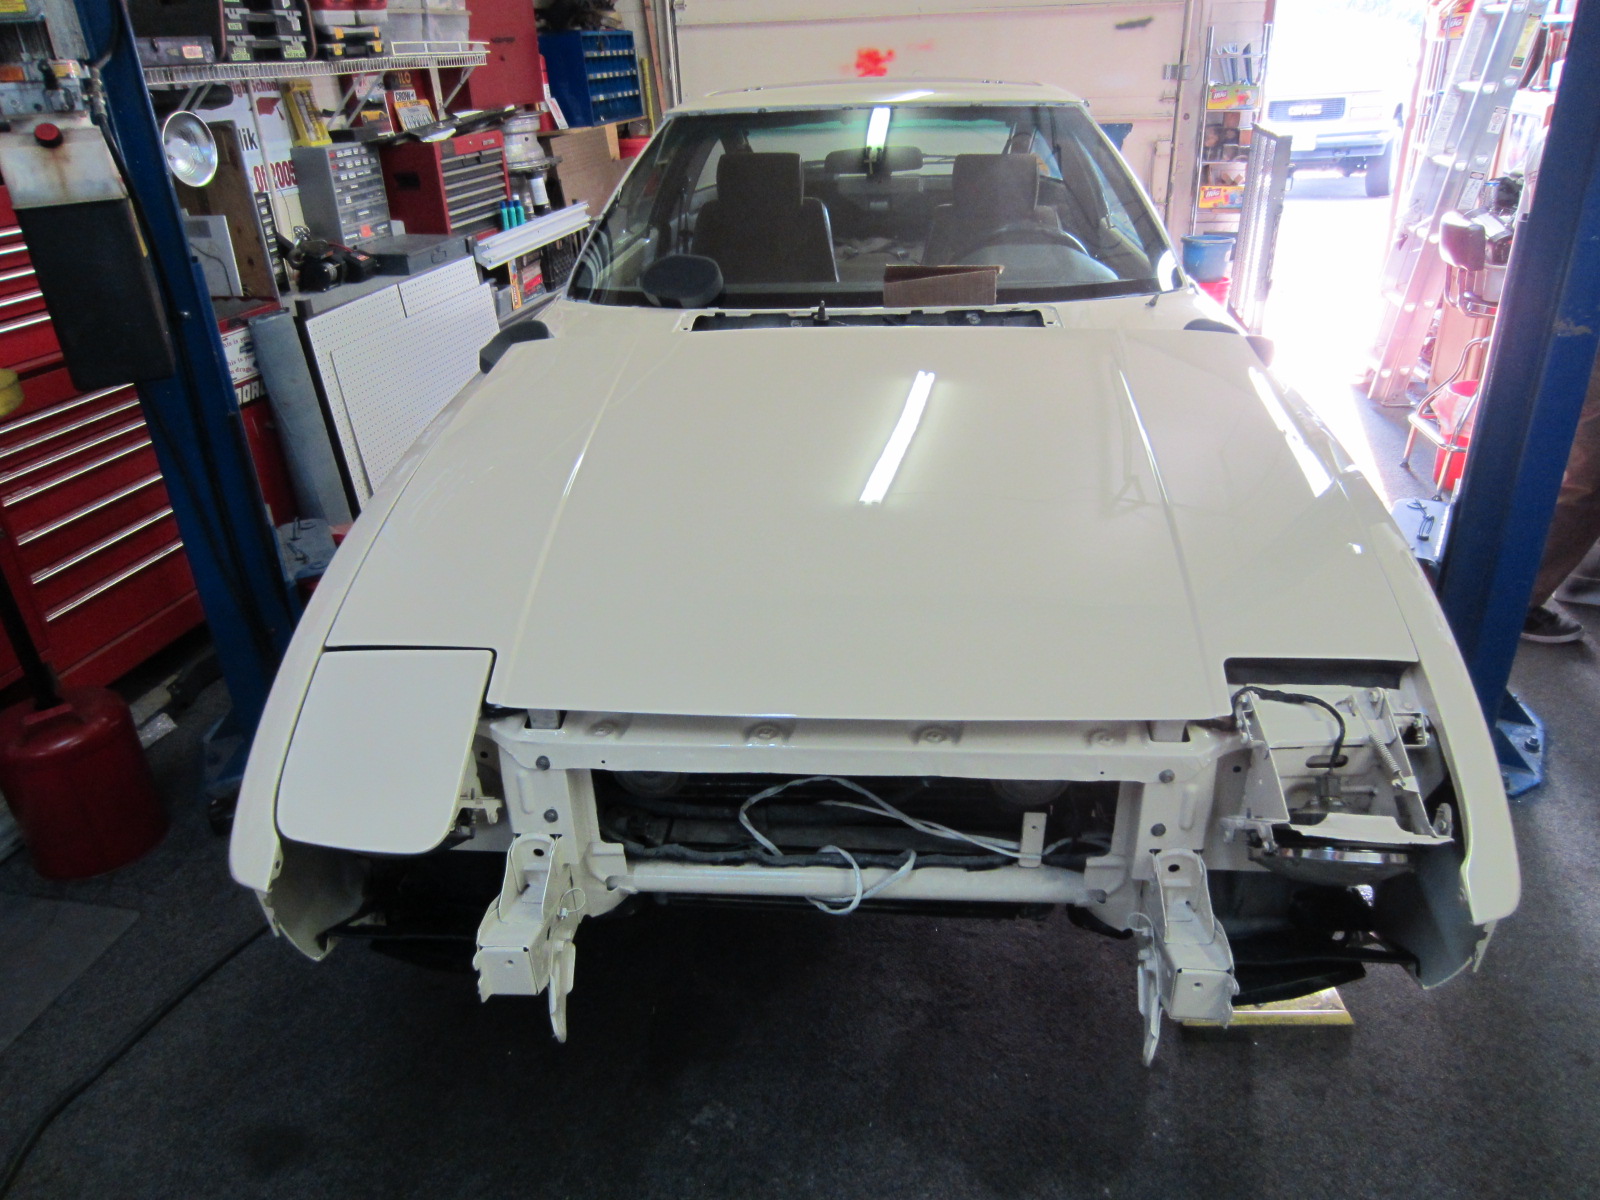
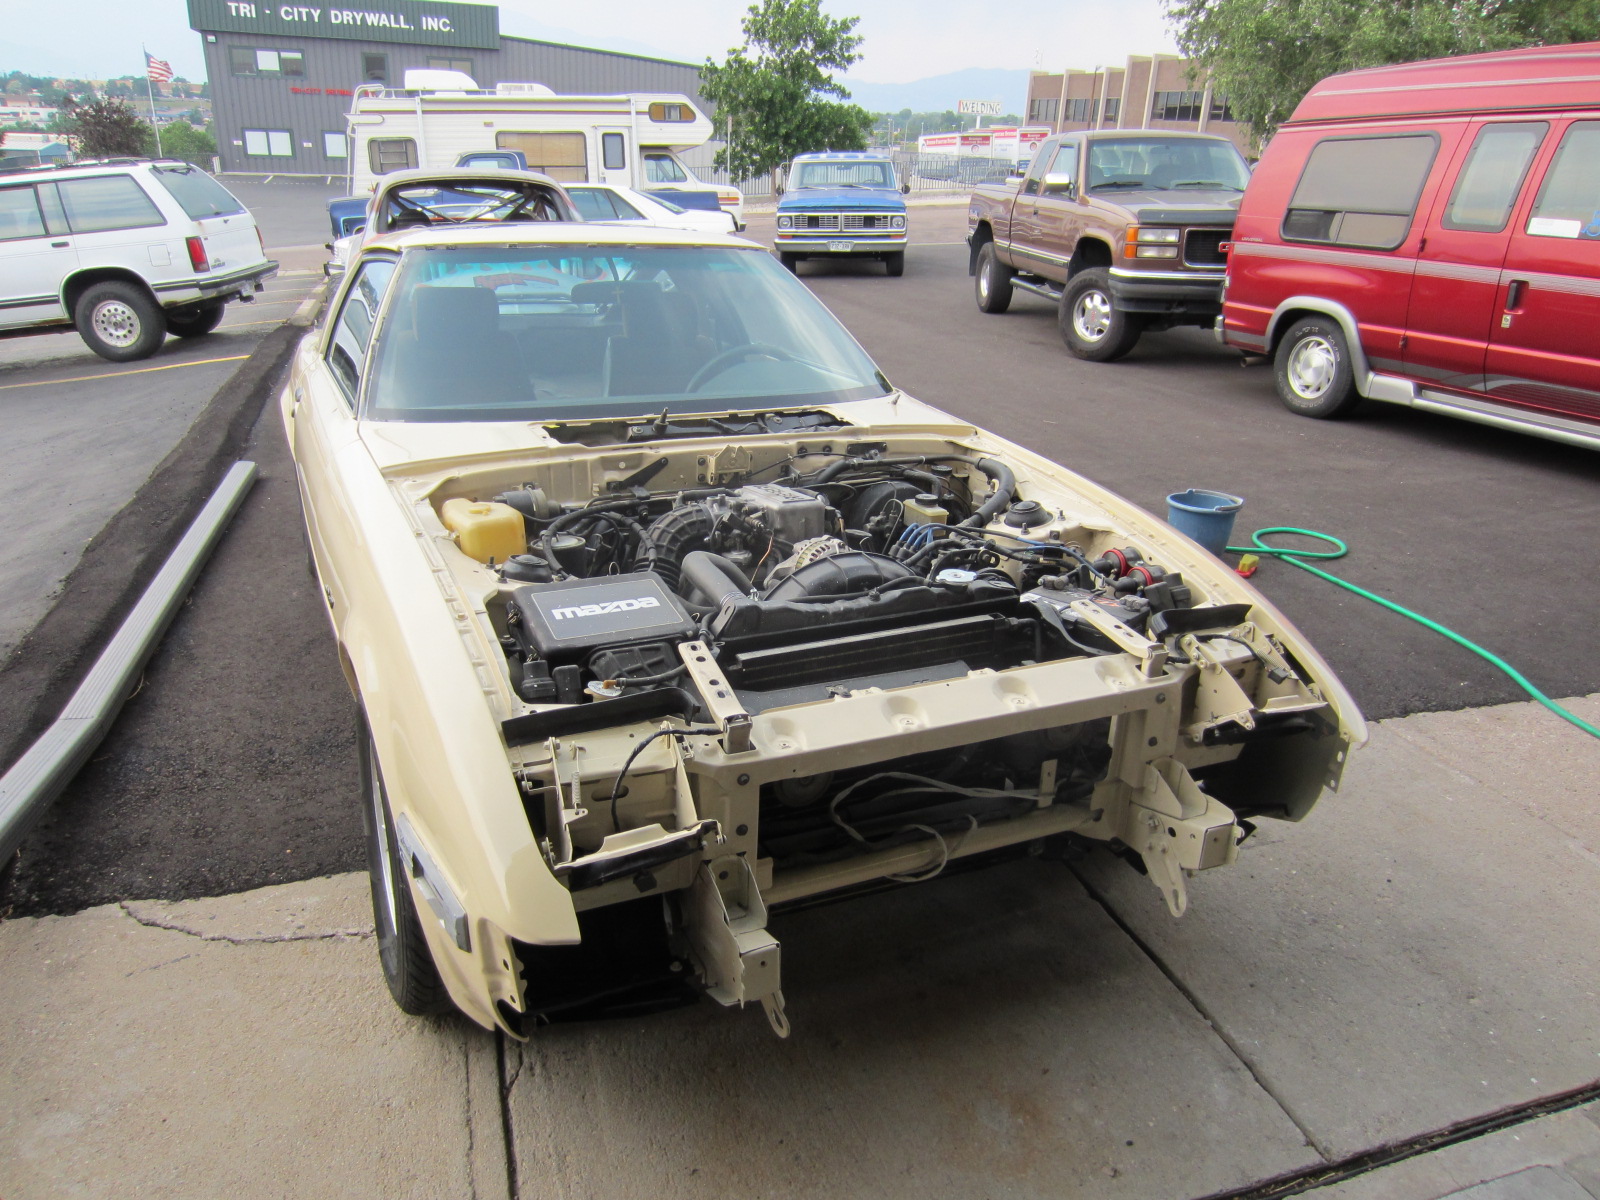
The front end is all back together except the bumper and under tray. The hood and cowl are all adjusted. As soon as the front bumper is installed, we can finish up the install of body parts.

I worked on the car for about five hours on Saturday.
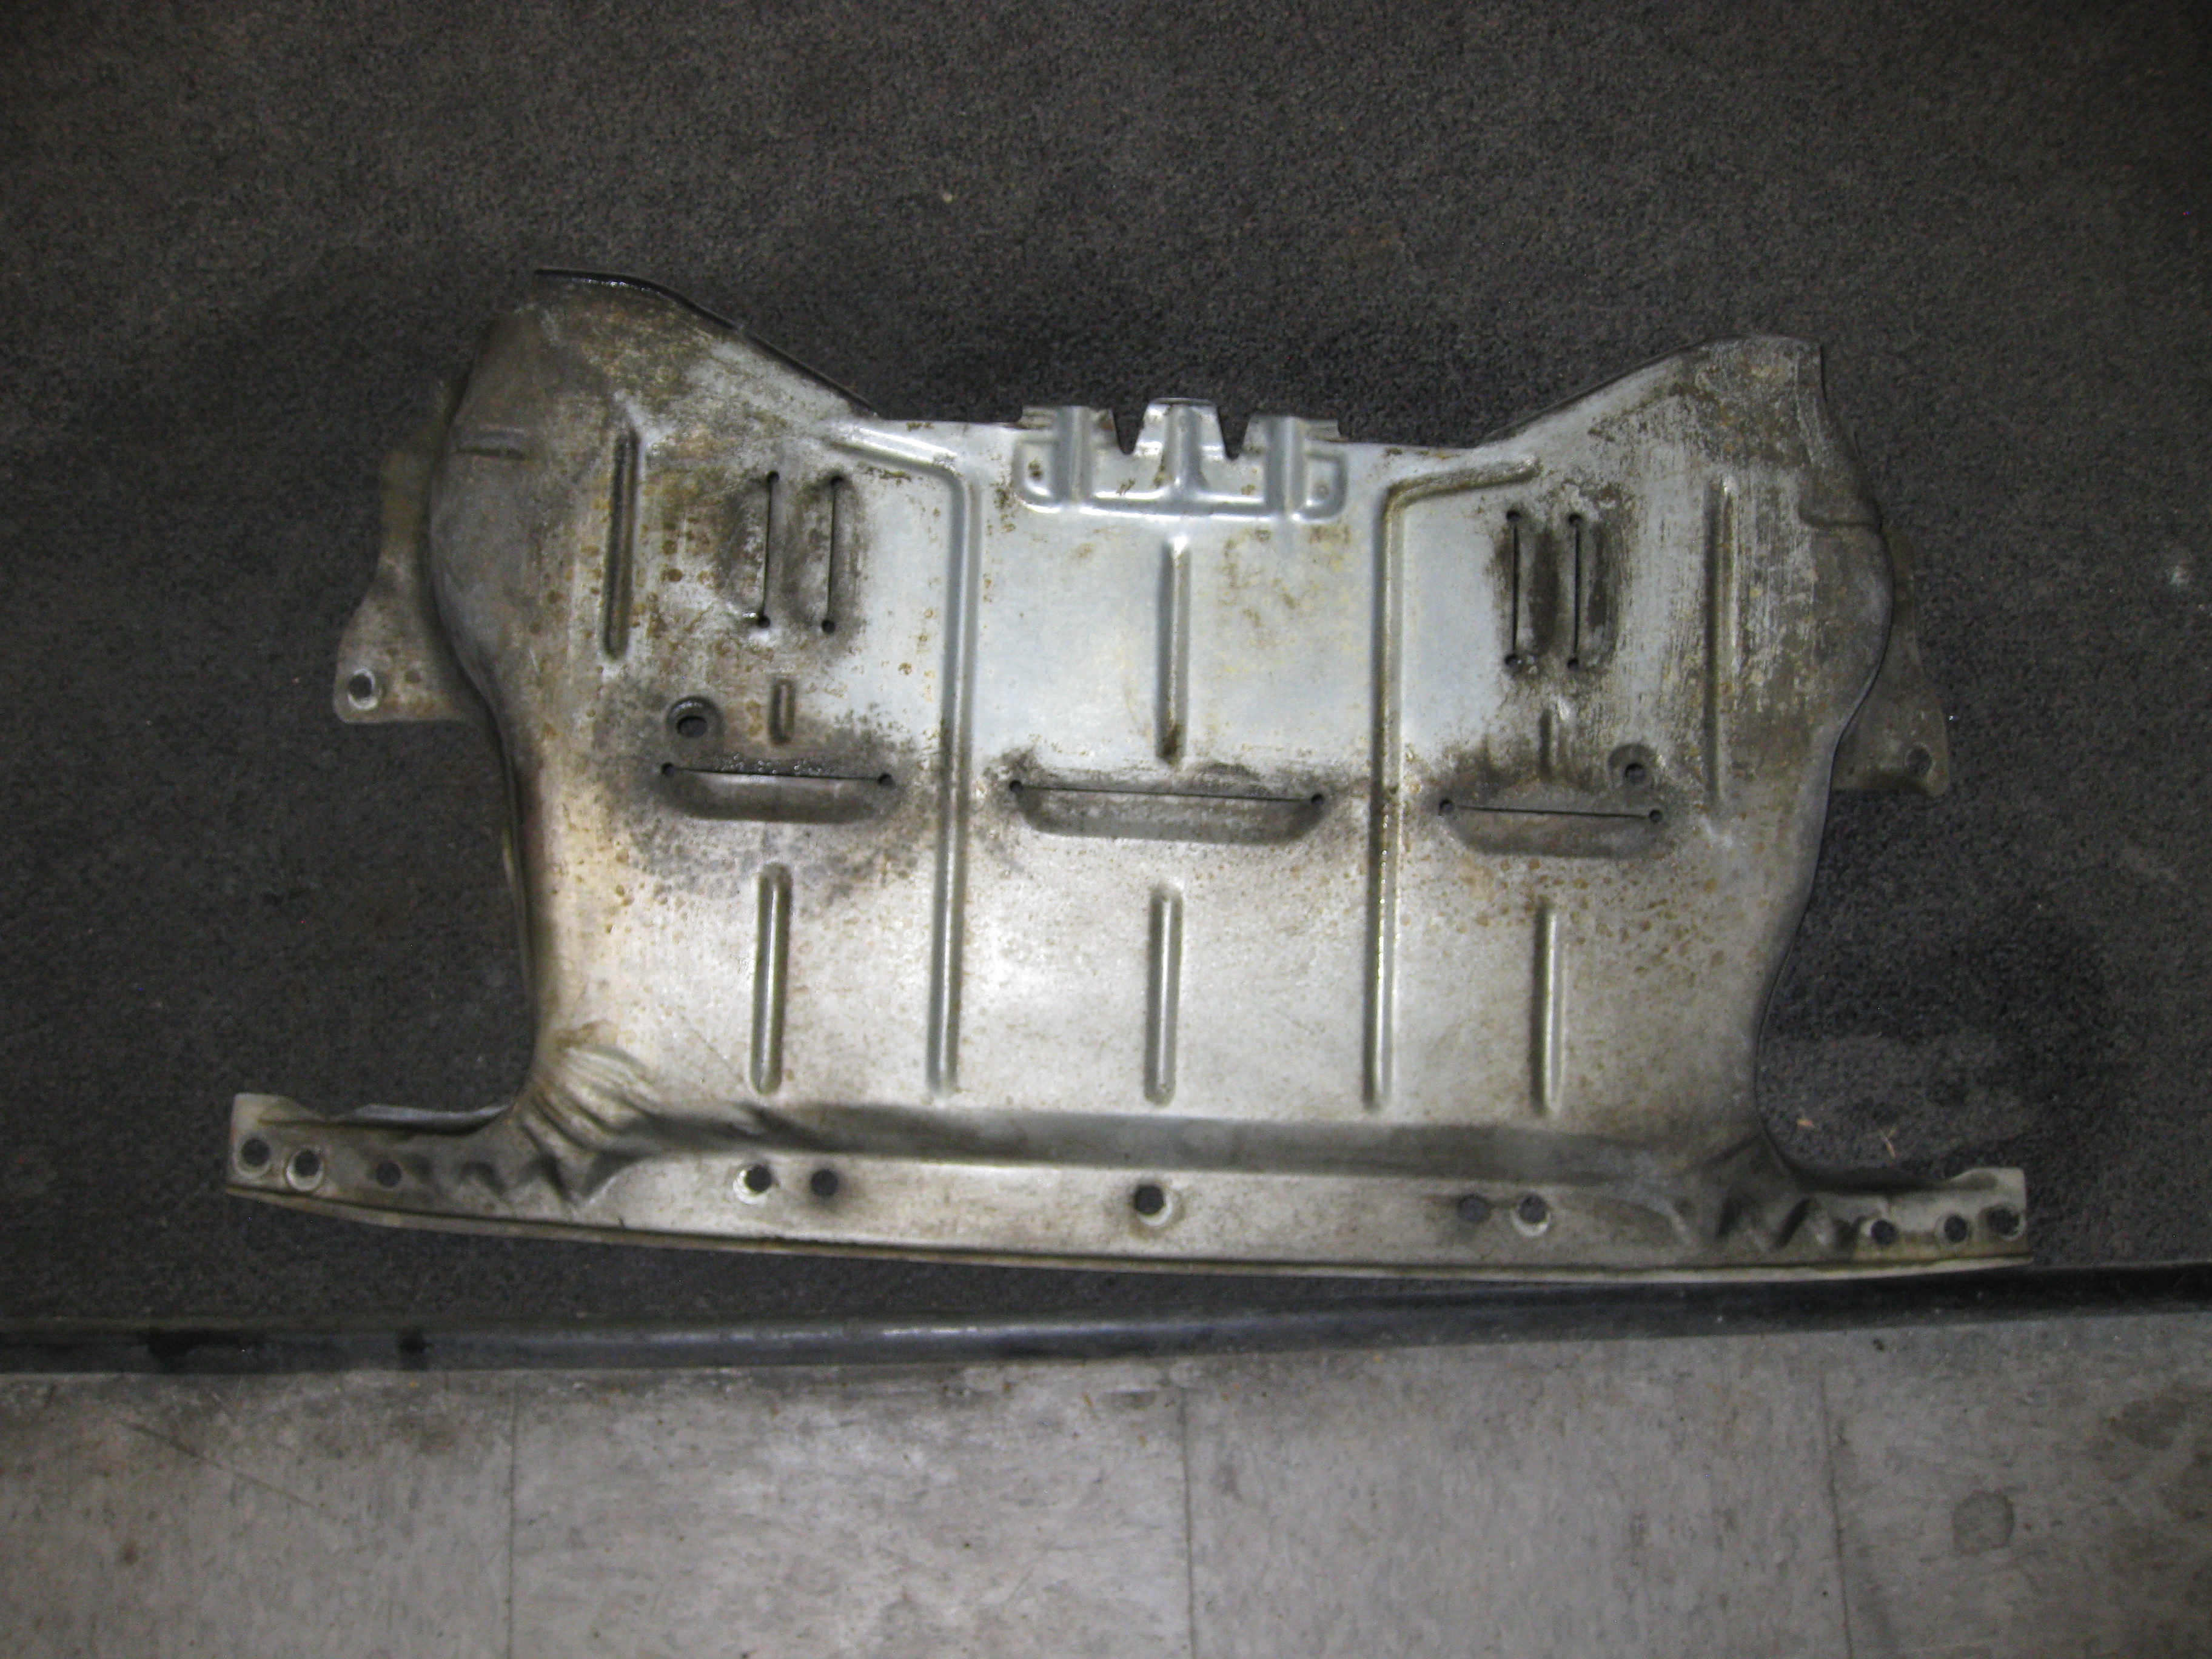
I cleaned and painted the salvage yard under tray. There was a lot of grease on the under tray but is was dent free.
After the cleaning was finished:
The under tray painted cast iron gray:
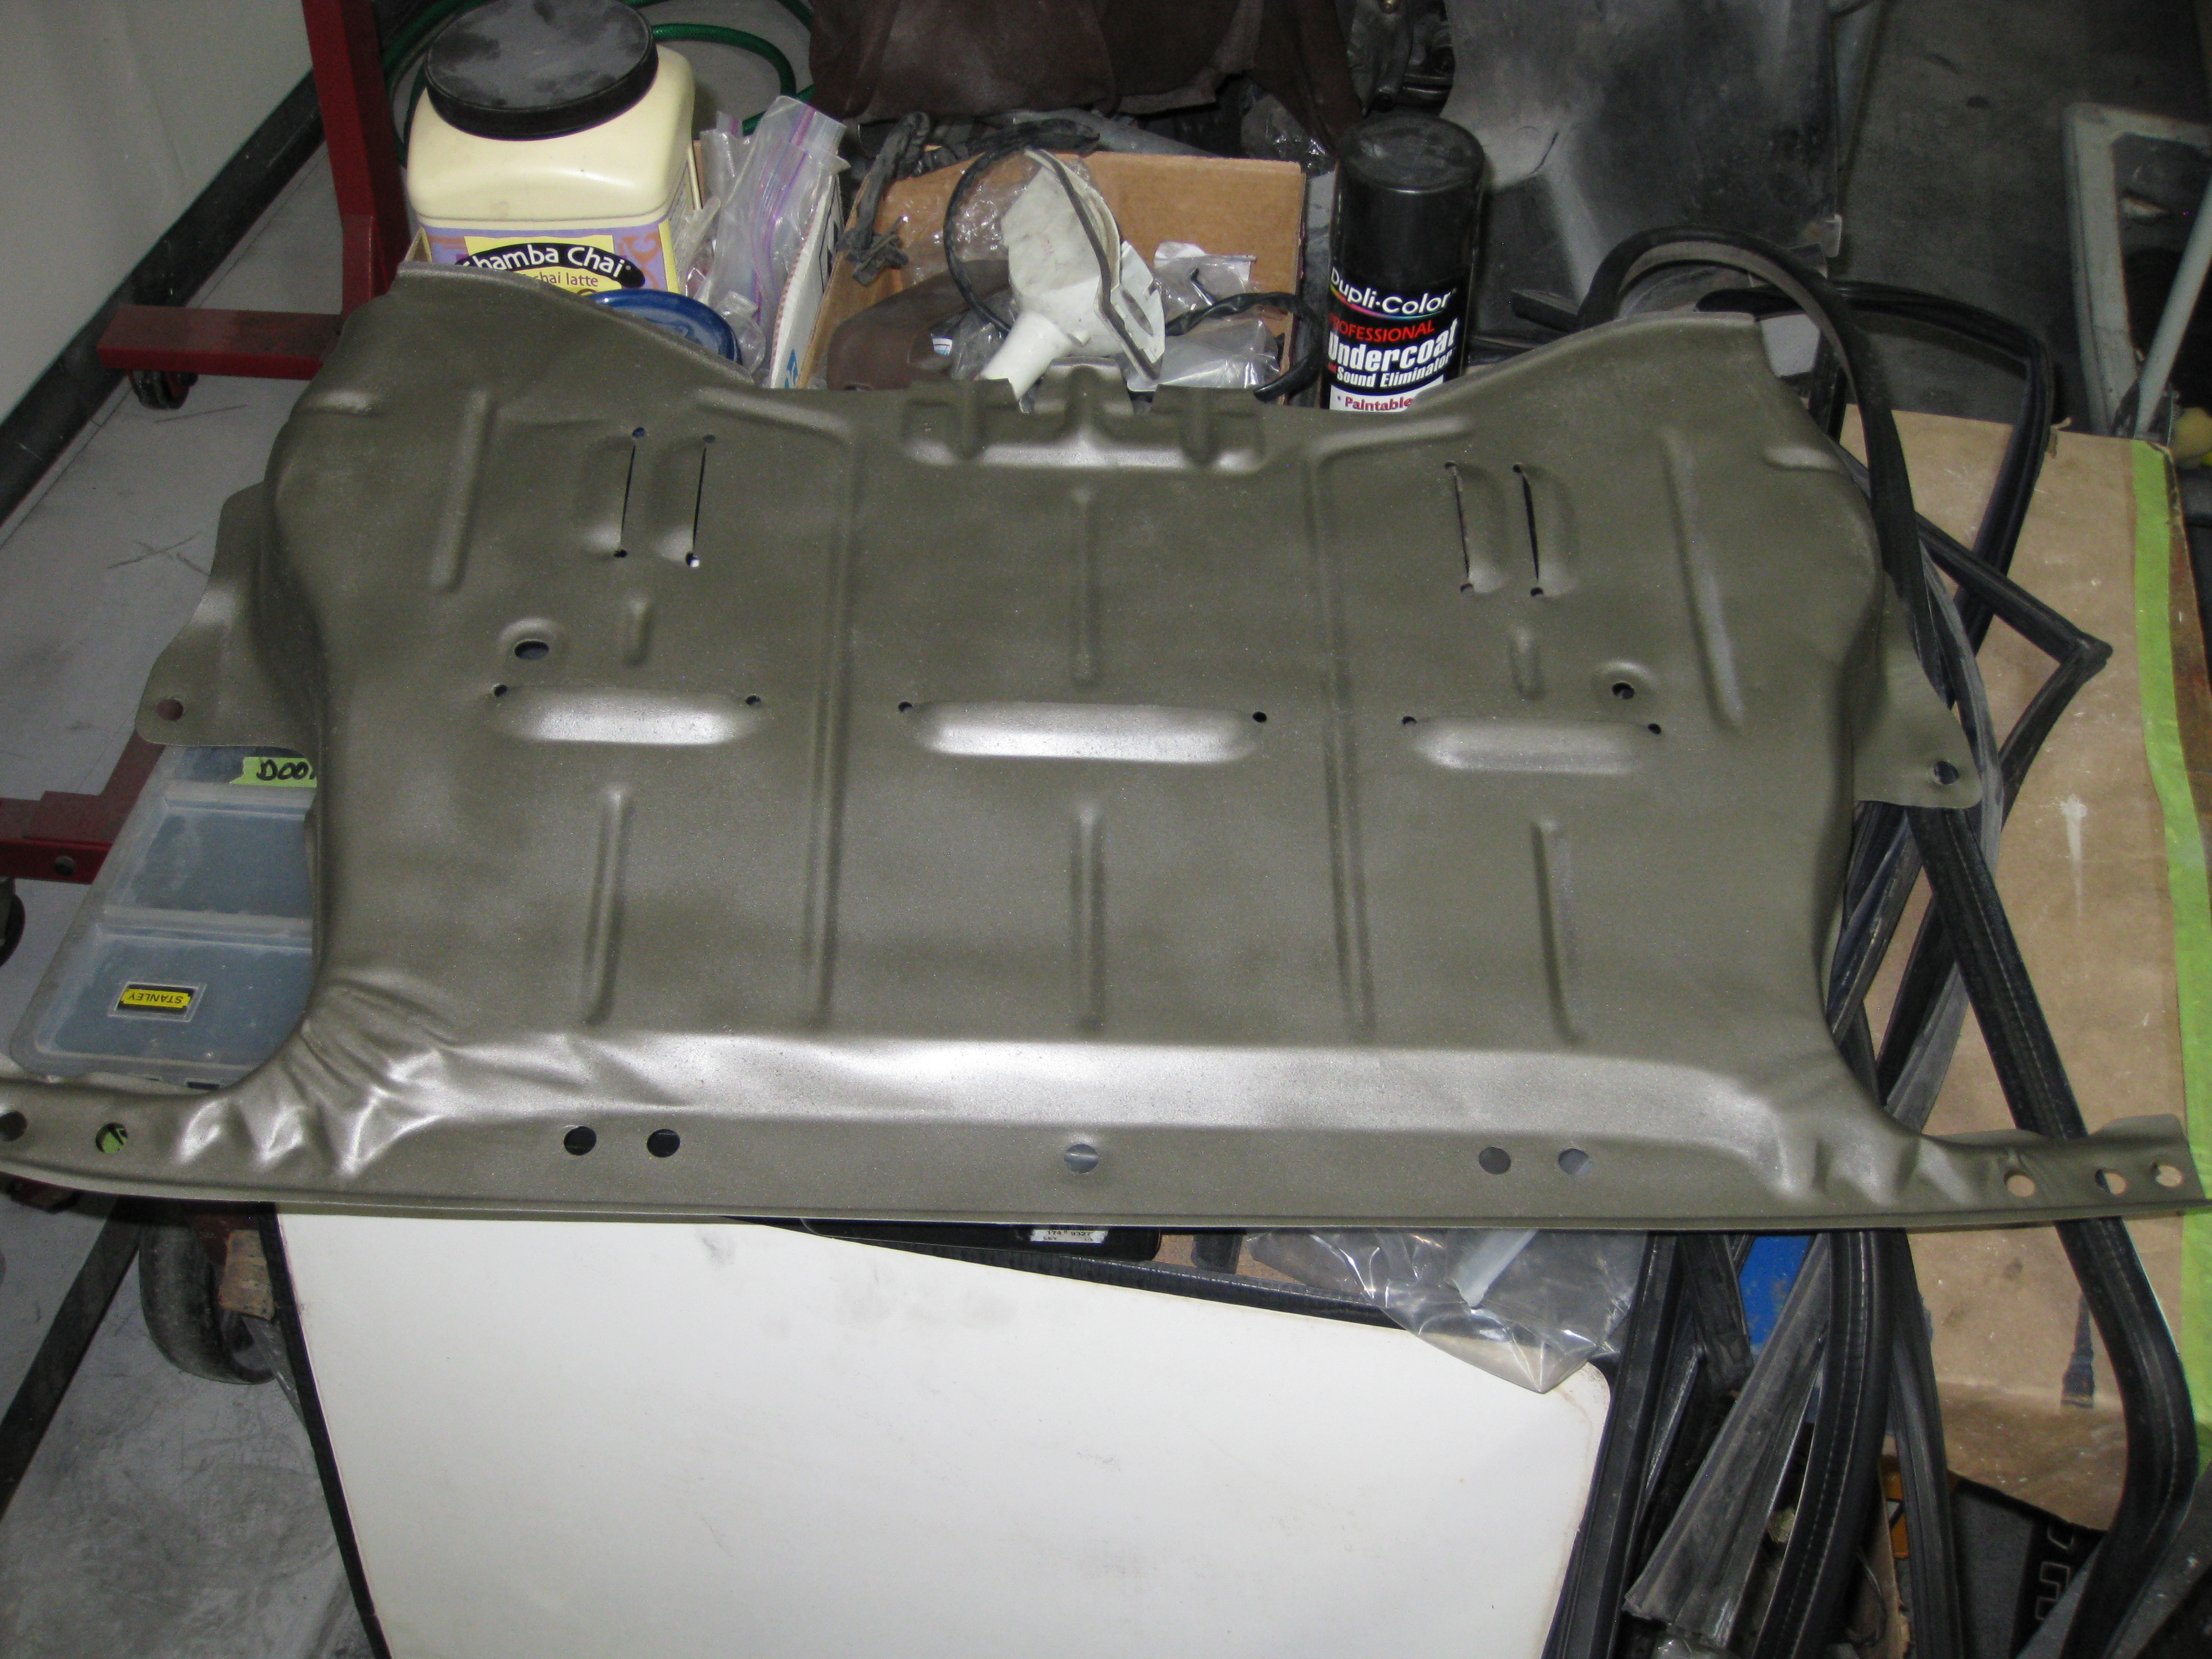
I will install the under tray after the bumper.
We installed the hood and cowl. The hood still needs it final adjustment. The right headlight lid is also installed and just needs a slight adjustment. The cowl was then removed for some extra buffing.
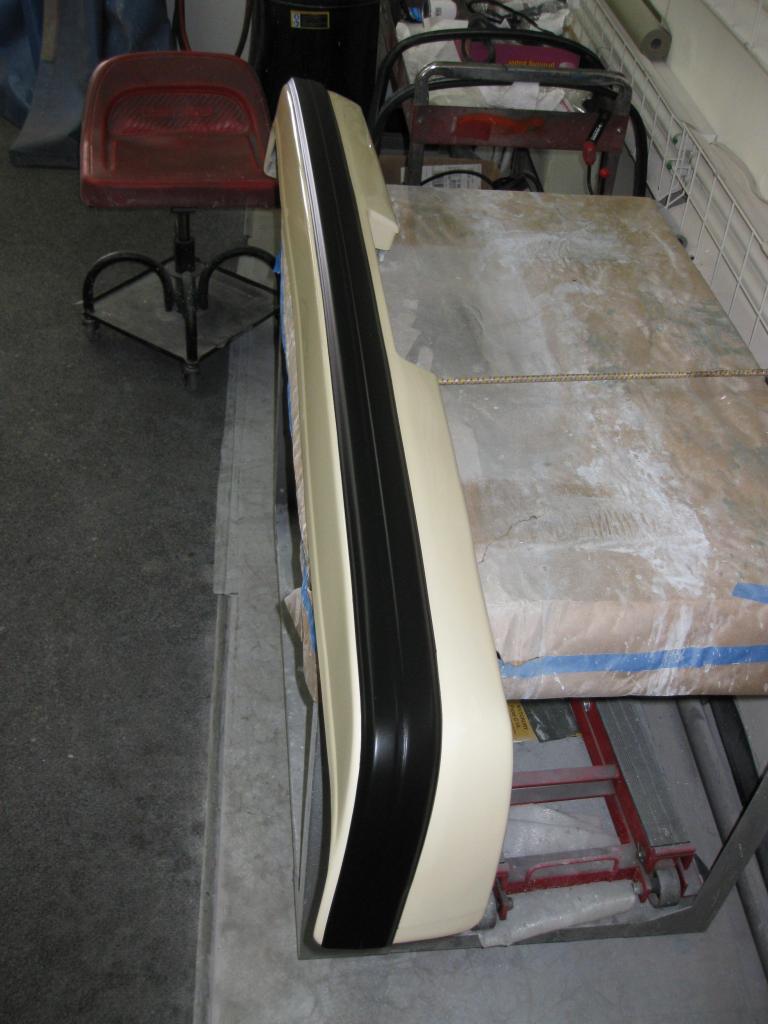
The bumper is primed and nearly ready to paint. There is one small spot that needs some more filling and sanding.
The lower valance is textured, primed and sealed. The color and clear will go on later today. The valance will be ready to installed tomorrow.
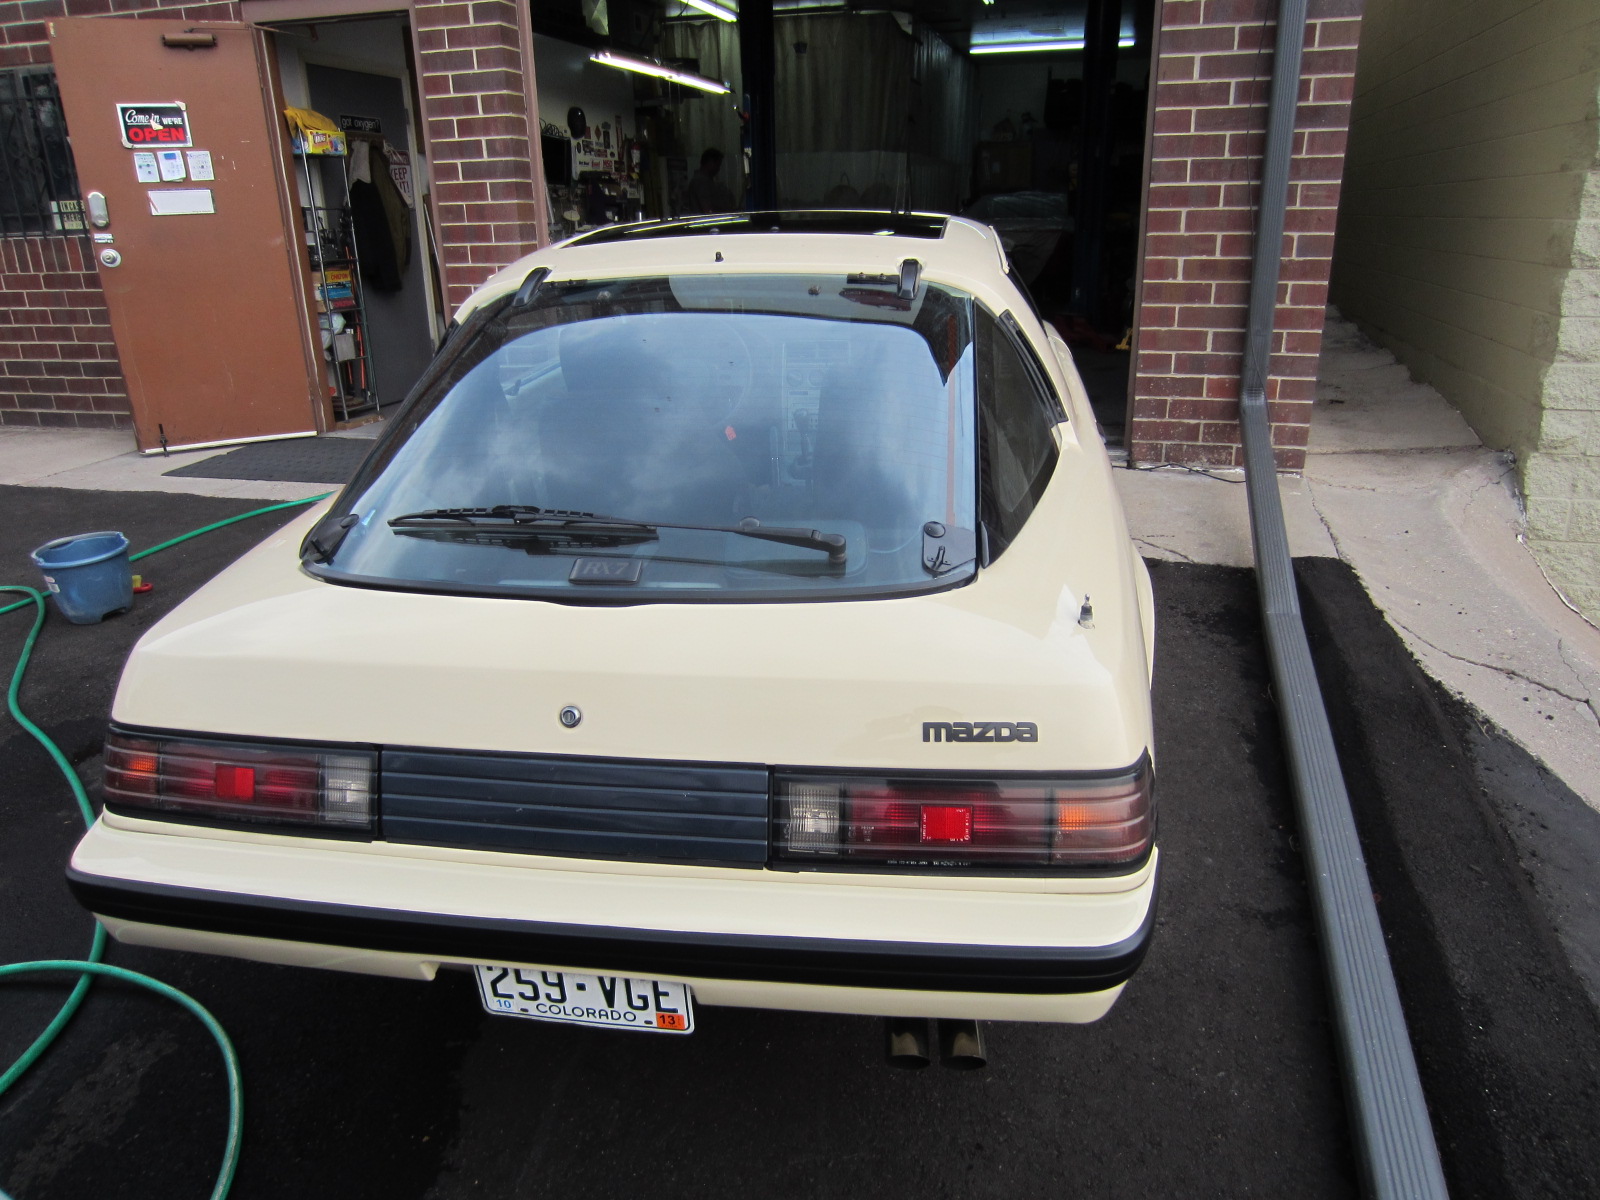
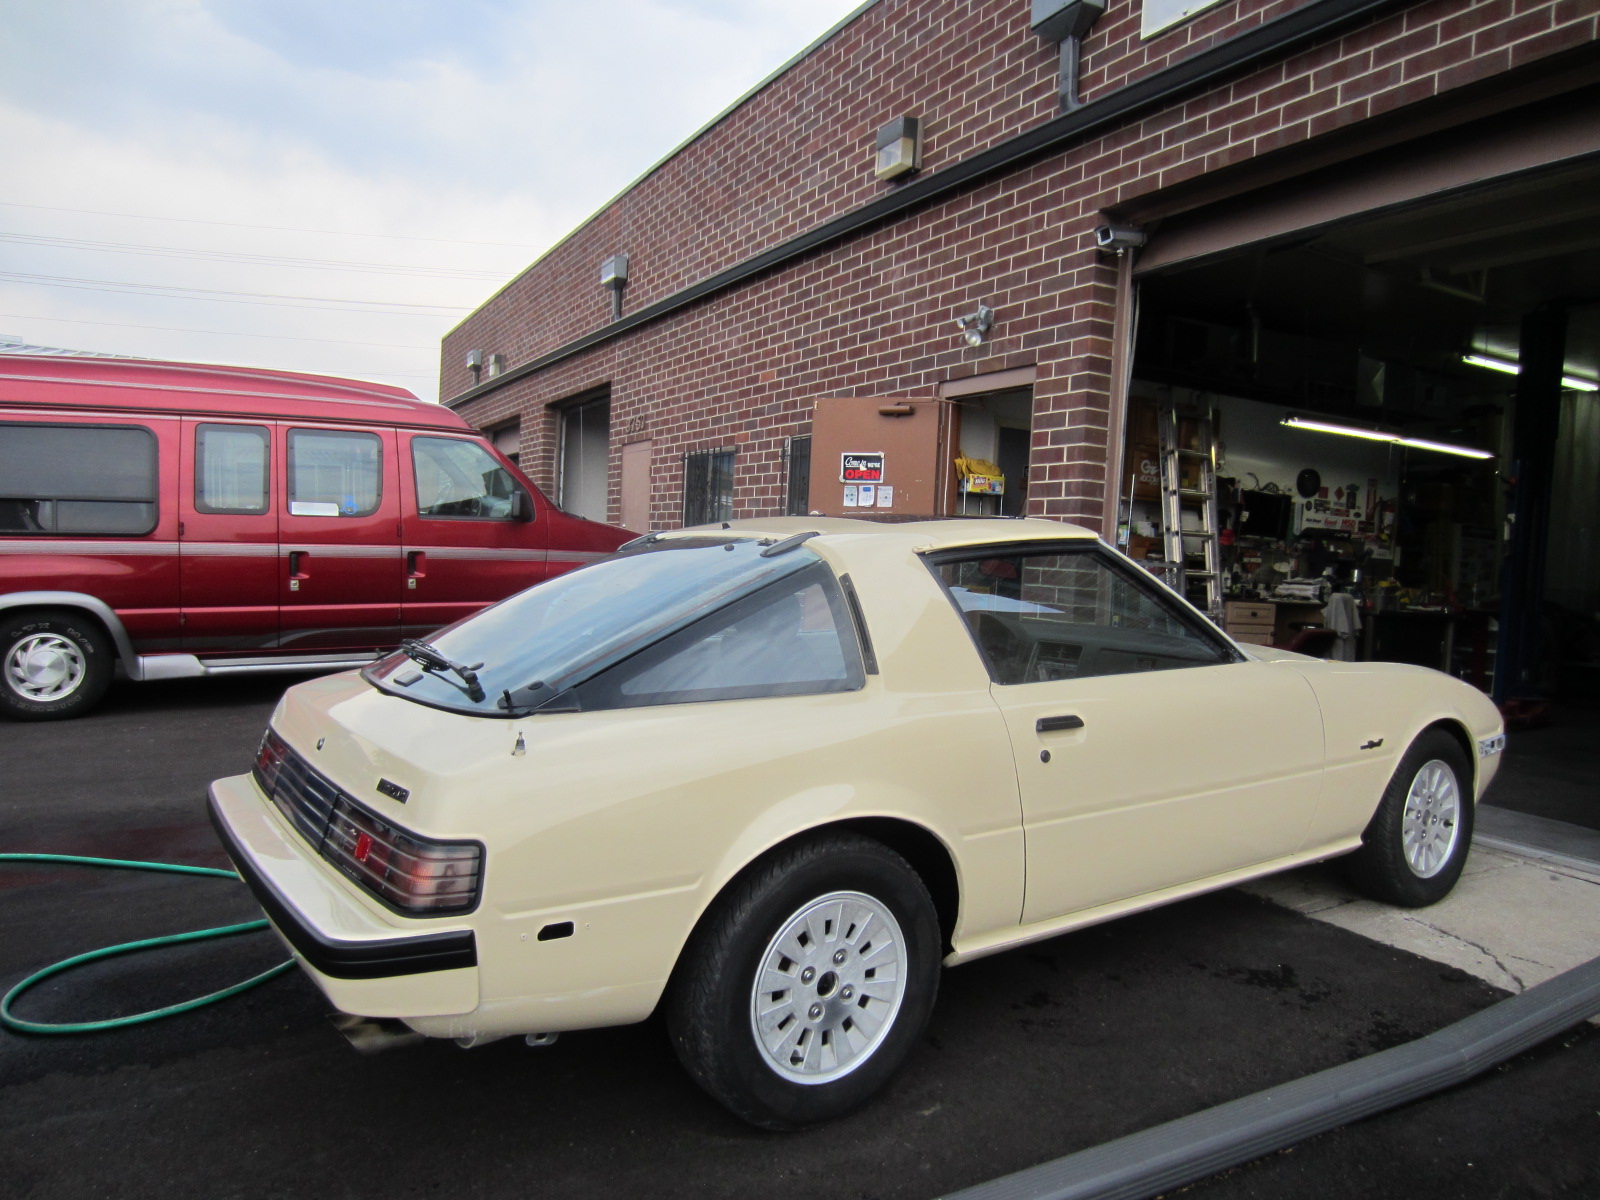
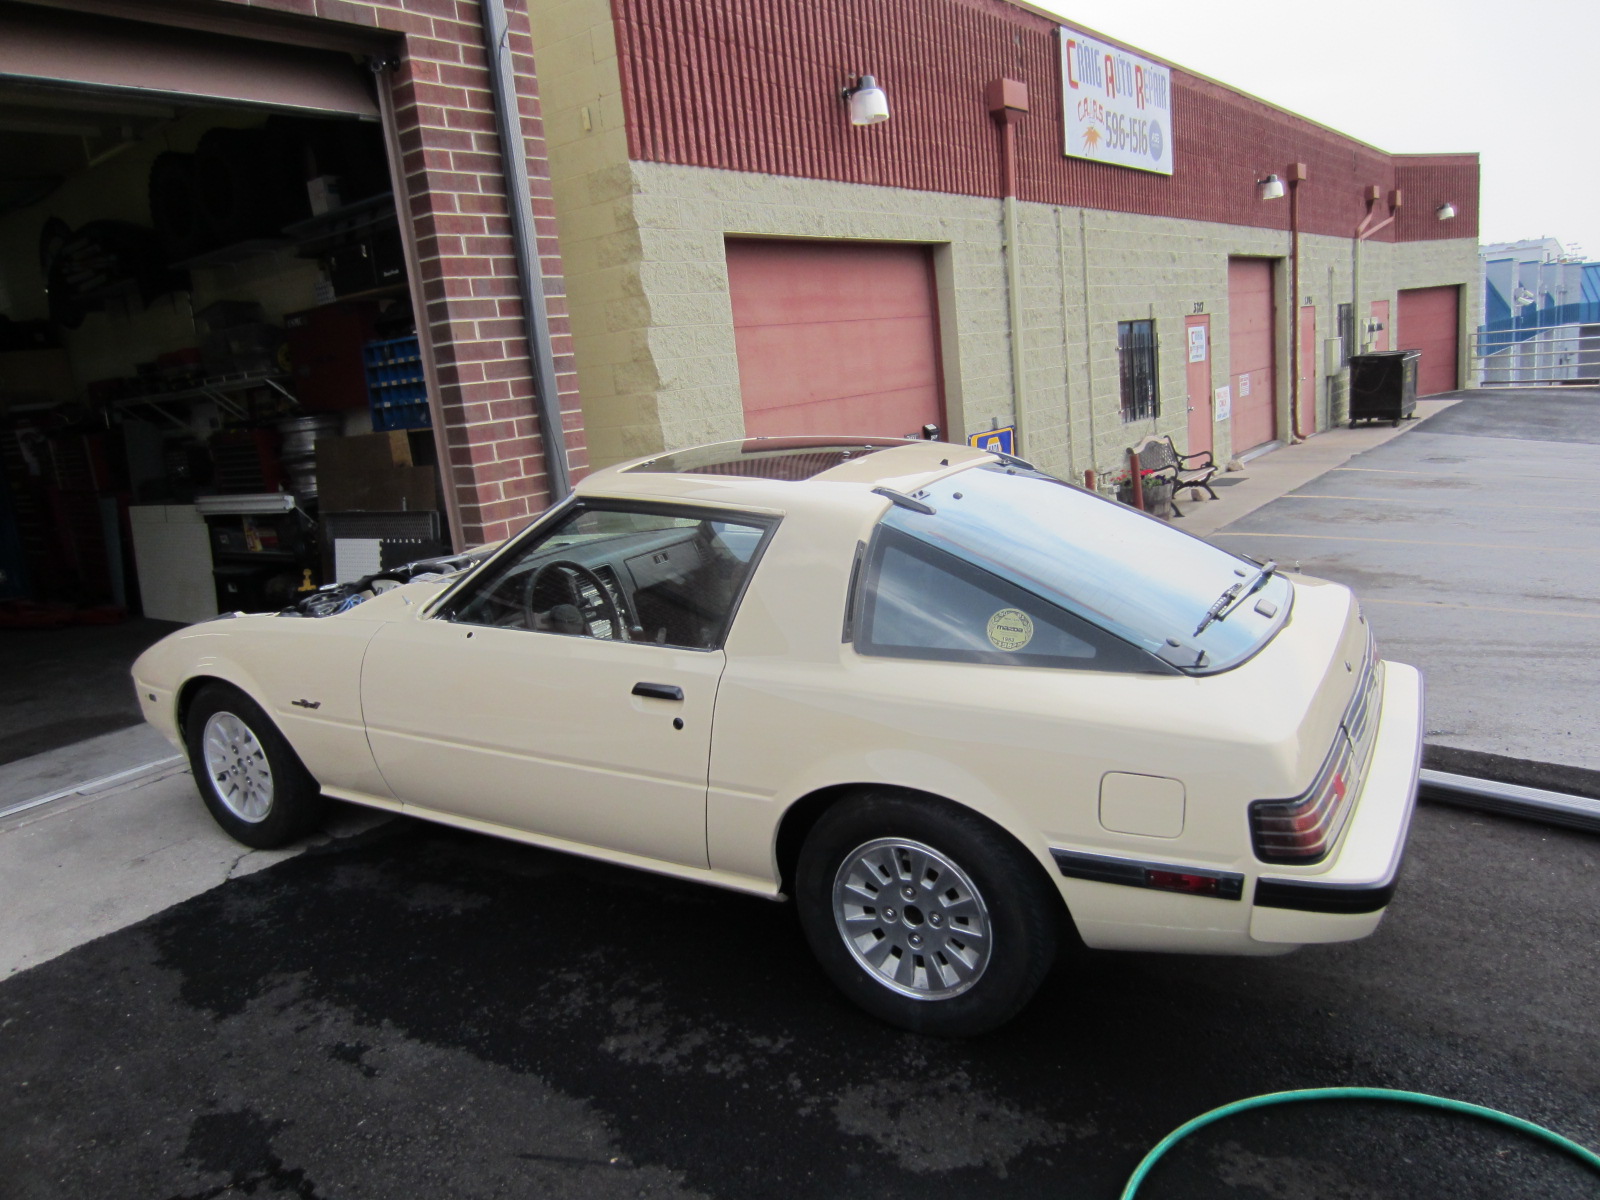
I washed the car on Friday and finally got some good outside pictures.
later on the weekend the hood and cowl were done and installed. I also installed the headlights and passenger side lid. The driver’s side lids had a small nick in the paint so it
needs to be touched up.
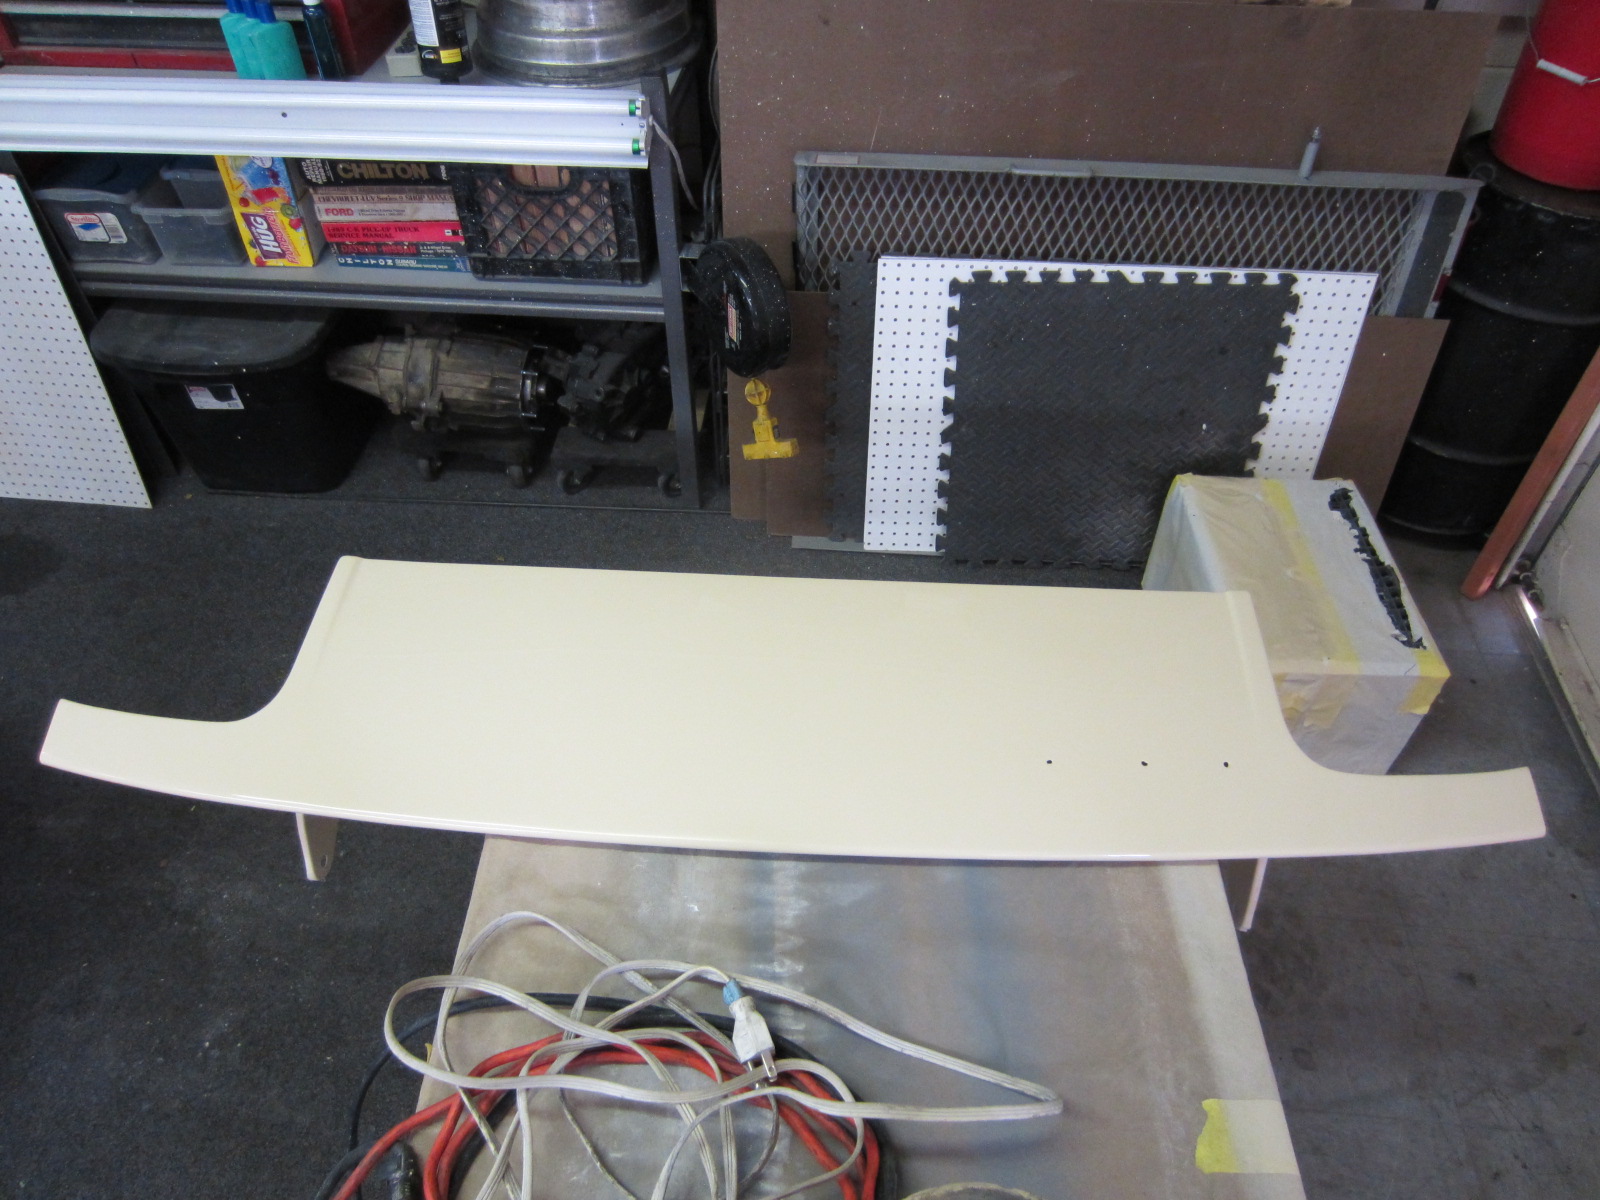
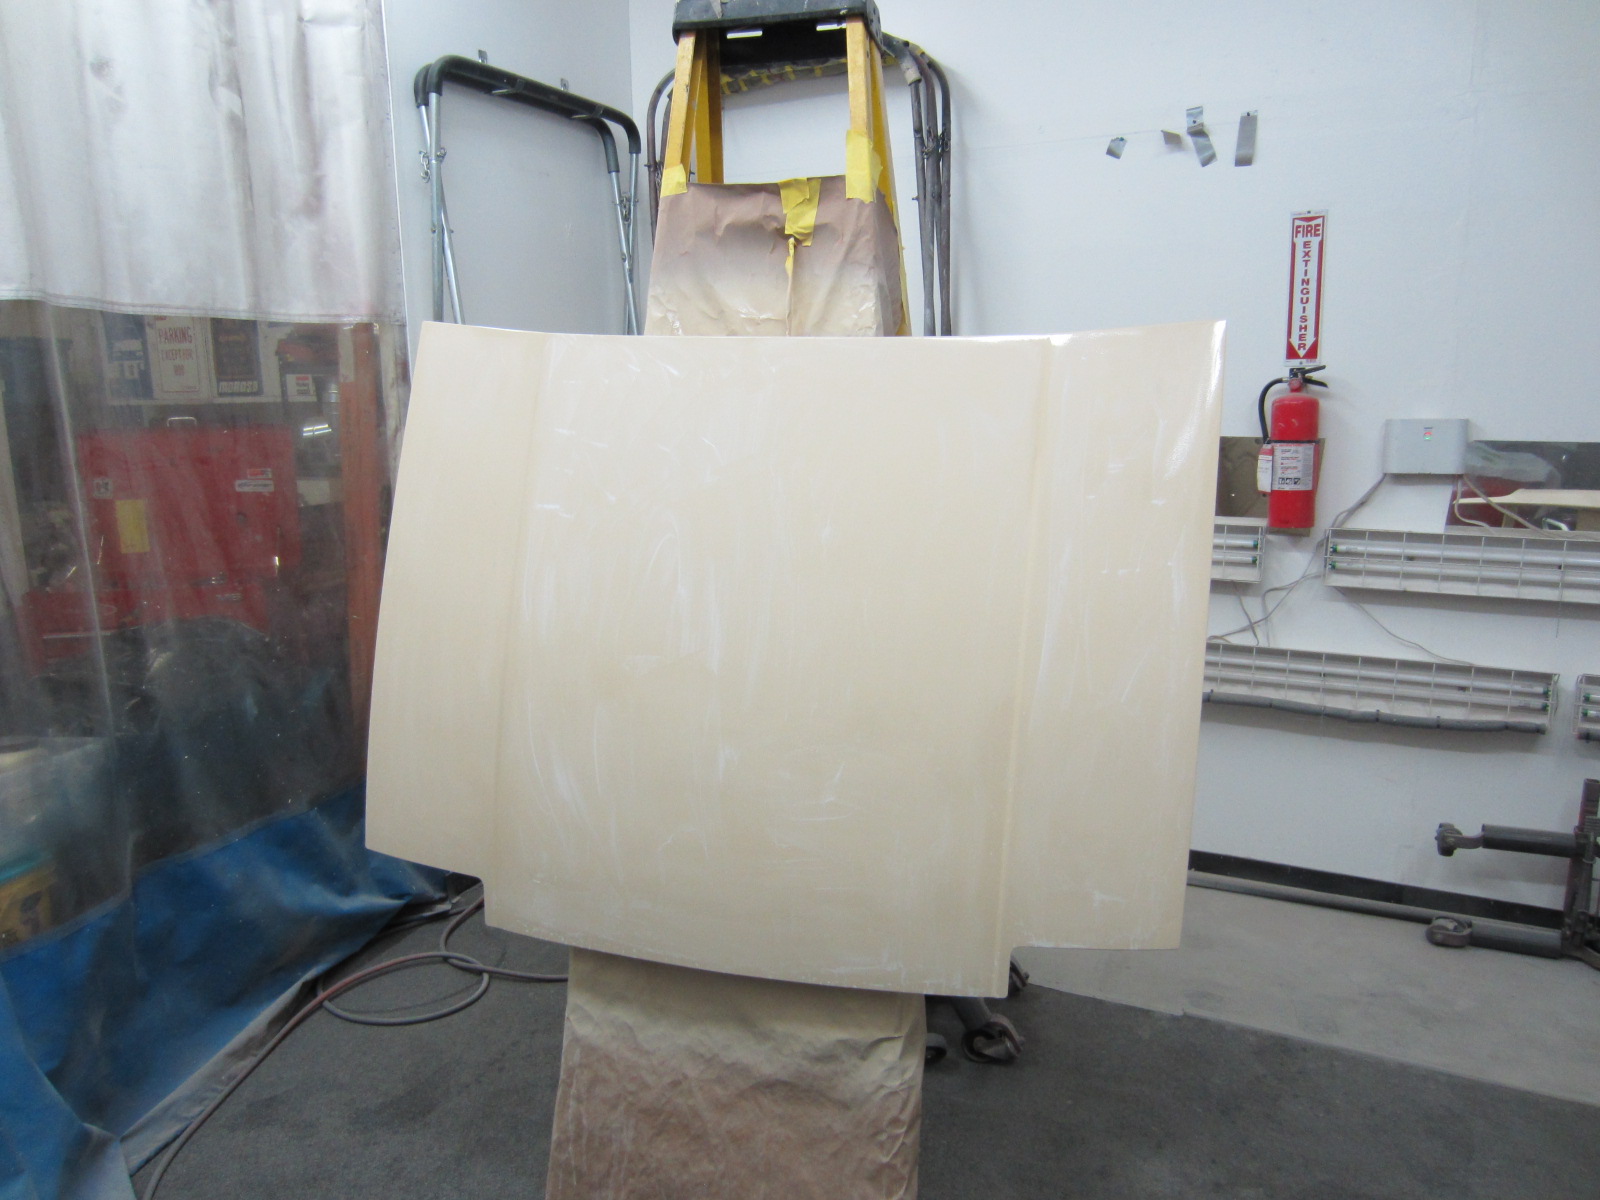
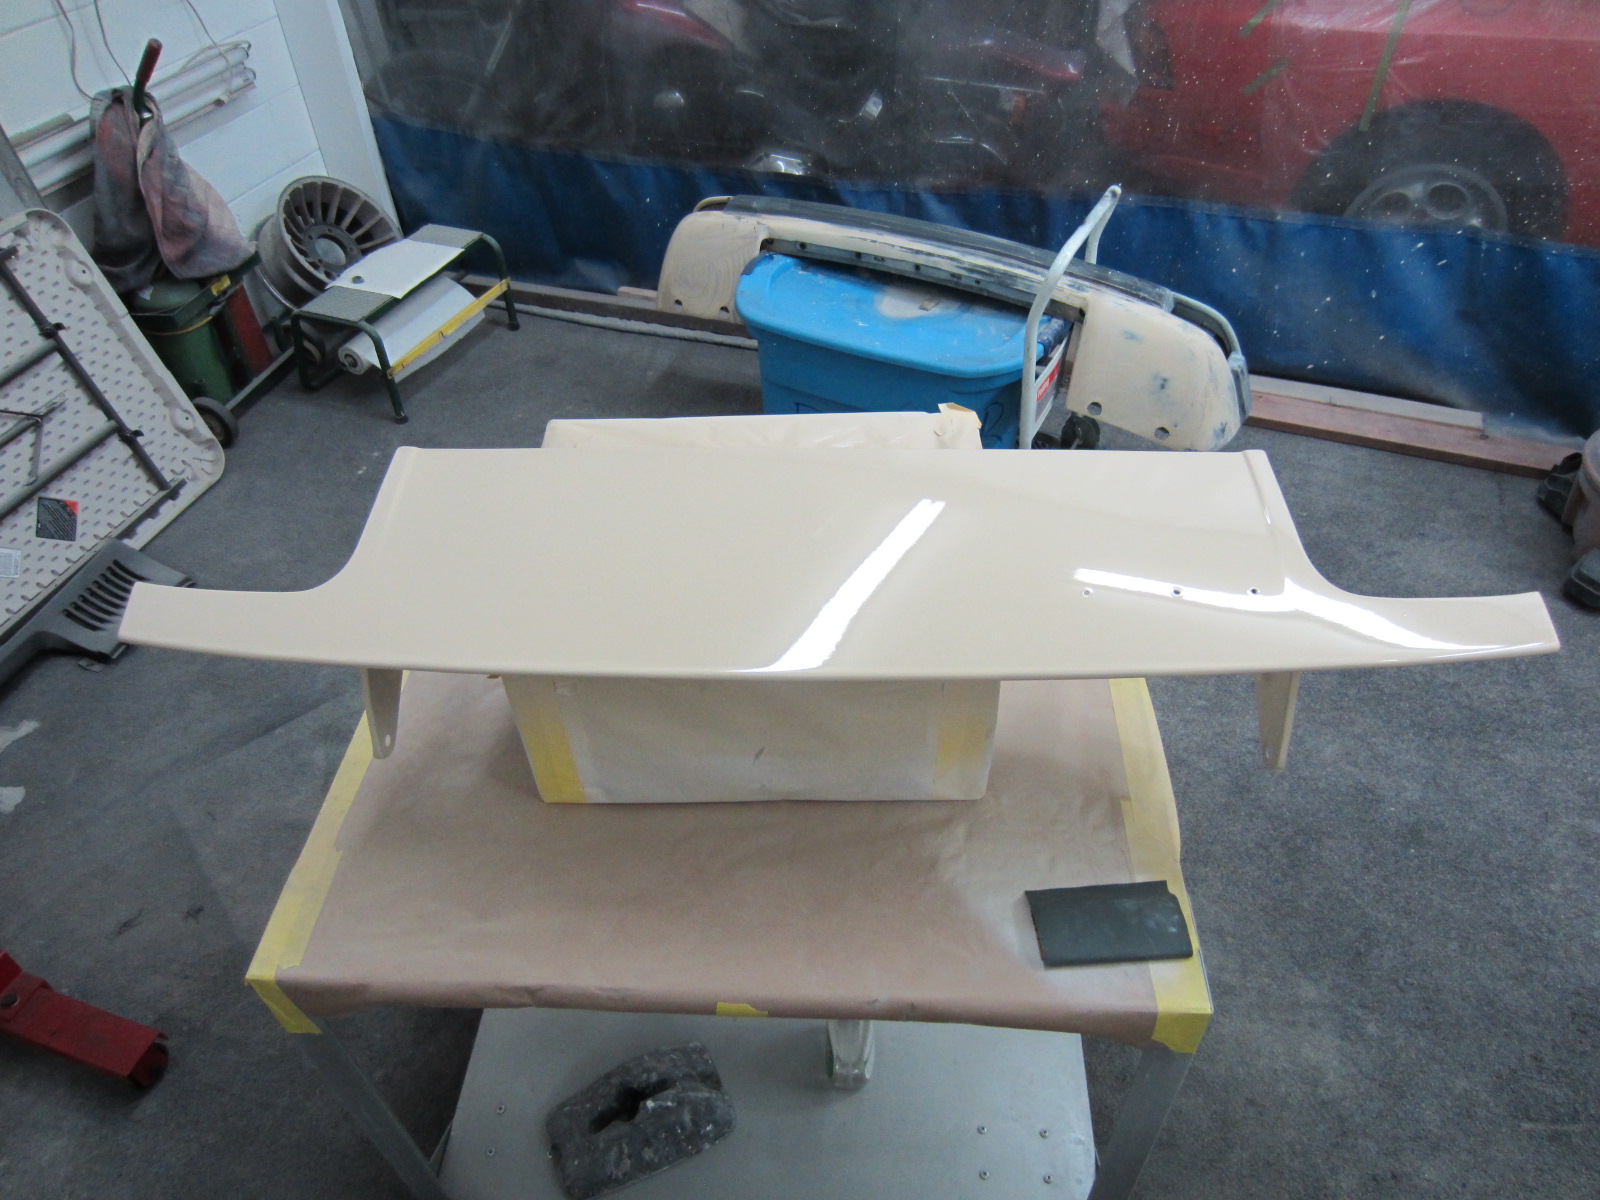
The hood and front cowl are painted. The hood and cowl both had excessive rock chipping that needed to be worked. There was also a slight wrinkle on the rear left side of the hood where it looked like something might have been set years before. The cowl was overall in great shape. There was a slight ridge that looked to be a tool mark when the cowl was built.
The hood in the process of wet sanding:
The cowl after paint (needs wet sanding and buffing):
The front bumper is ready for first primer. The bumper needed to be straightened with heat before the paint was laid.
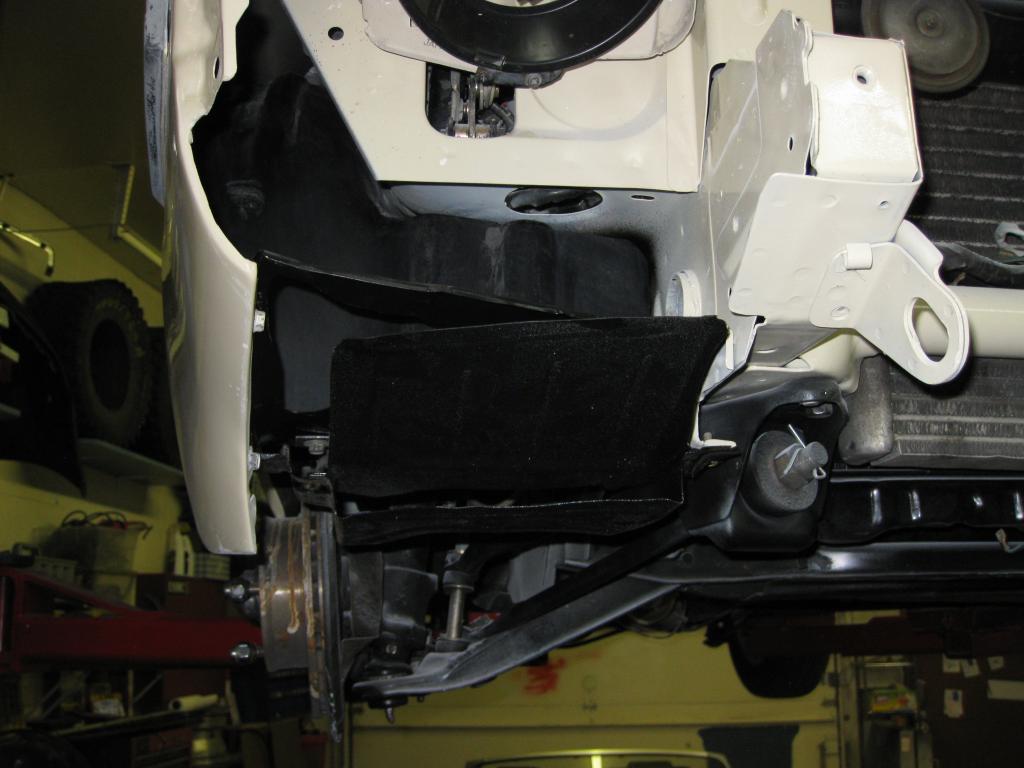
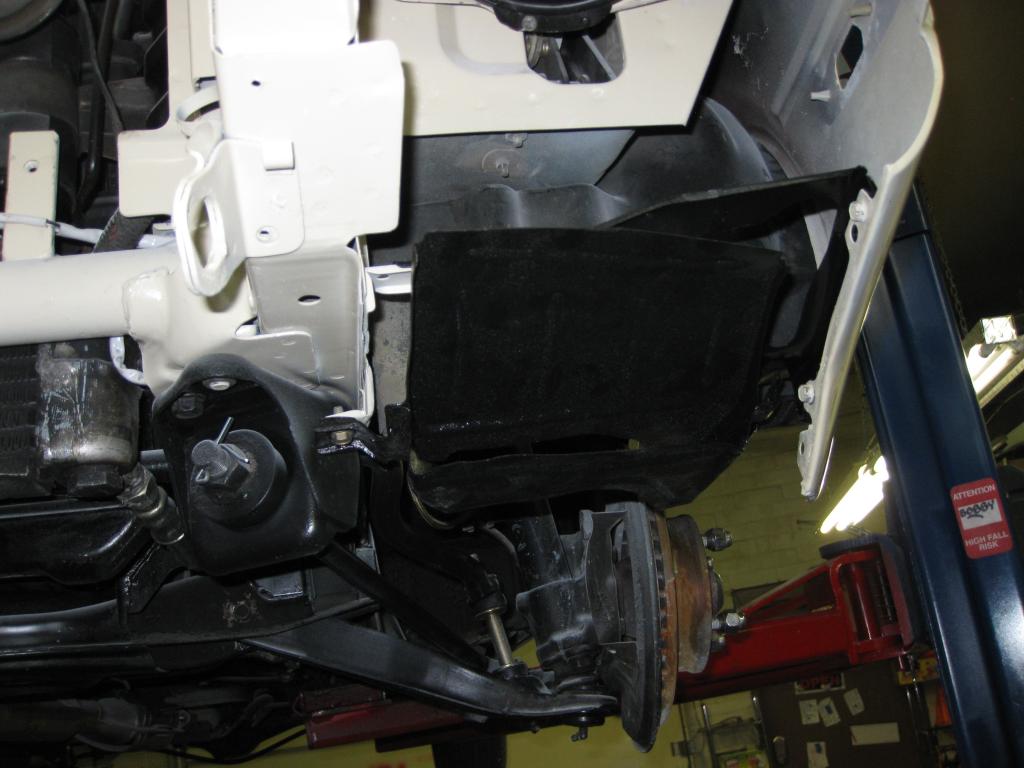
I installed the brake ducts yesterday. I had to really work them back in shape before I painted them. They were severely bent. Overall they finished better than I would have thought. The lower fender brackets that were installed on the car when it was painted were off a 1983 and were different. The 1984-85 cars have brake ducts but the 1979-83 cars do not. The brackets are just slightly different than the older ones, they have an extra tab with welded nut to accommodate the duct.
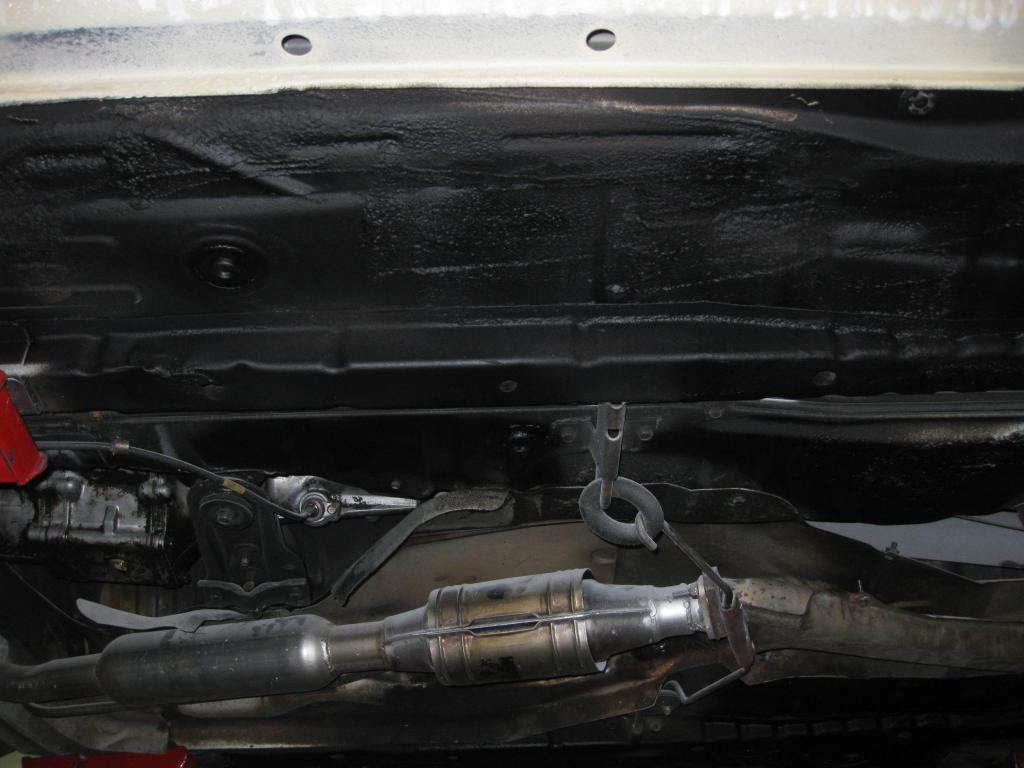
I finished up most of the undercoating. I cleaned and degreased the underside of the car so the undercoat would stick. I used DUPLI-COLOR™ Professional Undercoat and Sound Eliminator.
See part one to get the background
https://chrischillino.com/2012/09/10/exhaust-heat-shield-part-1/
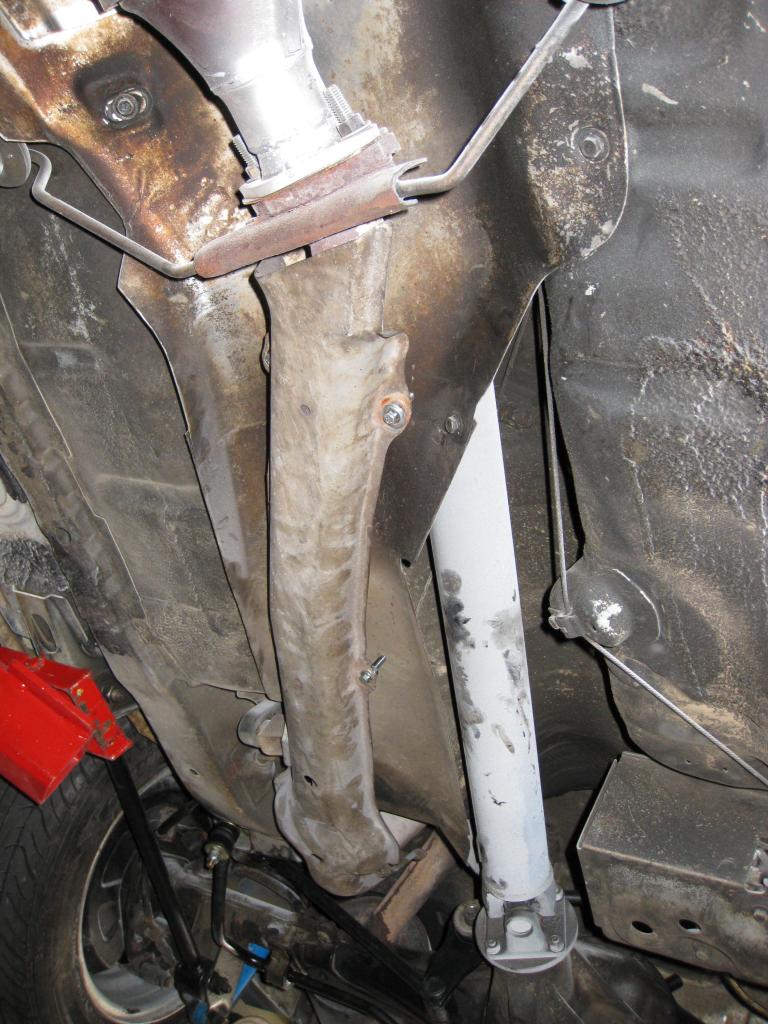
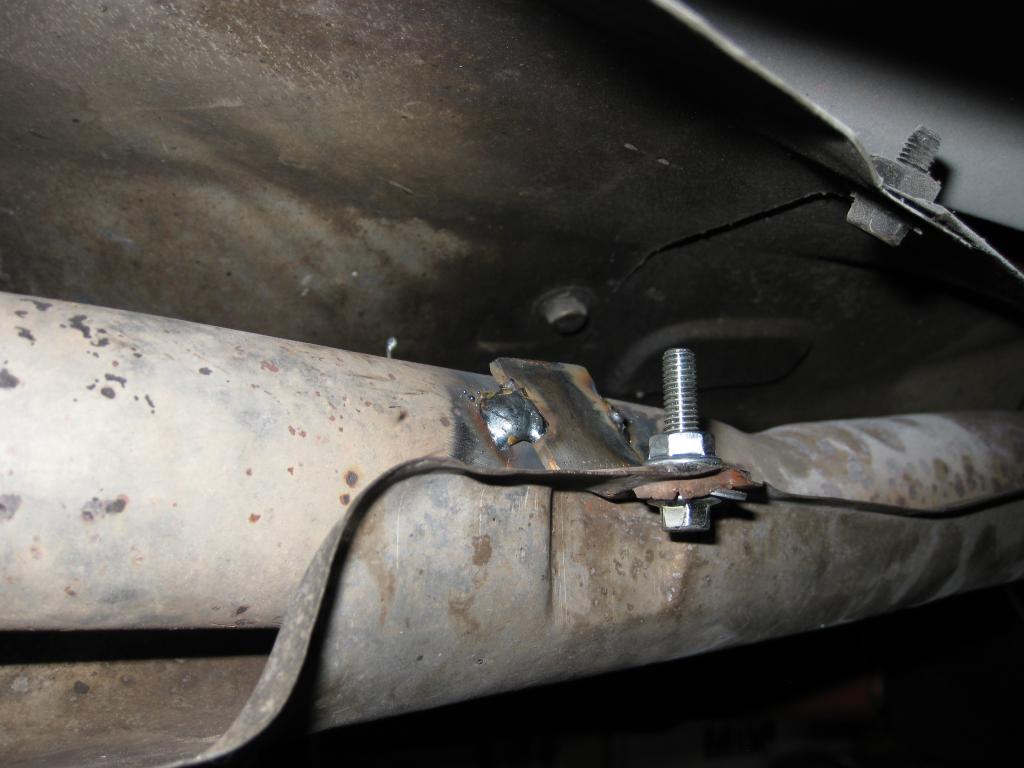
The heat shield install came out clean. overall the existing pipe was in good shape and didn’t burn through when welded. The mounting holes were drilled before the brackets were welded. The heat shield does not rattle when the car is running.
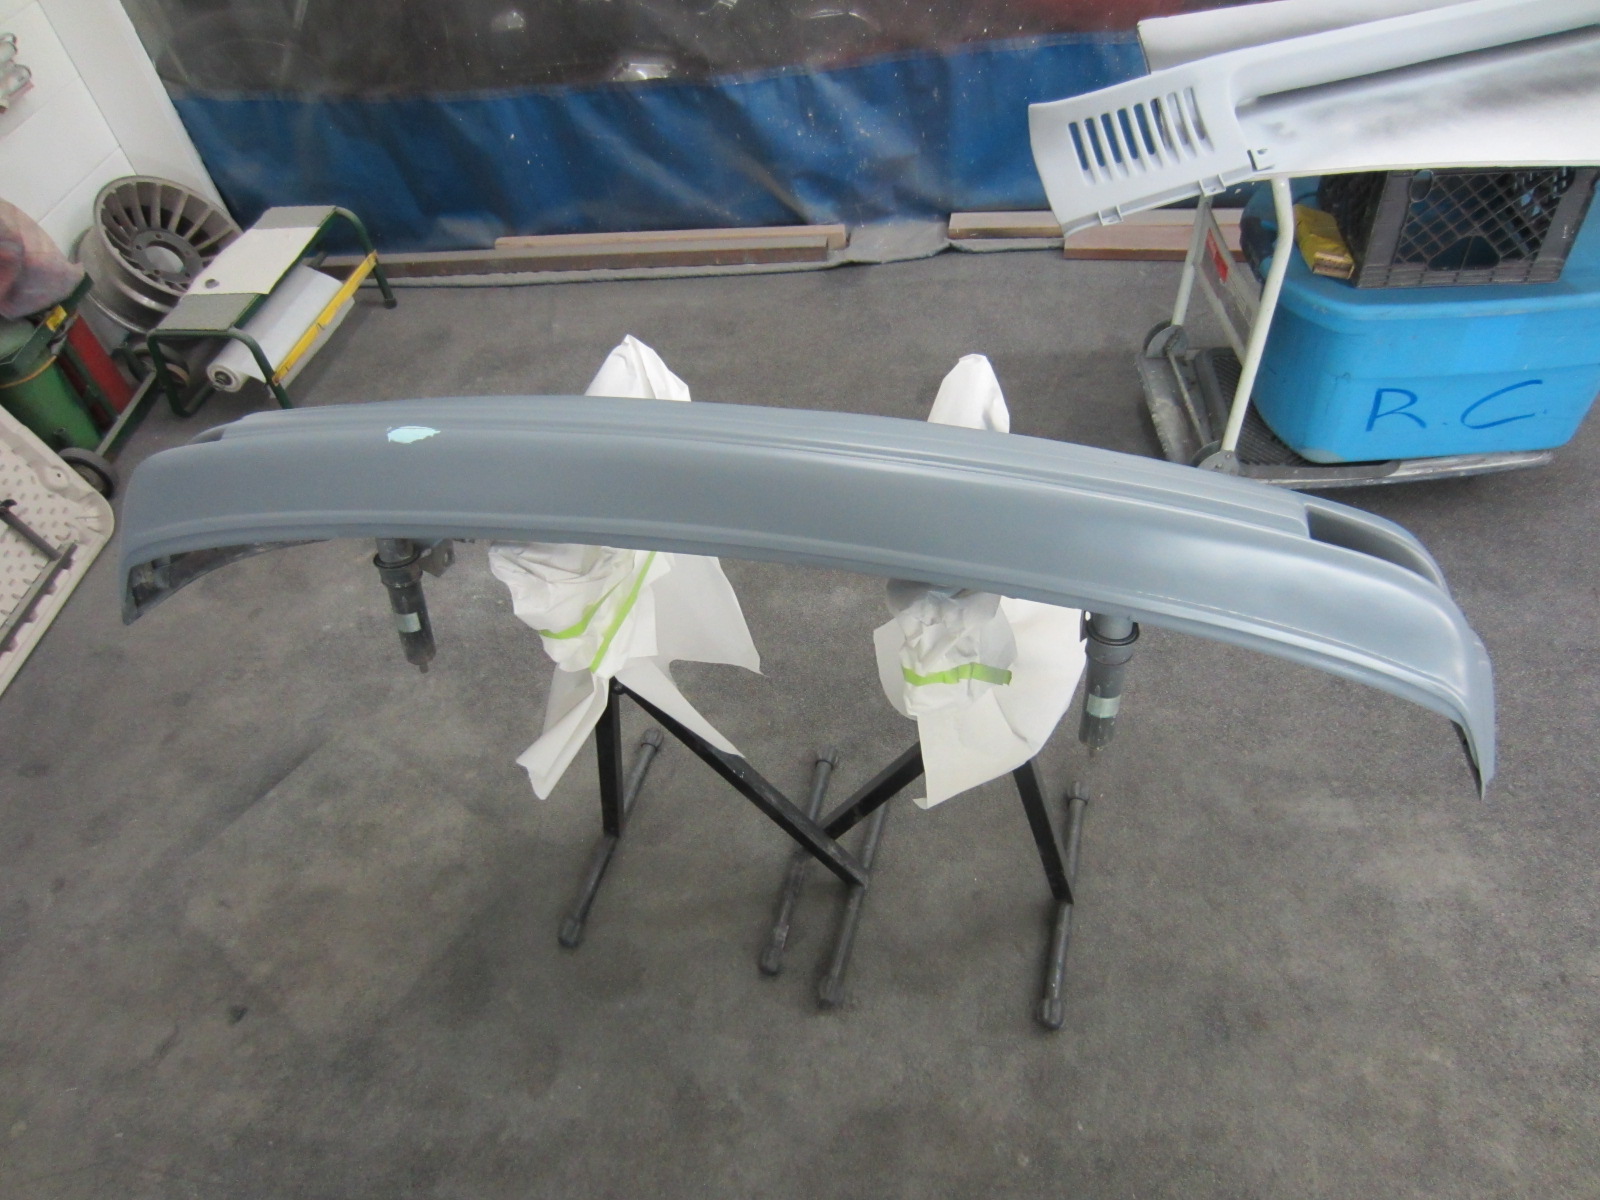
The rear bumper all painted:
The hood hinges painted:
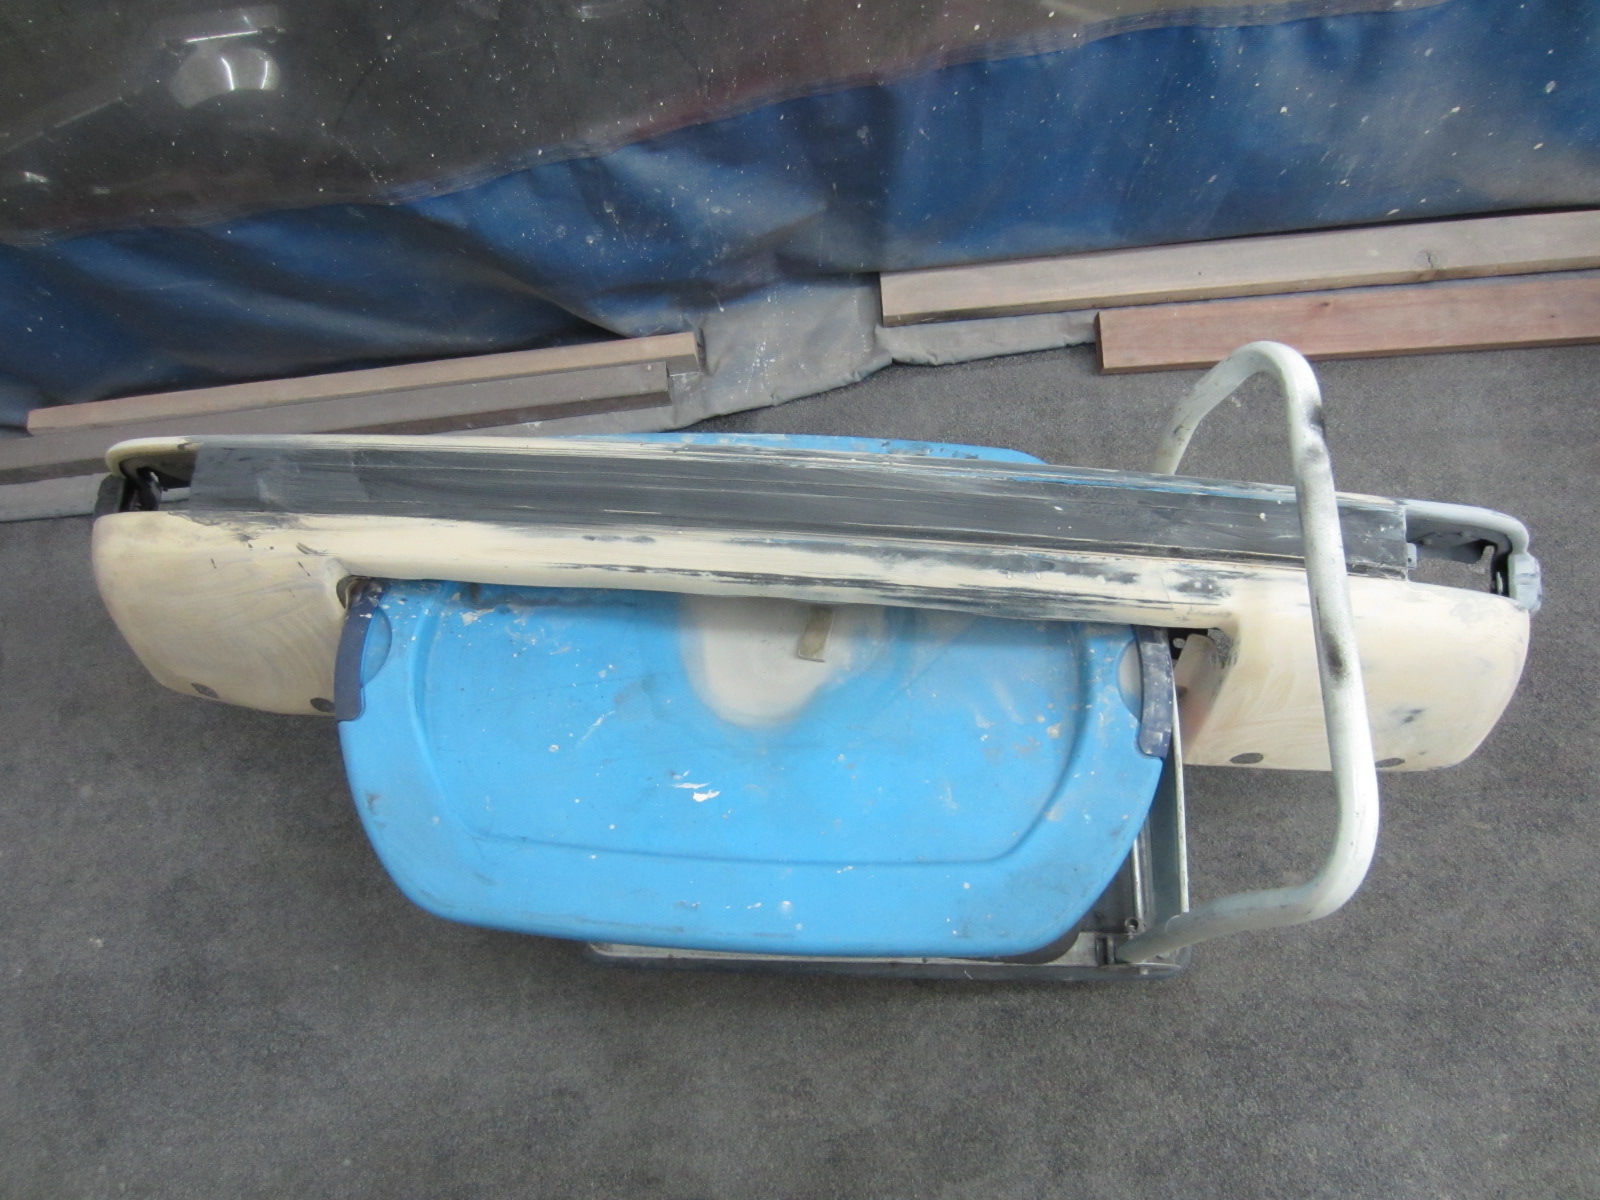
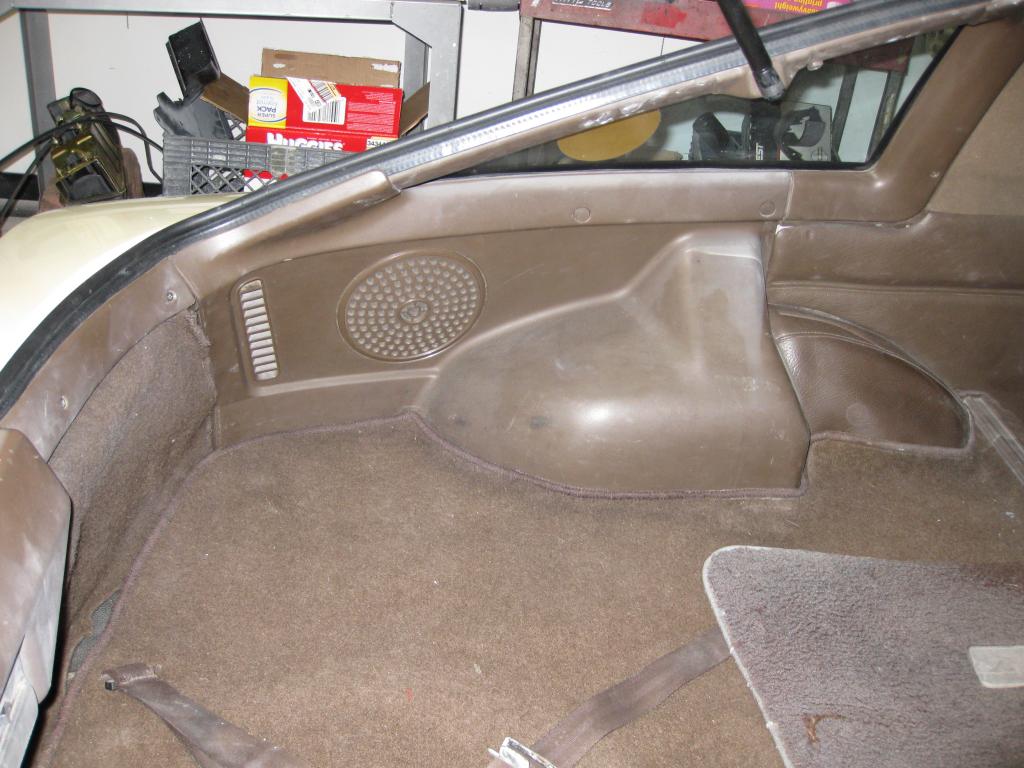
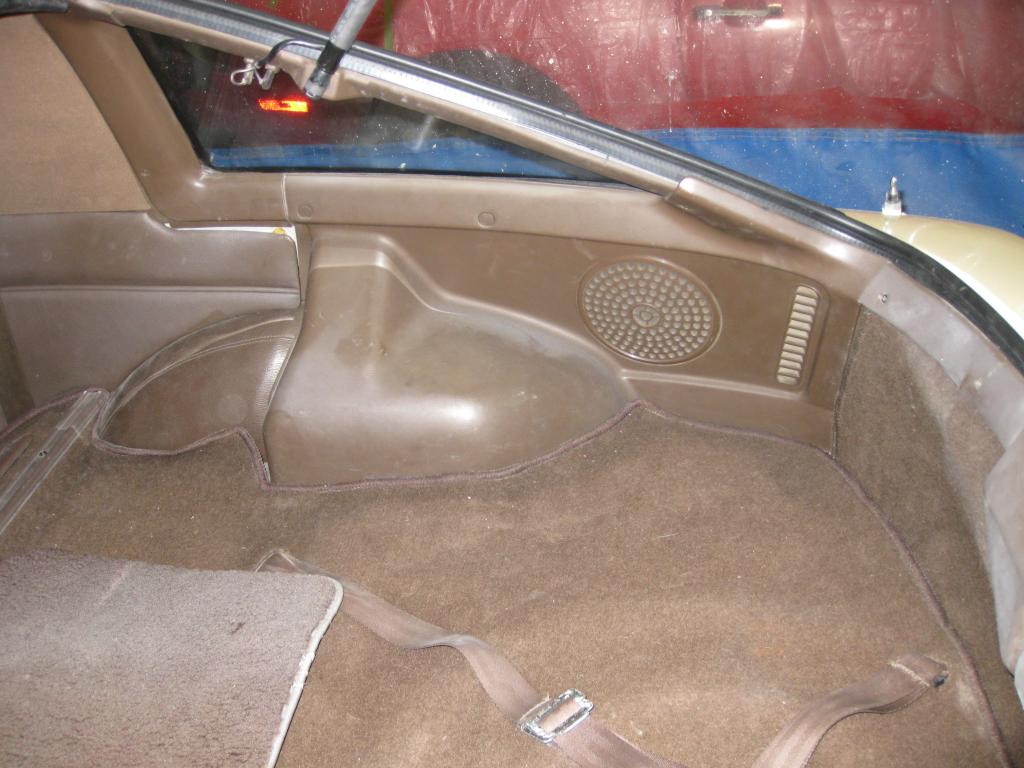
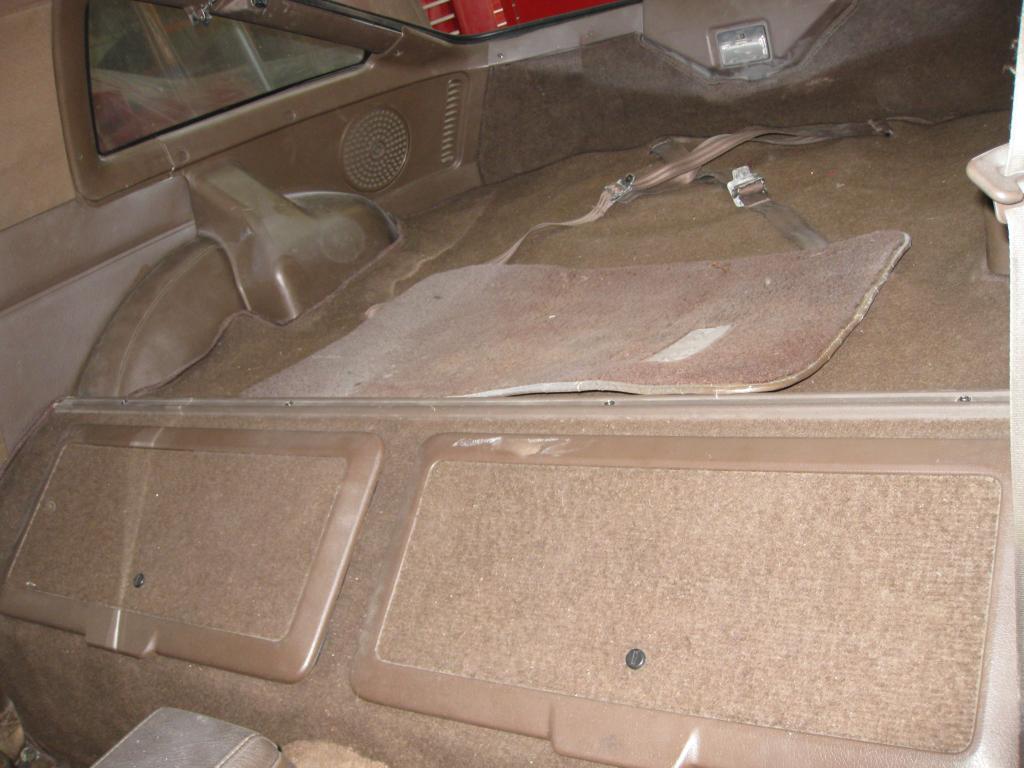
I was able to get the entire rear interior installed. It all went back together smoothly. I still need to do some final cleaning but I will wait to do that when the paint is done.
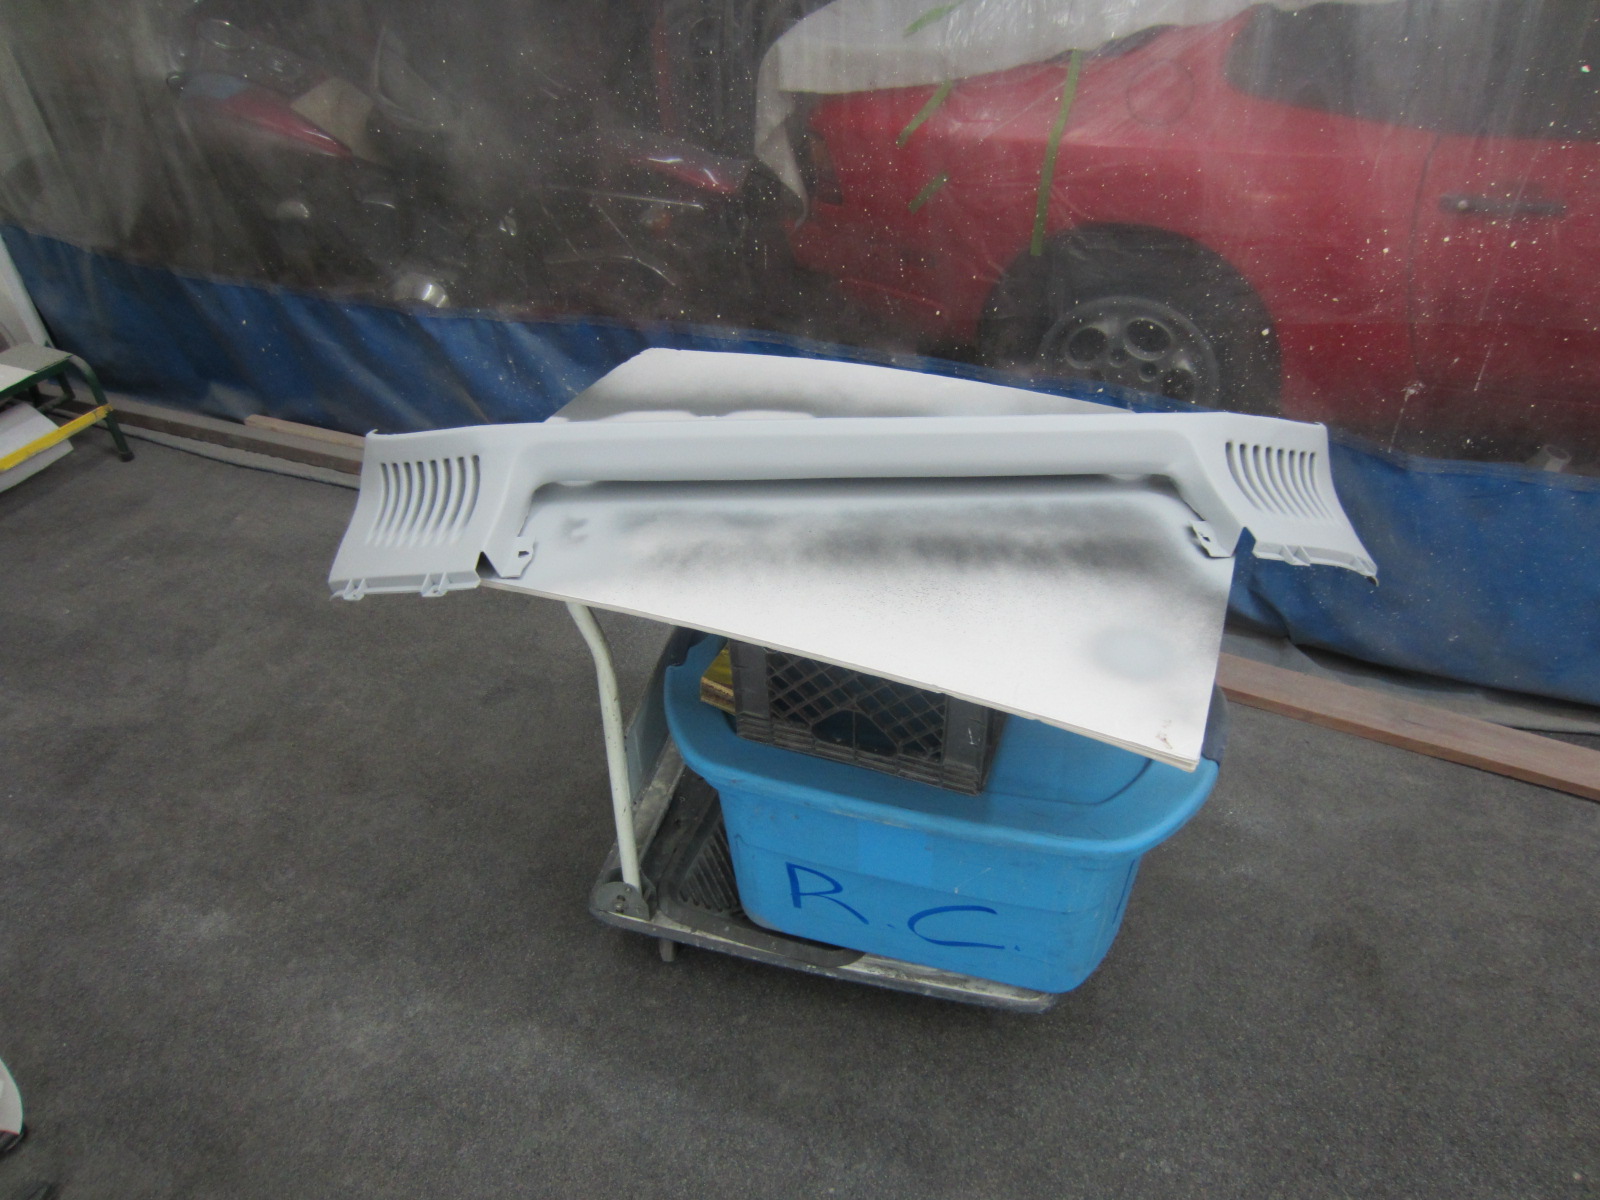
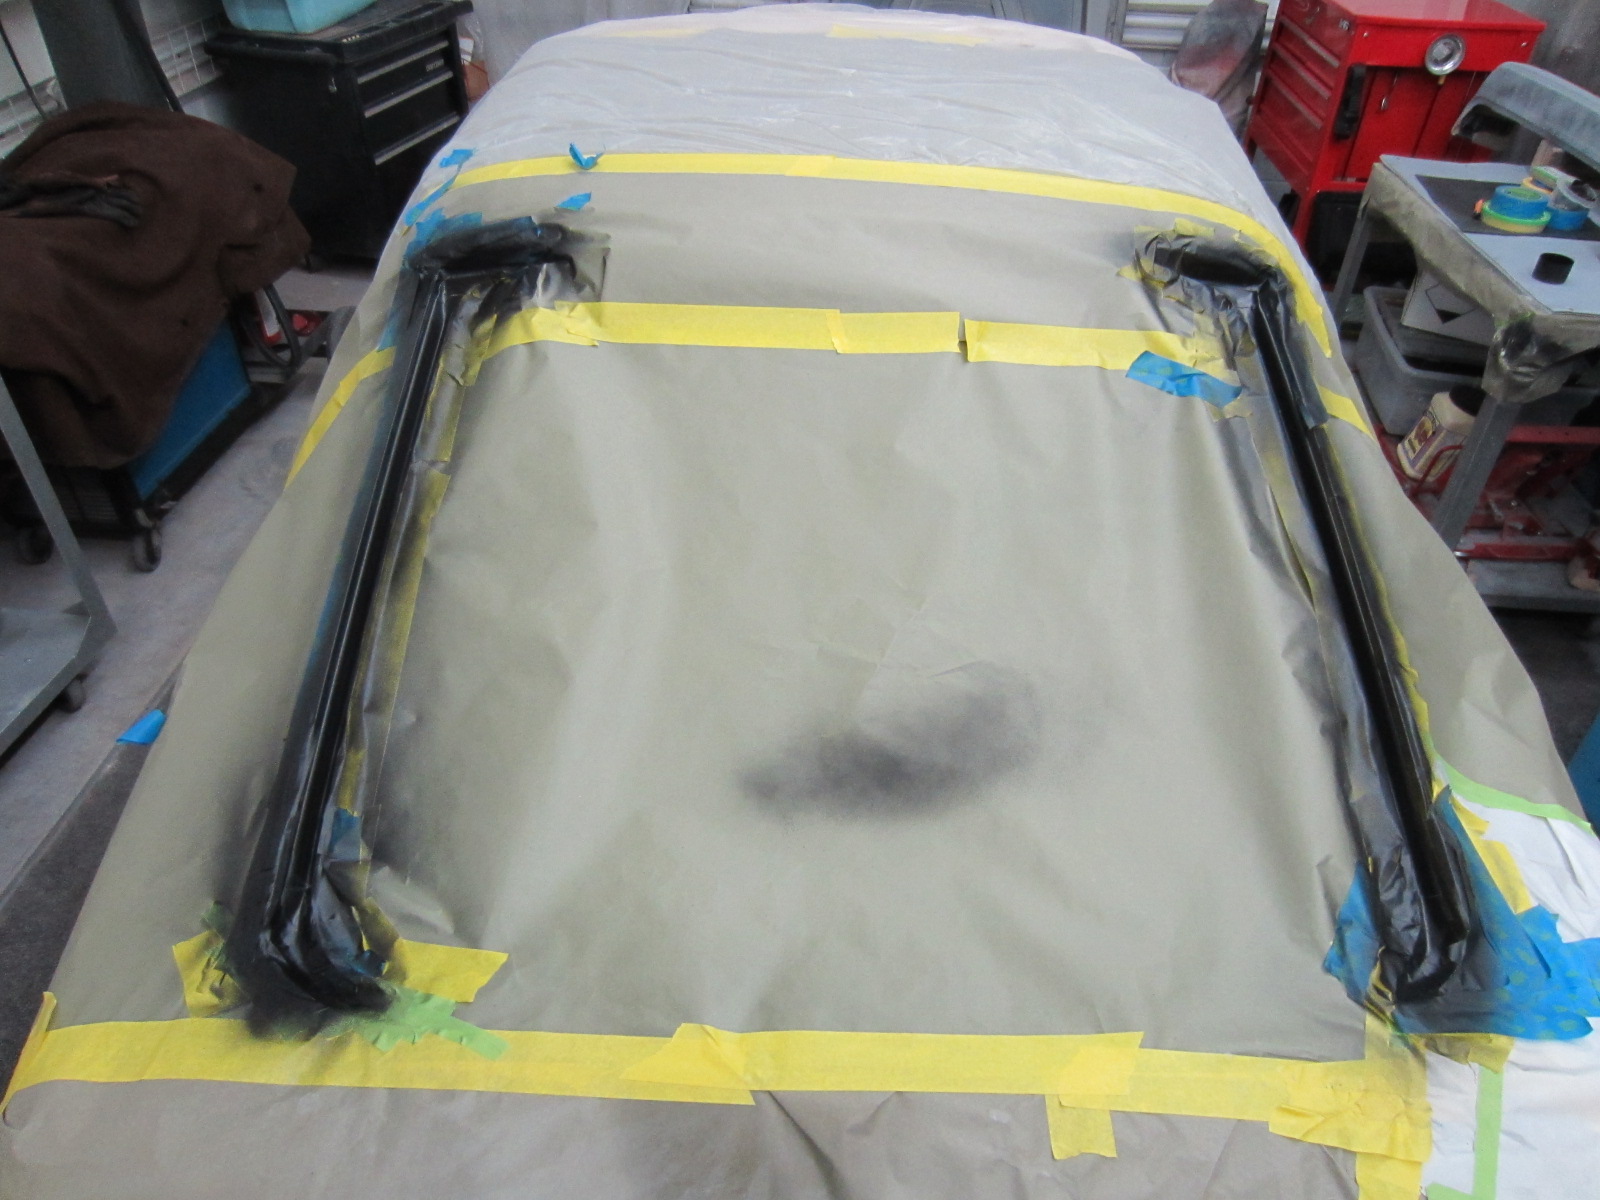
Earlier in the month the black painted area around the rear hatch was painted.
On Friday I was able to start getting the rear of the car back together. The rear hatch was installed with a new seal and the wiper. We also installed the washer and the lock.
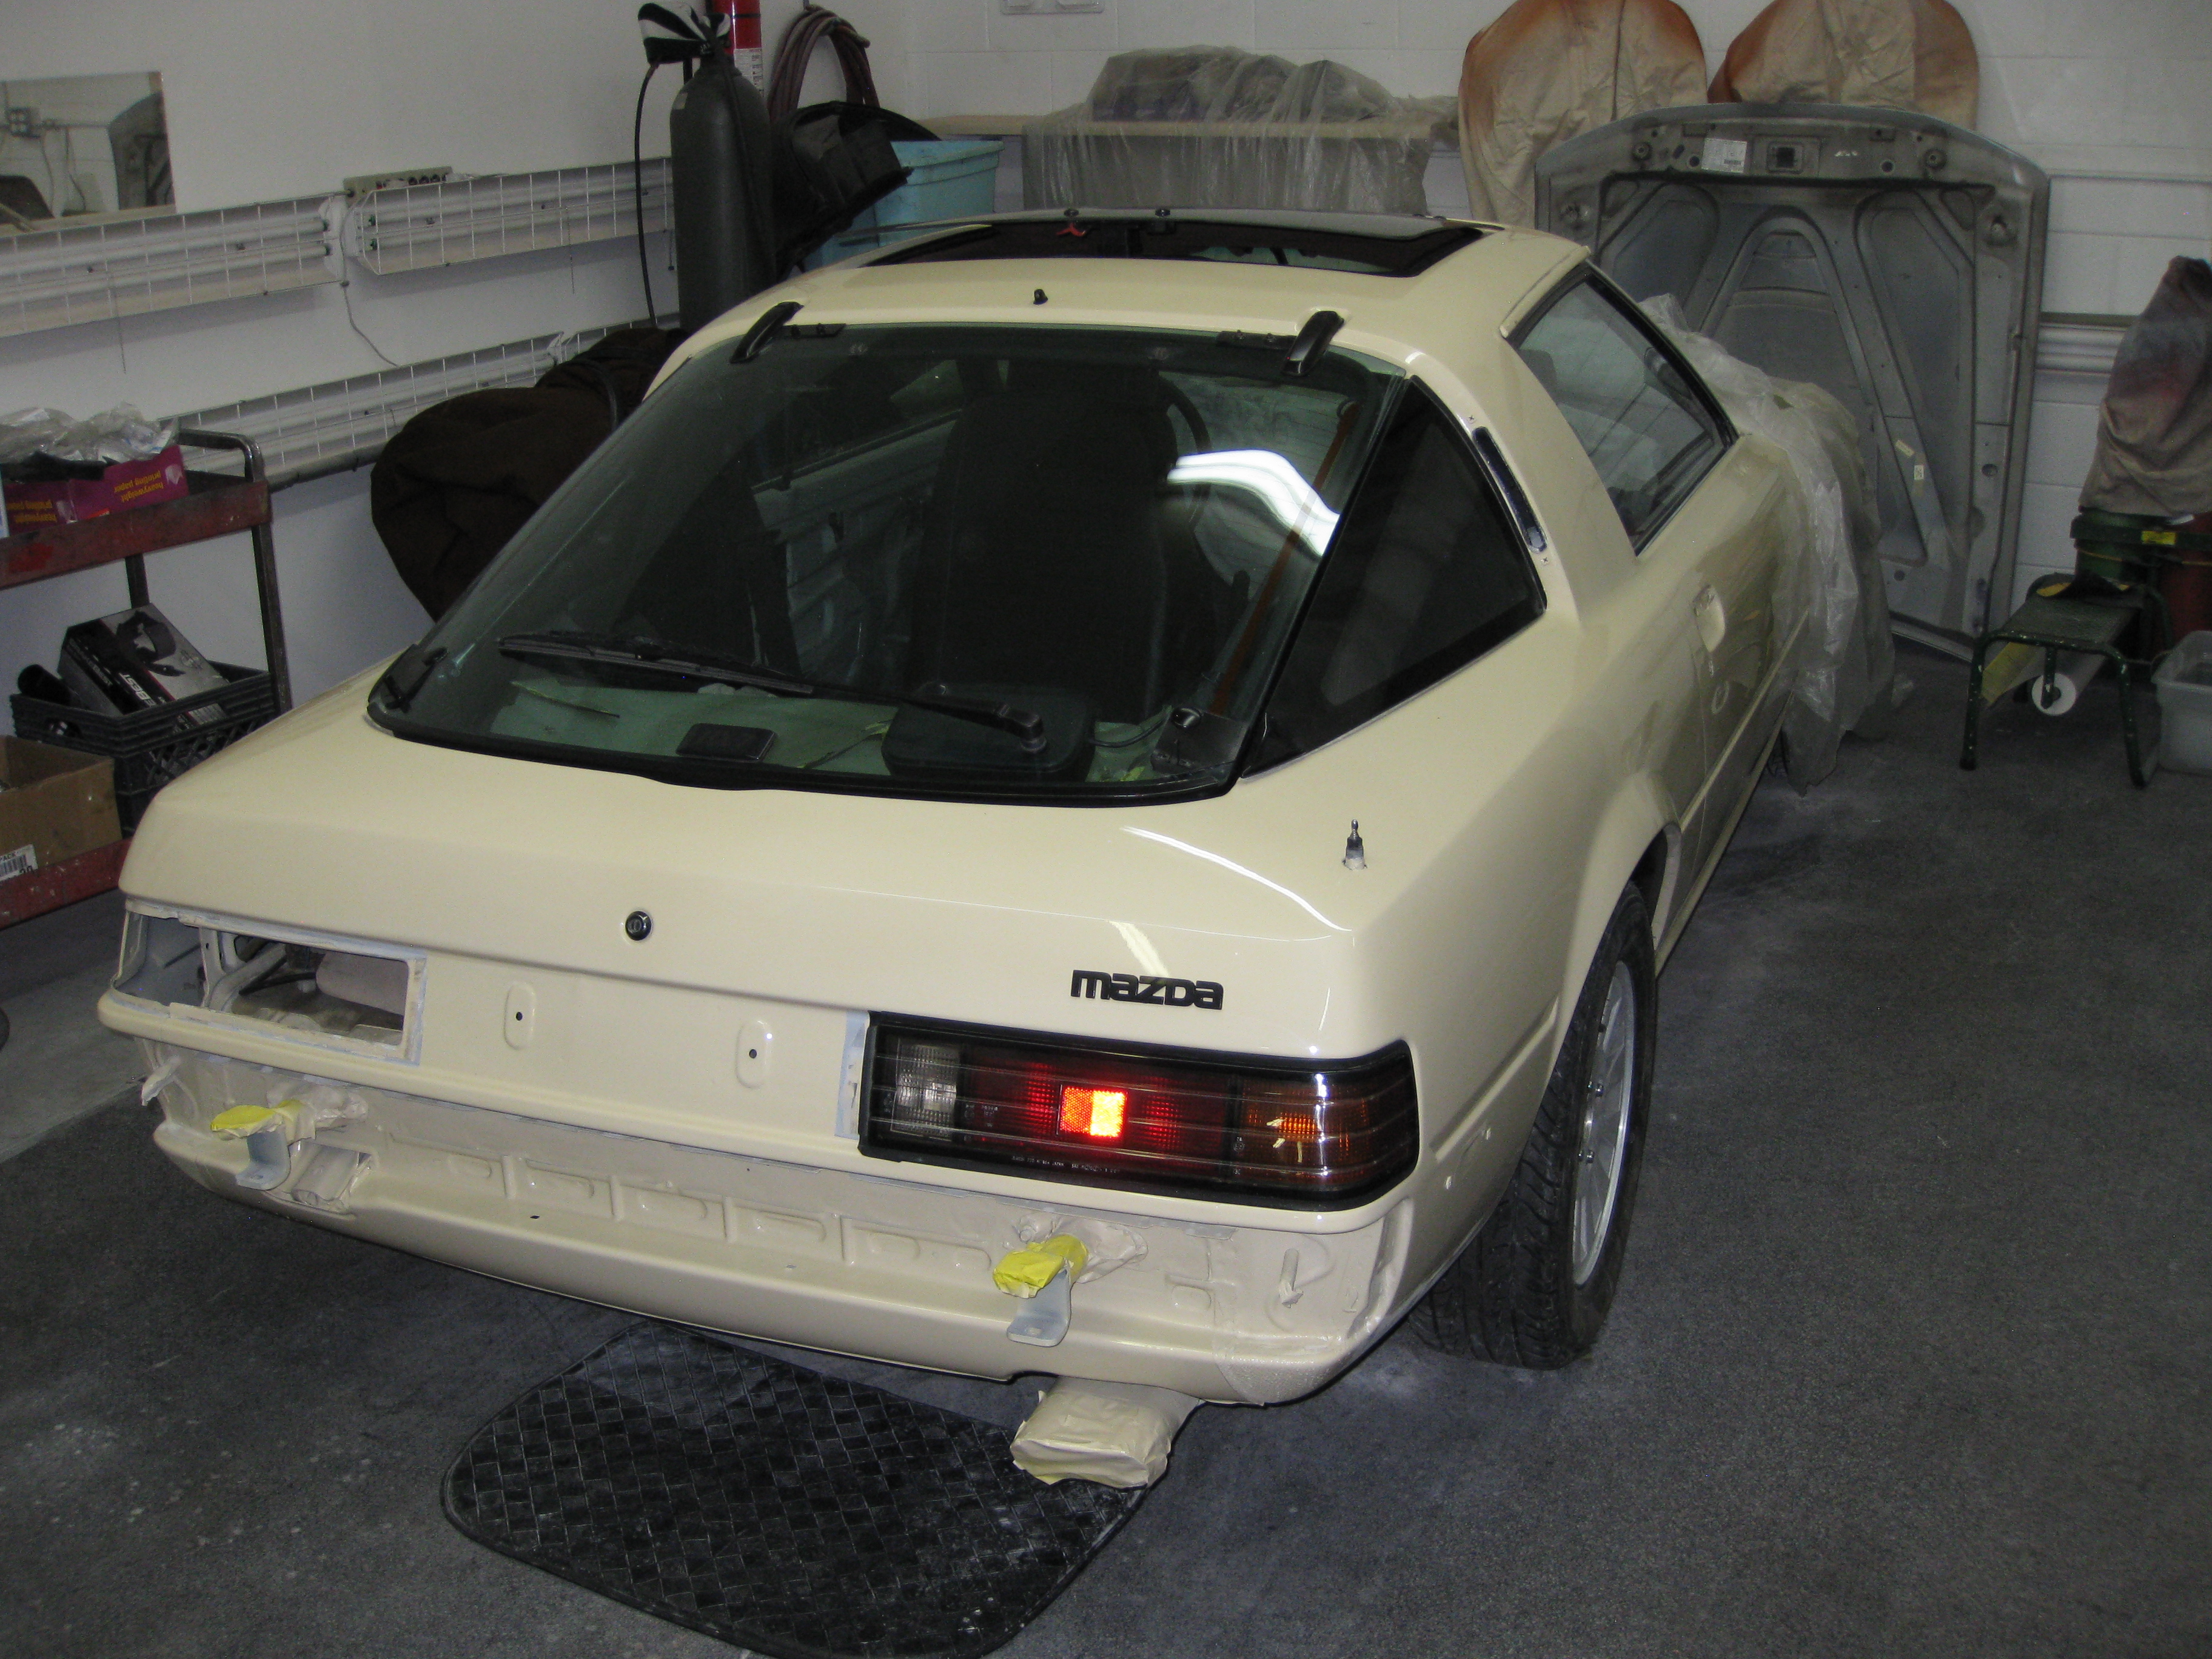
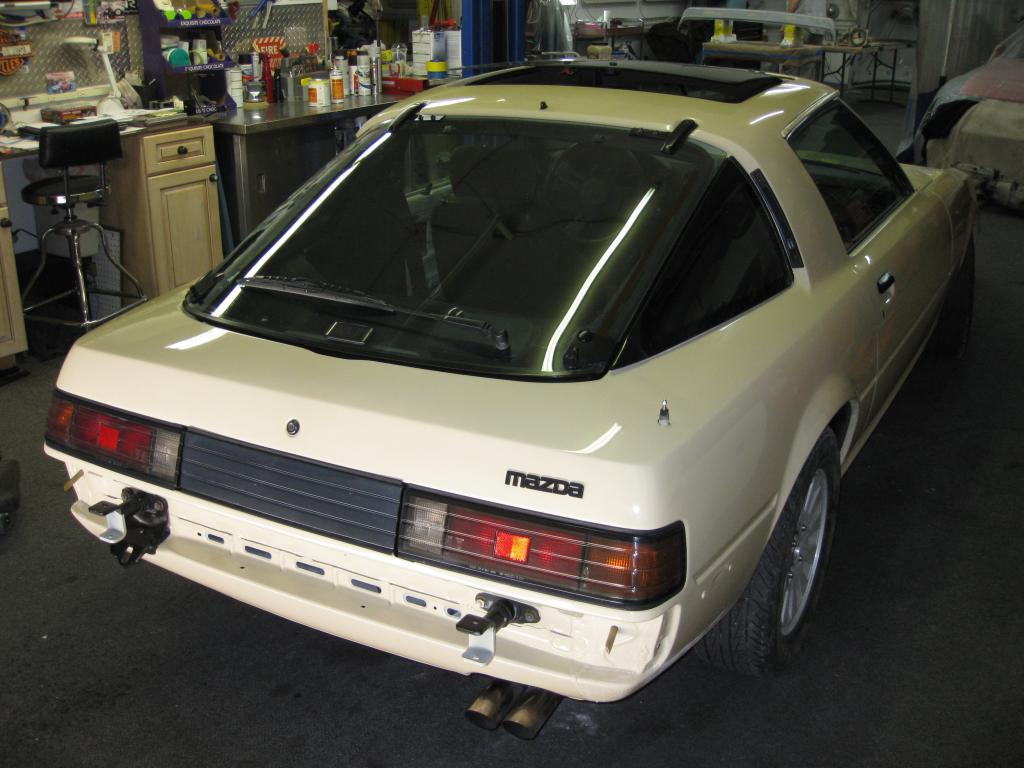
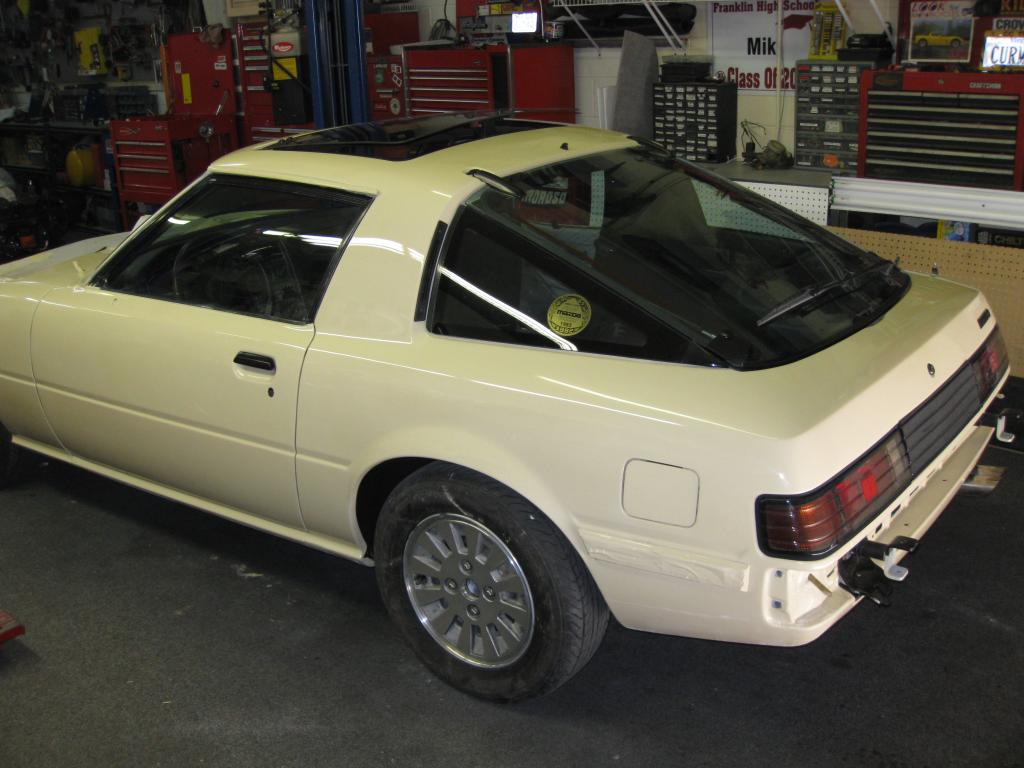
Saturday all the masking was removed and the tail lights installed. I also installed the door handles and the locks.