Little Projects

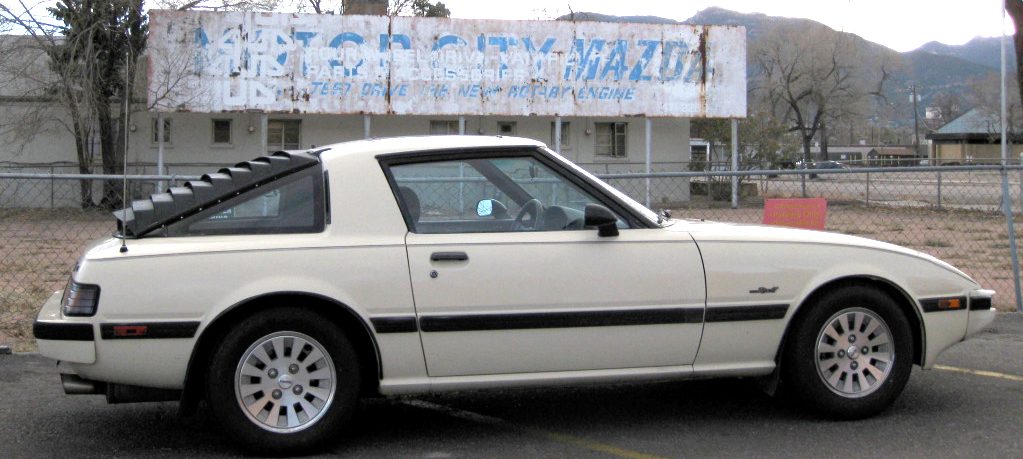
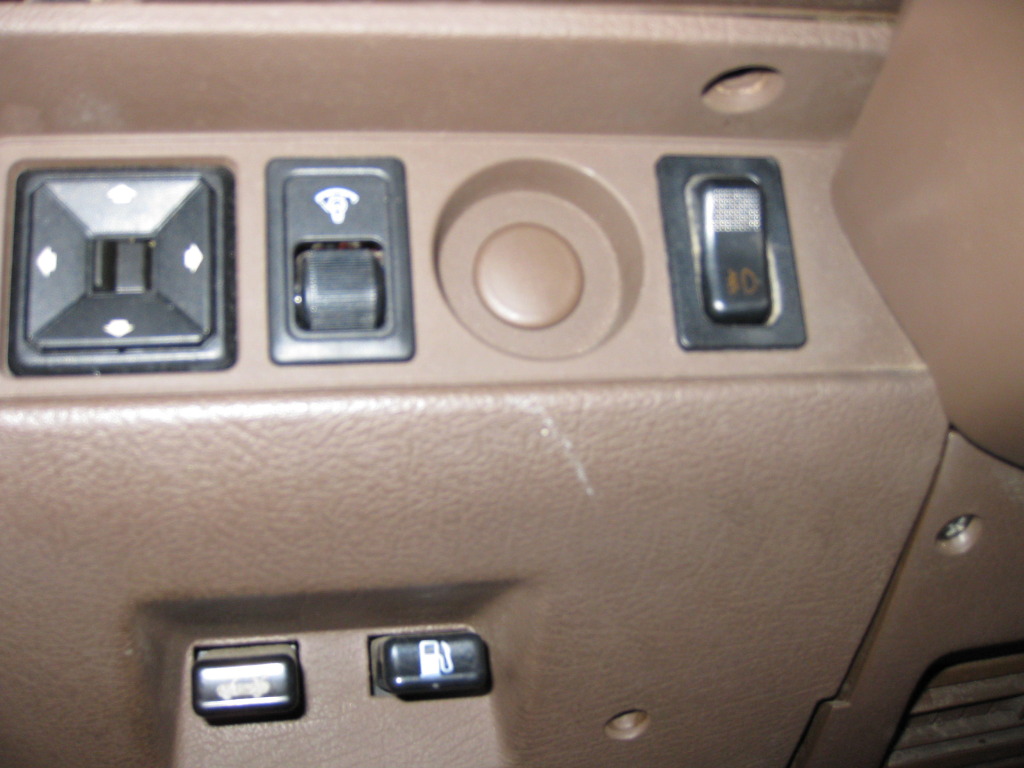
I did get most of my little projects done last weekend and this week. I did my oil change, rebuild OMP (oil metering pump), fix door jamb switch, took apart and cleaned dash switches, and fixed wiper/washer switch. The antenna booster is installed. I also pulled and cleaned the power window switches and fixed the center console lid spring.

Rebuilding the OMP fixed my slight oil leak so I’m happy about that.  I used the Pineapple Racing rebuild kit. http://www.pineappleracing.com/mechanicalompkitanddvd.aspx

I don’t really hear any improvement in the antenna booster so I’m disappointed in that.

Steering Woas

I took the car in for an alignment Saturday Nov. 12th. After the alignment the car seems to pull to the left. I took it back in and he drove it 2 times. The car seems to drive straight sometimes and all of a sudden it will start to pull only to go straight again. It seems to pull 90% of the time. THe guy at Goodyear didn’t think the problem is the alignment because of the pulling not being consistent. His only thought is maybe the gear box is binding. I’ve added more oil to the box since the alignment and that didn’t change anything.

I figured out the problem on Nov. 27th. I first checked the ball joints to see if I over tightened. They were good. I had my wife wiggle the steering back and forth while I was under the car. The problem turned out to be the strut rod. The alignment guy didn’t tighten the bolt on the back side when he adjusted it. Why do I even bother trying to trust an alignment guy to do his job right. Now I need to take it back in to have it rechecked because it is pulling to the left. At least it isn’t changing from pulling to going straight.

I took the car back to Goodyear this afternoon and the Guy who did it insisted that he didn’t touch the strut rod even though he would’ve had to.  I ended up just walking out.  I drove over to Big O Tire and they got it dialed in right.

Steering

The steering is done. I had a hard time getting the old pitman arm off. I tried heat, a hammer, puller, ext. on Friday. I almost broke my puller. I ended up letting it sit over night with PB Blaster on it. Saturday morning I put the puller in it and it popped right off.I finished the car around noon on Saturday. I didn’t get the OMP done because the wind was crazy all weekend. It hit 70+ MPH and I decided to not do the OMP when the wind was making the car sway on the jack stands.
 
Inner and outer tie rods, idler arm, pitman arm, and tie rod end adjusting sleeves are all installed. These are all Moog brand parts.
 
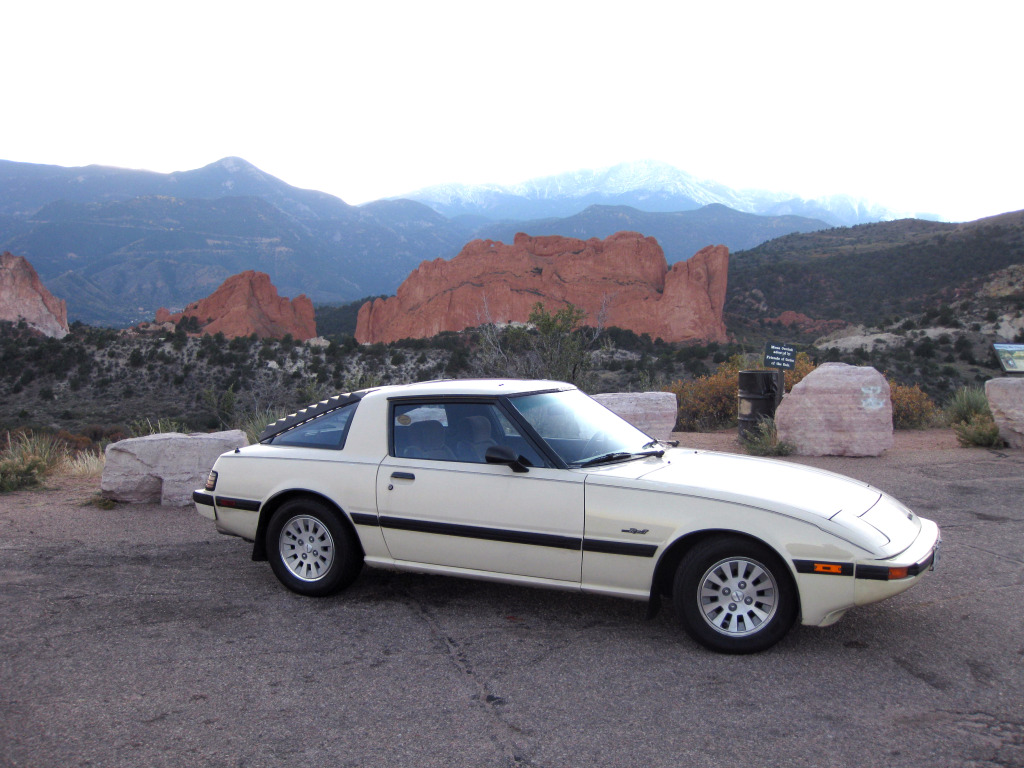
I took the car to Goodyear to have it aligned. I’m going to have to take it back because it is pulling slightly to the left. Overall I’m very happy with the car. The steering is tight, the brakes are working great, and no more vibration or bearing noise.
 

Bearings and Brakes

I made really good progress on the installs but it took longer than I planned. Old cars are a pain to work on sometimes. I finished the bearings and brakes all the way around.

I now have new outer bearing for the rear and new inner and outer bearings for the front. I also have seals front and rear and Royal Purple oil in rear. The brake rotors are replaced both front and rear as well as new wheel studs for the front rotors. The pads and hardware are new all the way around and the front are Hawk HPS pads. Stainless steel brake lines and speed bleeders are now installed all the way around. The ball joints are replaced as well and I would say that was probably the hardest part of the project.

RX-7 Literature

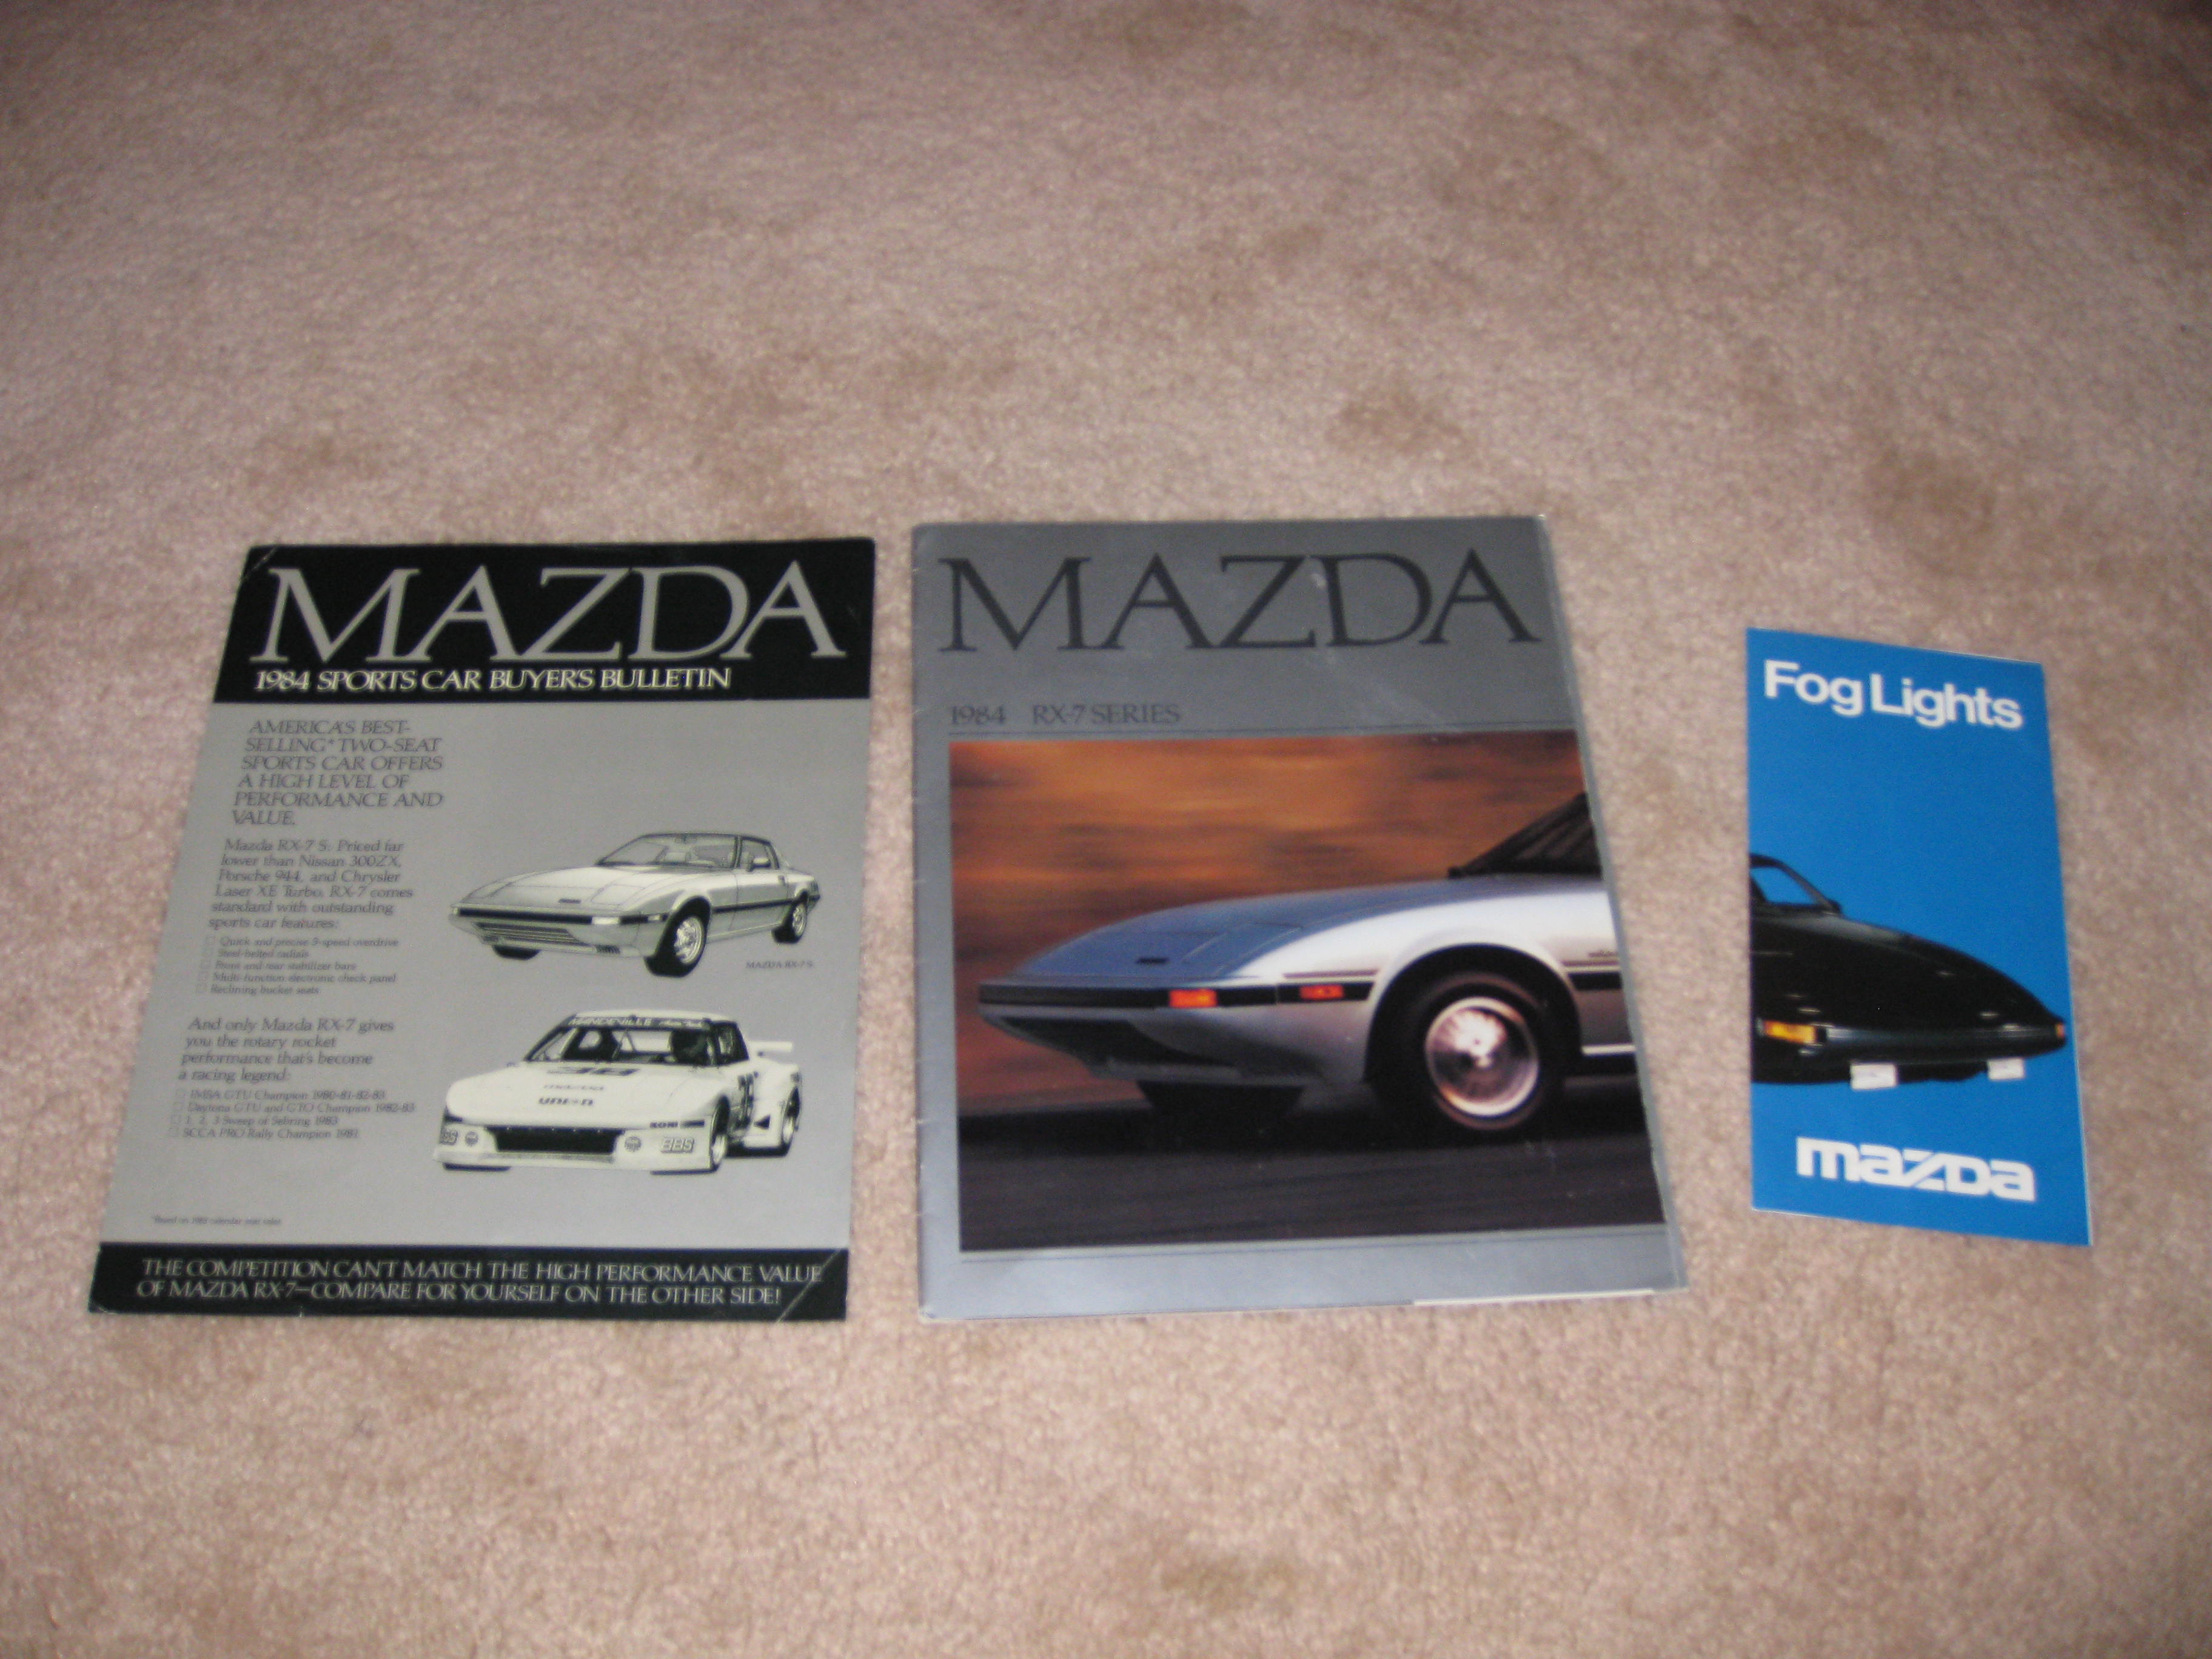
I purchased off eBay some original RX-7 literature. 1984 Mazda RX7 & RX7 GSL Buyers Bulletin, 1984 Mazda RX7 Brochure, 1981 Mazda RX7 626 GLC Bosch Fog Lights Brochure. The total cost was $39 shipped.  They are all in near mint condition.  These really add to the collection of literature about the 1984 GSL-SE. I plan to do an article about the specs of the SE from the information I have gathered in the future.


Fog Lights Installed

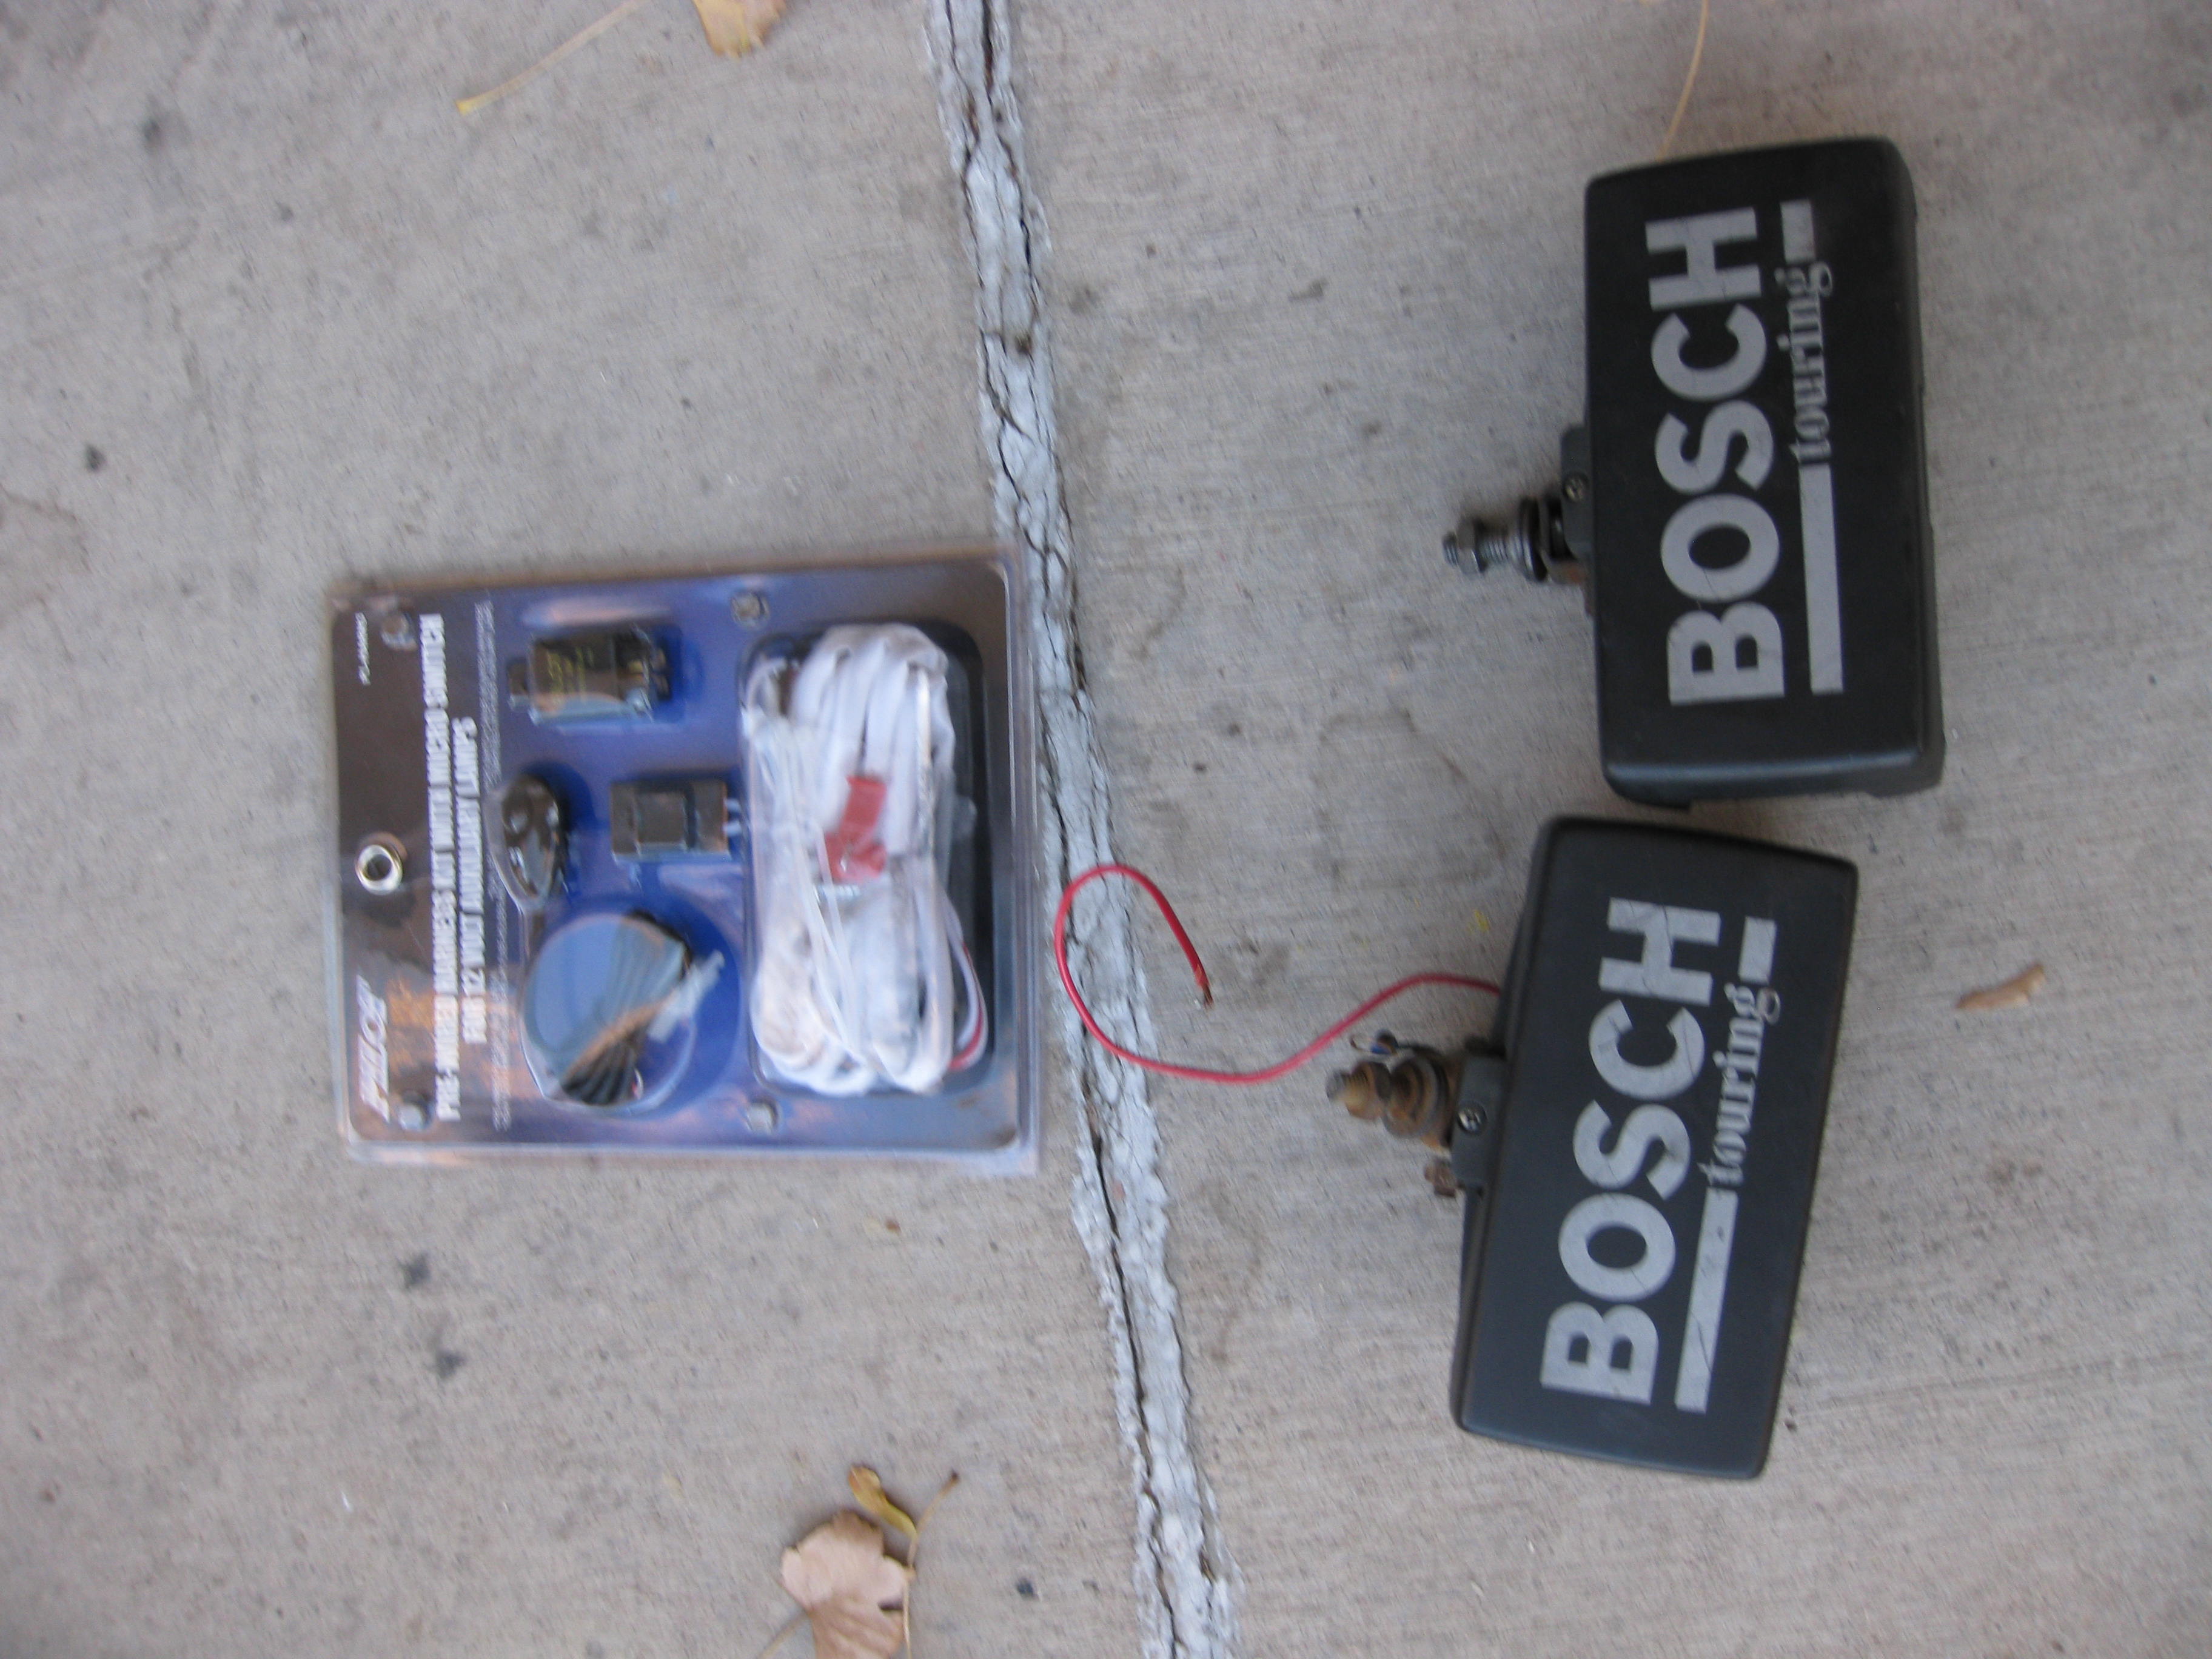
I picked up a set of Vintage Bosch Touring fog/driving lights with covers off ebay for $70 shipped.  These are period fog light that could have been installed at the dealer back when the car was new.

I also when to the parts store and picked up a Pilot pre-wired harness kit with relay (PL-HARN3).  This kit really made the installation easy.  I cruised the local salvage yard for a nice looking switch that fit the car perfectly.  I found a fog light switch out of a Jeep Cherokee that fit really well into the blank space by where that choke would have been.  It isn’t the best looking switch though. I would really like to find a 89-91 RX-7 fog light switch but it has been hard to come by.


I installed the fog lights into the furthest to the outside lower bumper clip holes. I had to drill the holes out slightly to fit the light mounts.  The wiring was connected right to the main fusible link box under the hood. I ran the main power wire under the battery tray with the existing wiring.  The wiring is than attached to the round bar in front of the radiator with the existing wiring.  I installed the relay to the same bolt and the buzzer relay buy the battery and the fuse is next to it.  The switch wiring follows the main harness under the dash.  The switch power is tapped into the cigarette lighter since it isn’t a real power draw (only needs to trip the relay).


I’m very happy with the way it turned out.  It looks as clean as if it were installed at the factory.

IMSA/GTU Sticker

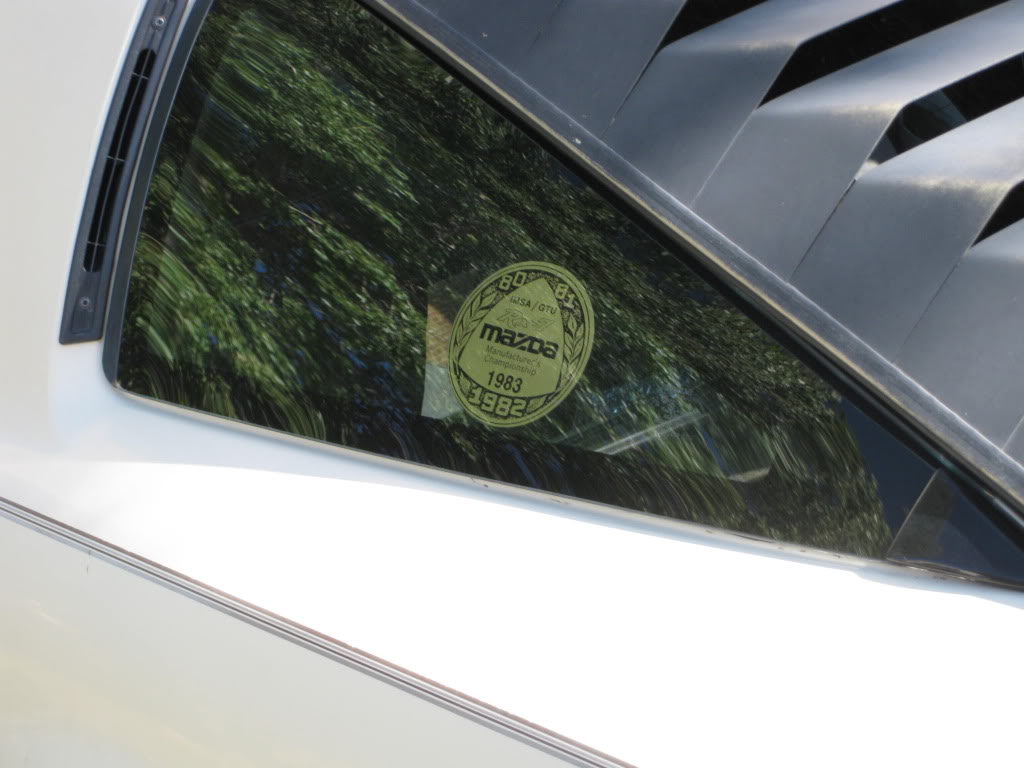
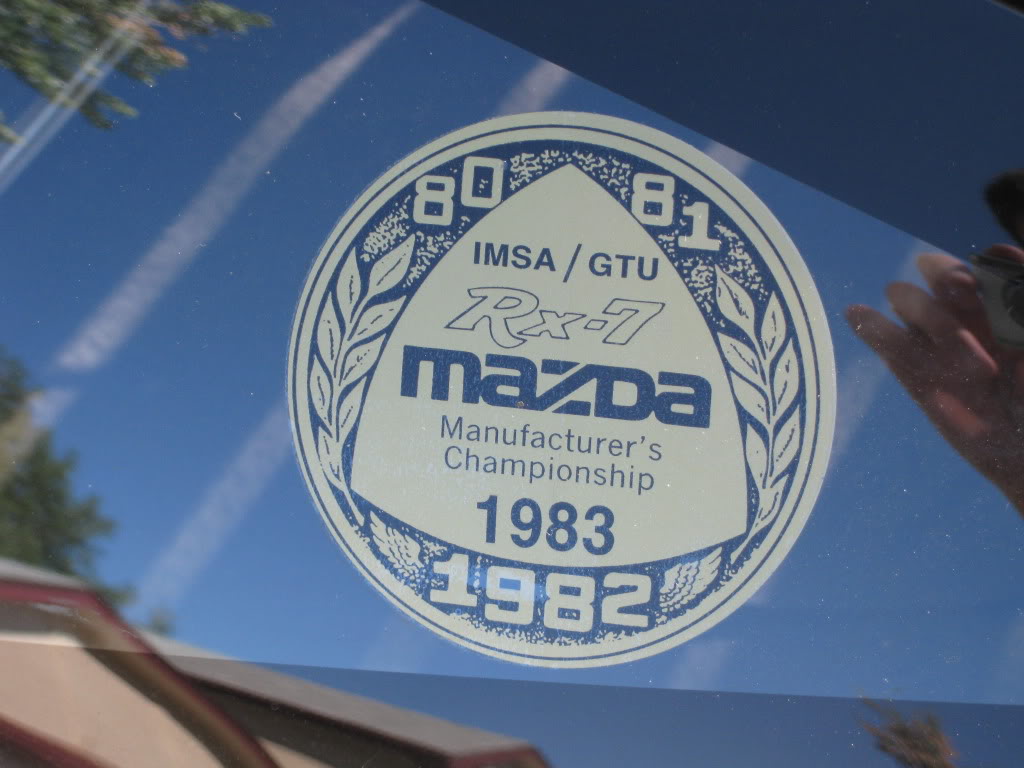
I picked up a copy of the original sticker that can on most first generation RX-7s in the US. It was always located on the drivers side rear quarter window but actual location varied.  The sticker I picked up is a little larger (about 1/2″) but otherwise is an exact copy.  I payed $13 off ebay including shipping.  I’m very happy with the quality.


I was digging through some boxes in the garage and I found an old Micro Machines toy of an FB RX-7 that I’ve had since it was new.  I guess I was an RX-7 owner before I even knew what it was.


I purchased a working windshield washer reservoir sensor. The low washer fluid light stayed on all the time on my old one. Now it works just like it did when the car came from the factory. At some point I’d like to pick up a new windshield washer reservoir since the one I have has discolored.


I also picked up the screw I was missing for the ignition switch. Without that screw there way nothing keeping the ignition switch from working its way out of the back of the lock assembly.

Door Key Illumination

The door key illumination has not worked on my car since I got it.  The illumination of the ignition has worked so I figured it was something with the bulb itself and not the switch.  I pulled the driver’s side door panel to inspect the system.  Removing the panel is fairly straightforward.

To remove the door panel, you have 6 screws and clips around the edge. Two of the screws are larger and behind covers. One at the top of pull and one under the arm rest. A screw in the door pull bucket and one in the door handle bucket.  You also have two color matched screws. One screw just above the pocket and one in the bottom corner towards the back of the car.

Once I had the panel off, I was able to look over the illumination system.  It turned out the wires coming out the back of the bulb were sheared. I took the bulb to RadioShack to find a matching bulb. I found one that worked. Mini Lamp 272-1141 12 Volts and 25mA.  The bulb was actually an exact match to the original and I was even able to use the original green cover.  I soldered the wires right to the original and reinstalled.

After testing it I fount it still wasn’t working.  It turns out the bulb was installed on the wrong side.  I pulled the bulb and clip back out and installed it on the opposite side. If you look at the lock real close, you can see a small slit to let the light through. Now all is back together and working great.

While I had the door panel pulled, I installed new window channels.  The channel on the driver’s side was torn at the front edge causing the window to pop out of the channel now and again.  I lubed the entire track and regulator.  I also pulled the passenger side to replace and lube the window channel and lube the regulator.