Vapor Lock Part 2

While talking with one of the local GSL-SE owners , I found that he is also have the vapor lock problem.  He contacted Pineapple Racing about the problem.  They said that it happens on GSL-SE’s now and again when you have a combination of high altitude and high temperatures.  Their only suggestion was to add some kind of fan to blow under the intake and get some air flow.  That isn’t really a viable option in my opinion.

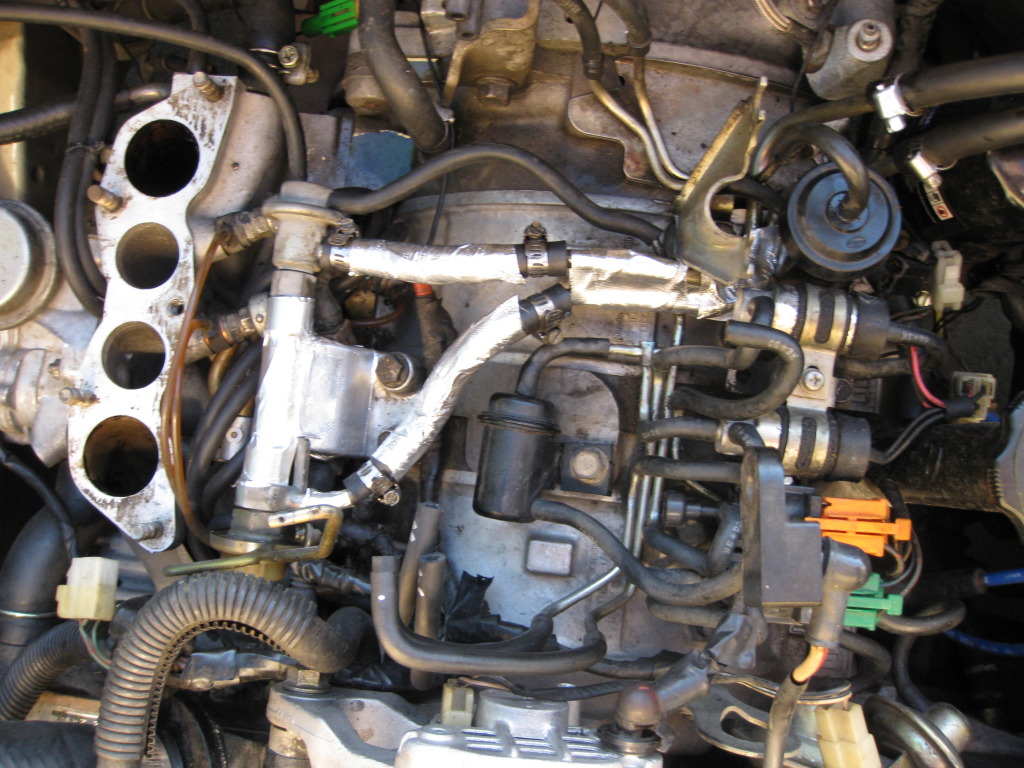
I picked up a roll of DEI Cool Tape to use to insulate the lines instead.  It seems to be a good quality product and it sticks well but it does seem to be a little on the thin side.  If I was to do it again, I may consider buying Thermo-Tec tape instead.

I wrapped the tape around the rubber lines that are inder the intake two times.  I covered the top of the fuel rail with a layer of tape.  There is a section of hard line that is welded to the upper intake support.  The hard line may be part of the problem since it is bolted directly to the motor.  Three layers of tape was added to the underside of the support between the support and motor.  Two layers of tape was also added around the part of the hard lines that aren’t visible.  There was some extra tape since 15 feet was in the package. I used some of the extra to insulate the underside of the upper intake for added cooling.


When the intake was pulled we say that a few of the vacuum lines were not sealing as well as they should so they were replaced.  The vacuum line goes to the fuel pressure regulator wasn’t sealing all that well so it was replaced and vip ties were used for added sealing.

The car needed to be tuned again after everything was reinstalled. I will need to tweek the tune a little to get it just right.

Thanks to Nash for help.
Vapor Lock

We took the car on its first real trip over 4th of July weekend, about 1000 miles of total driving. We drove it to Grand Junction, CO and back down I70. The car drove fine most of the way, I never had any problems with the car overheating. I did haveproblems withthe car vapor locking both directions. The first time was in Georgetown heading over because the traffic was really bad. I also had problems on the way back going up Vail Pass because it was a parking lot (cars were stuck everywhere).

The first time it happened, the gas tank built so much pressure that when I opened the gas cap it sprayed gas out. I disconnected the hose for the gas tank vent just after the tank so I wouldn’t have any more pressure building.  I also checked the fuel filter to see if it was clogged and it looked fine.  We let the car sit for a while and it made the rest of the drive without a problem.

Once we got into Grand Juntion, we blew out the vent lines and inspected the check and cut valve. The valve seemed to be working fine when I tested it. There was a small amount of dust that came out of the hard line between the valve and the charcoal canister but not much.  I took the car on a drive and it was still building a small amount of pressure. I decided to leave the line disconnected for the trip back.

On the way back home it happened on Vail Pass.  Vail pass goes from Vail (8022 feet) to the summit (10617 feet). And this was in really bad traffic, it was basically a parking lot. There were cars overheating and vapor locking everywhere. I got stuck in a spot with 2 other cars with the same problem. I would say there were over 100 cars that overheated that I saw. I’m really happy my car wasn’t overheating, it actually stayed right where it should. The intake got really hot, I couldn’t even touch it. I made it to a mountain stream so I cooled the intake down and that really helped. I also drove the rest of the way over the pass with the hood popped open so I could get more airflow.

Another reason that I think it is vapor lock is that when the car started to stall the pump would start to make a ton of noise like it was running out of gas. I was doing some looking online at fuel injection cars with vapor lock. What I found is that it is rare but it does happen. The reason that they moved the pump to in tank was mainly because it prevented problems like this.

Possible causes for the car stalling that I found:
-bad temp sensor (already replaced)
-weak pump (less than 6 months old)
-clogged fuel filter (replaced about 3 weeks or so ago)
-bad pressure regulator (haven’t looked into)
-fuel line getting way too hot

I’m going to replace the pump since it is still under warranty.  I’m not getting a much power over 5k rpm still so I’m thinking the problem could be related to the pump or pressure regulator. I’m also going to swap out the check and cut valve since I have one that I know is good and it’s a quick change.

Oil Metering Pump Rebuild and Paint Estimate

I rebuilt the oil metering pump last Thursday. I used Pineapple Racing’s Mechanical OMP Kit & DVD. The rebuild was very straightforward and the DVD was easy to follow.  I broke the o-ring on the piston and had a little trouble finding a replacement.  I was able to find a very close replacement at Ace Hardware.  I’m most likely going to order a new rebuild kit unless I’m sure it isn’t leaking. The kit cost $25 plus shipping so it isn’t a huge expense.  If I was to just replace the OMP with a new one from Mazda, I’d be spending $250.  Since I pulled the OMP, I replaced the oil line crush washers.

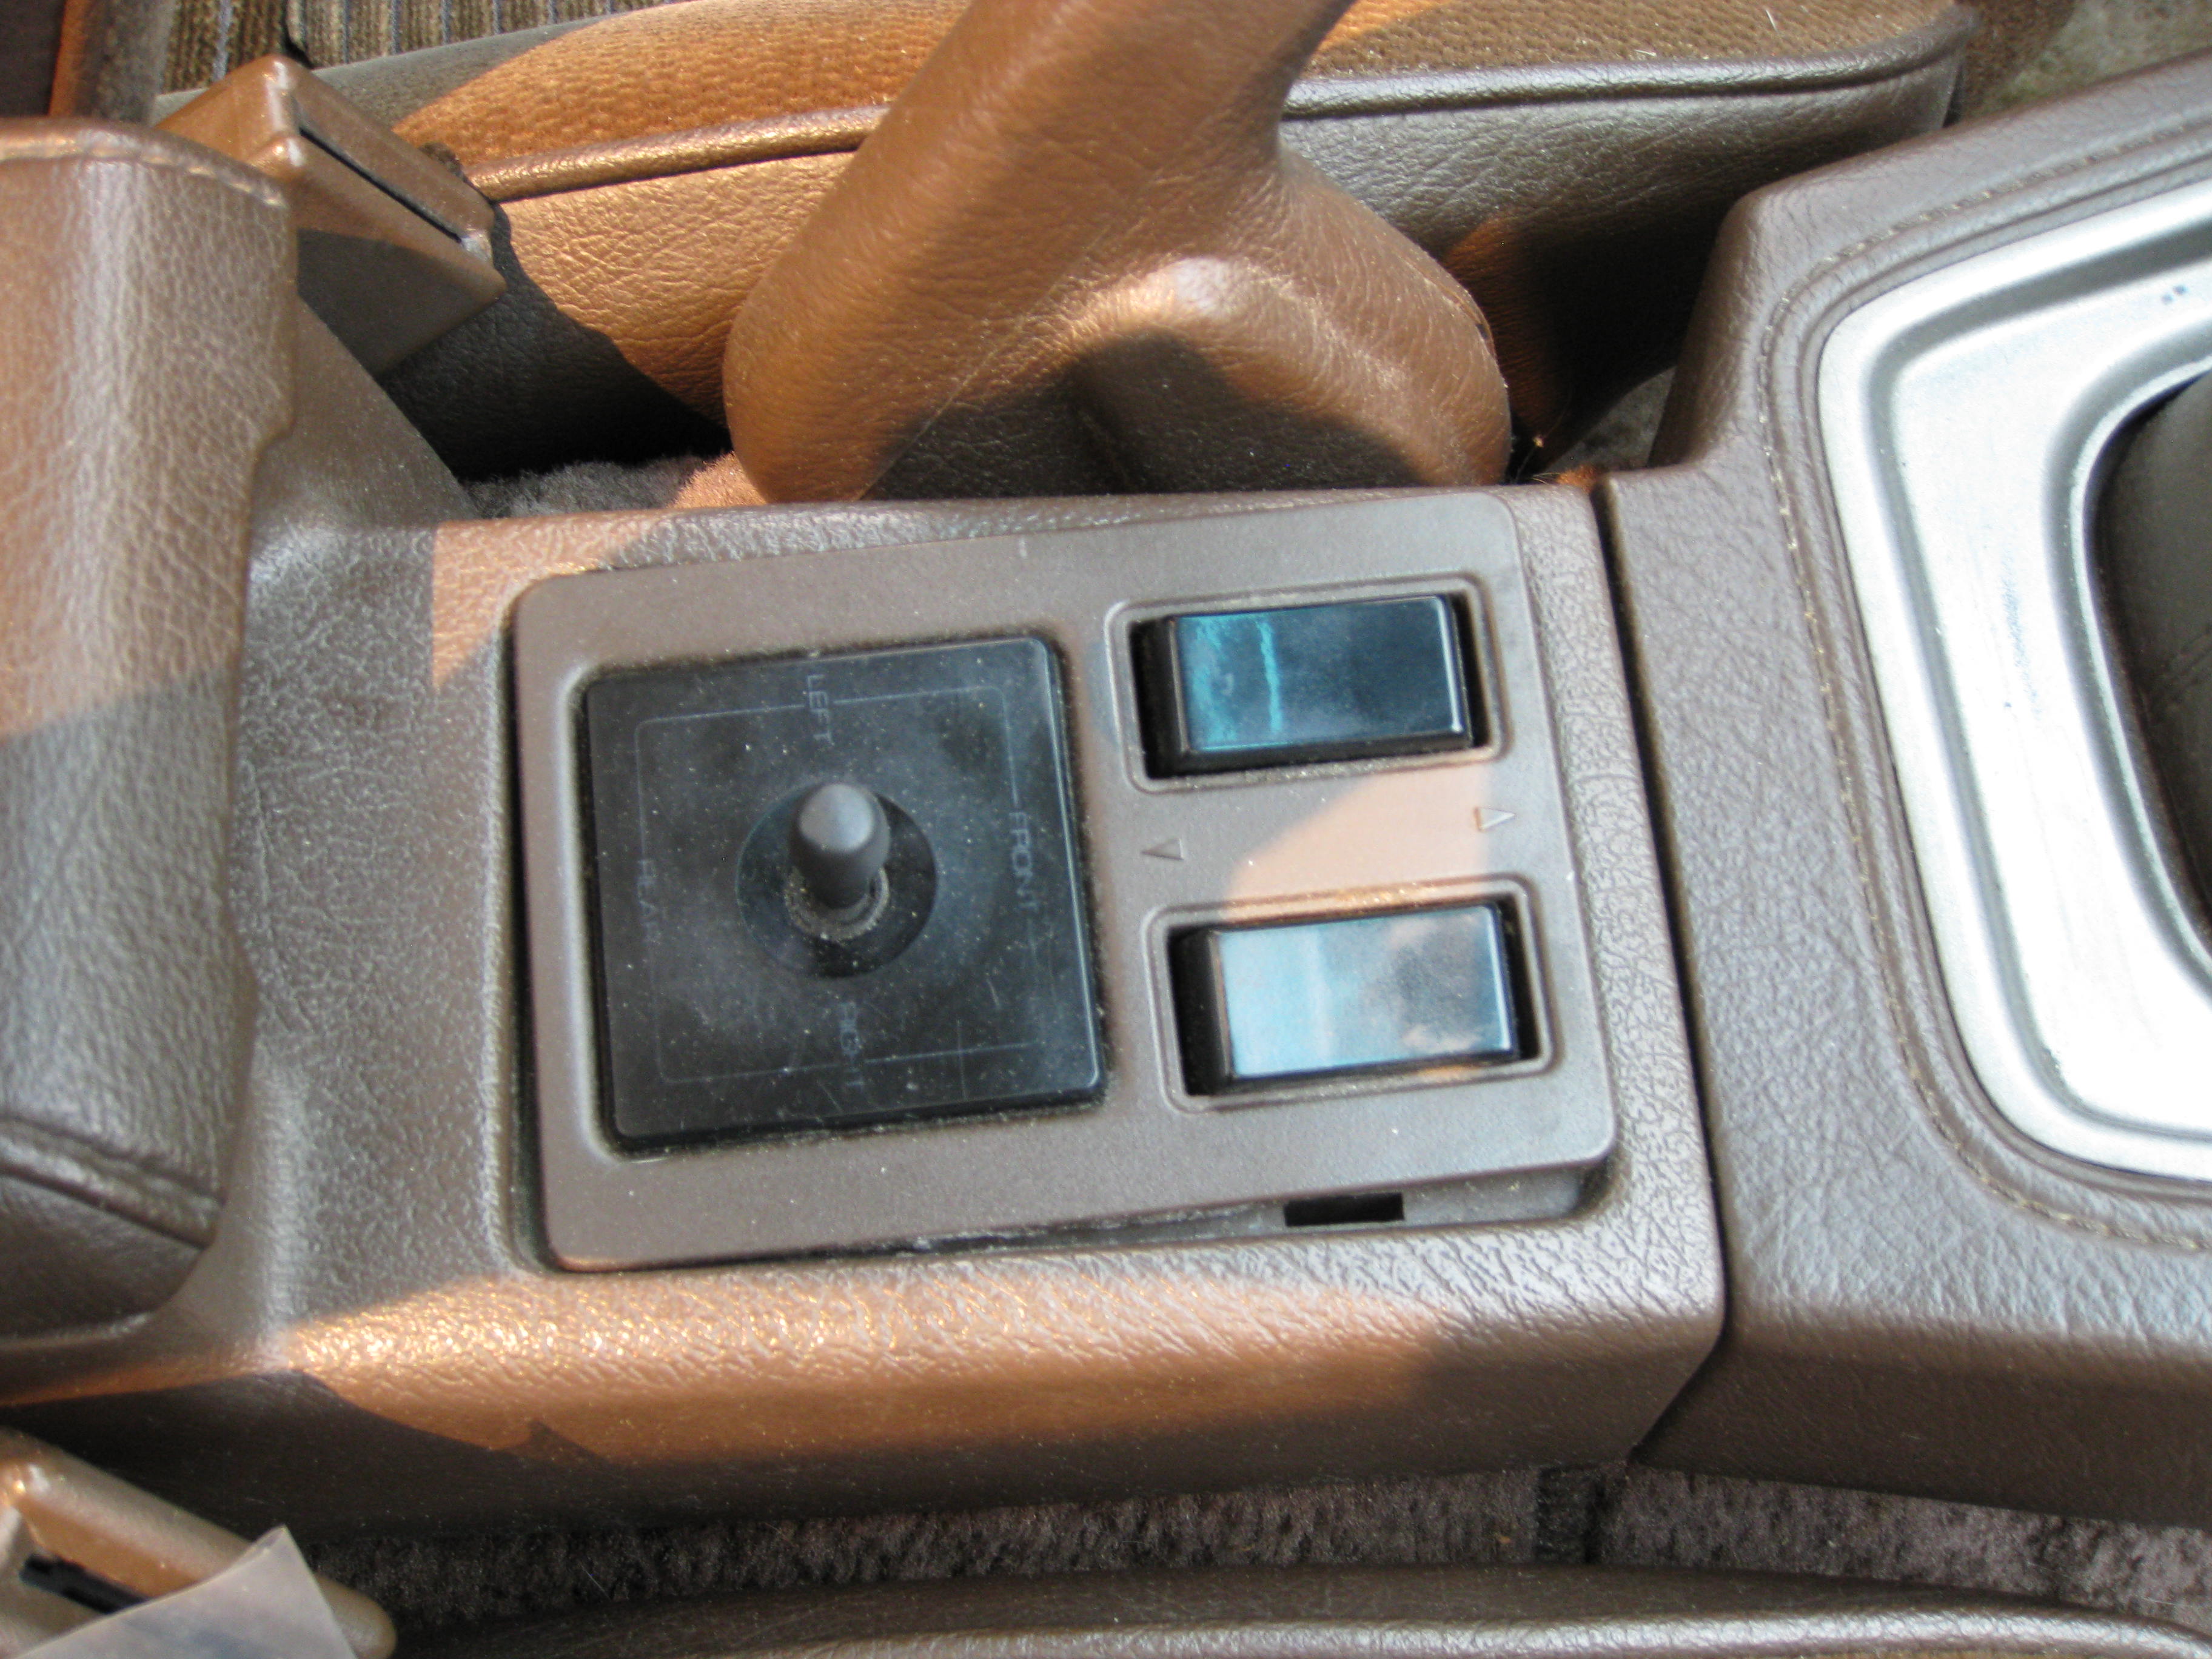
Friday I swapped out the shifter boot with the one I recieved a couple of weeks ago.  I had to spend quite a bit of time cleaning the boot but in the end it was better looking than the one off my car.  I also rebuilt the switch for the rear hatch area light.  I was able to use the switch off the car and another switch I already had to make one good switch.  It was a little hard to do because the switch was so small.  It is now working great. I’m slowly checking little projects off my list.

I got an estimate for the frame repair, body work, and paint.  The cost should be somewhere around $1500 for the work plus paint.  We will most likely use 2 quarts of paint and he only uses PPG.  I’m also looking at replacing all the seals, emblems, etc at the same time with a total cost of about $1200. I’m looking at a complete total cost of about $3000.  I’m going to be cutting the front of the car off from the strut towers forward off my old car so we can use them on the SE.  The damage is very hard to see. With the hood closed, you can see that the front is pushed to the right about a 1/4″.  It looks like this was repaired at some point but not done very well.  I would rather do it right once and spend the extra money than have a car I’m not happy with. I will be helping with the complete repaint of the car, including front end repair.

Surround and Vent Installed

I installed the inner shifter boot and shifter surround over the weekend.  The shifter surround looked to have a number of very light scratches that the seller told me about.  Once I cleaned the surround, all but one of the “scratches” tuned out to be dirt.  The brown shifter boot is covered in what looks like black grease so I haven’t installed it yet.  I temperarily mounted the existing boot to the surround. Mounting the boot took some time because the tabs that hold it were all broken.  One of the local RX-7 owners showed my how to use real small screws from my

I also installed the heater vent.  I was able to use the ywo vents I already had and the one I just got to make one good vent. I had to pull all three apart and use a dremel and epoxy to get the project done.

New Restomod Parts List

I’ve been thinking more about restomod part of this build. I think I’m going to skip most of it and keep this car more original.

New list:

  • Bönez Street Exhaust System $245
  • Hawk HPS pads $122
  • SS Brake lines (already have)
  • SS clutch line (already installed)
  • Racing Beat Muffler (already installed)
  • Eibach Springs (already installed)
  • Tokico Illumina Shocks $450
  • Energy Suspension Polyurethane Bushings $160

Parts I may or may not get:

  • Re-Speed Tubular Competition Sway Bar $250
  • Power Slot Brake Rotors $238

I figure that these parts would improve the car just slightly without changing the original feel of the car.

Install Weekend

Friday I replaced all the interior bits that I bought. I have a few more interior pieces on the way than that is basically done.

Thanks to help from one of the local RX-7 people, the motor mounts are changed out. We also replaced the crush washers for the oil injectors, belts, and fusable links. Today I replaced the starter and negative battery cable.

I still need to replace the shifter boot, and rebuild the oil metering pump. My list is starting to get really small.

Before:
After:

First Car Show

I took the car to it’s first car show this morning.  It was a free informal car show they do once a month in Colorado Springs.

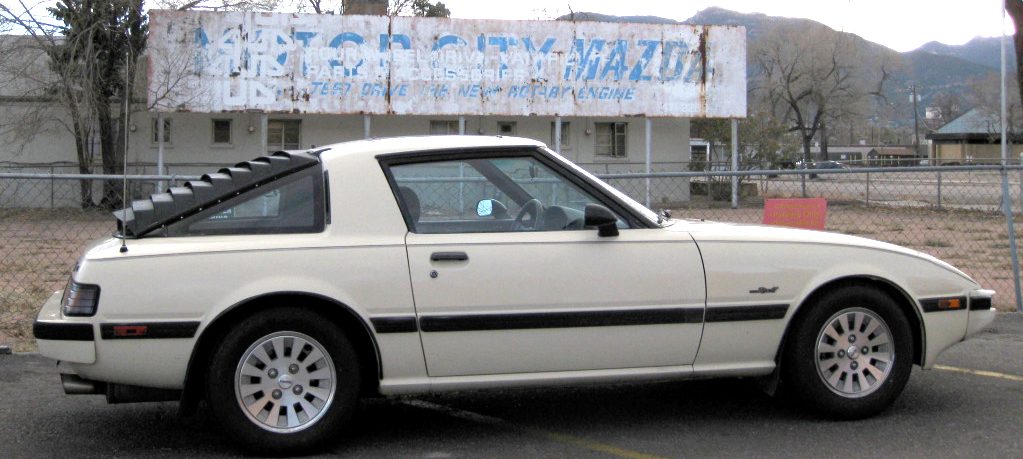
You can see the new (used) bumper installed on the car in the picture.  I repainted it with Duplicolor Toyota Cream spray paint to match as closely as I could.  The color is very close but is a little yellower.  I’ve worked on it over the past month.

Parts are Here

I plan to have a big install weekend this coming weekend.  I also have a guy from FL sending me a heater vent and shifter suround/boot. That will complete the interior repair.

Here are all the new interior parts:

Headliner Rear Clips, Switch Panel, Inside Door Pull Cups, Door Lock Trim pieces, and Brake/Clutch Pedal Pads

Here are the rest of the new parts:

Engine Mounts, Negative Battery Cable, Positive Battery Cable, Fusible Links, Belts, inner transmission boot, and Oil Metering and Oil Injector Sealing Washers

Shampooed the Carpets

I shampooed the carpets and floor mats on Sunday so I don’t have to worry about oil saturated carpets any more. I gave the carpets an initial cleaning when I first picked up the car but they still had quite a bit of oil in them.  We rented a carpet cleaner from Home Depot  to clean the house so after I was done with that I did the carpets in the car.  I removed the driver’s seat so I could clean under it.  They came out really well and it took about an hour or so to do.  The carpet in the floor of the driver’s side has faded some due to the oil.  The floor mats have sun faded to green.
I also picked up RIT dark brown dye to redye the carpets and floor mats. I plan to start with the floor mats and see how they come out.
Also the parts will be here today.

More Parts Ordered

I have a ton of parts ordered:
Headliner Rear Clips – 4
Switch Panel Brown (around p/w switches and balancer)
Shifter Cover Panel and Boot Brown
Inside Door Pull Cup Left Brown
Inside Door Pull Cup Right Brown
Door Lock Trim Brown – 2
Brake/Clutch Pedal Pad – 2
Engine Mount Left
Engine Mount Right
Negative Battery Cable
Positive Battery Cable
Fusible Link – Brown – 3
Fusible Link – Black
Fusible Link – Green
Belt – Alternator
Belt – Air Pump
Inner Transmission Boot
Oil Metering Copper 5-Hole
Oil Metering Copper Outer @ Pump to Line – 4
Oil Injector Sealing Washer – 8

I found out that the shifter cover panel and boot have been discontinued after I made the order but everything else is on its way.  Total cost is $305  The parts will be shipped on the 26th.