Hail!!!!!

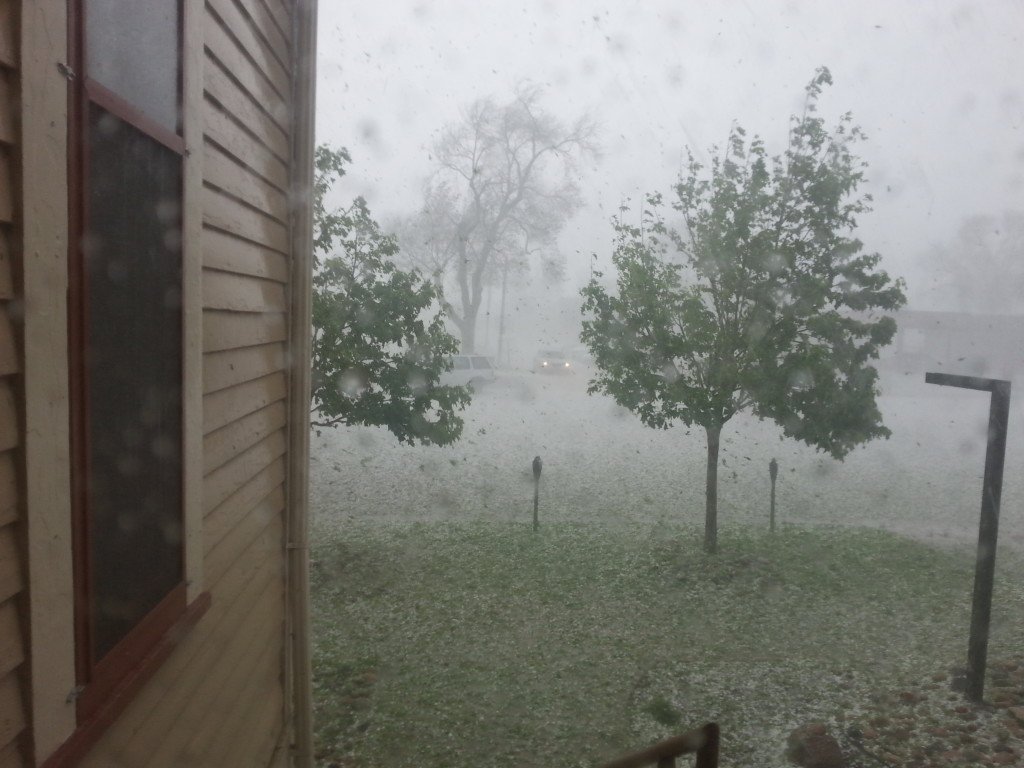
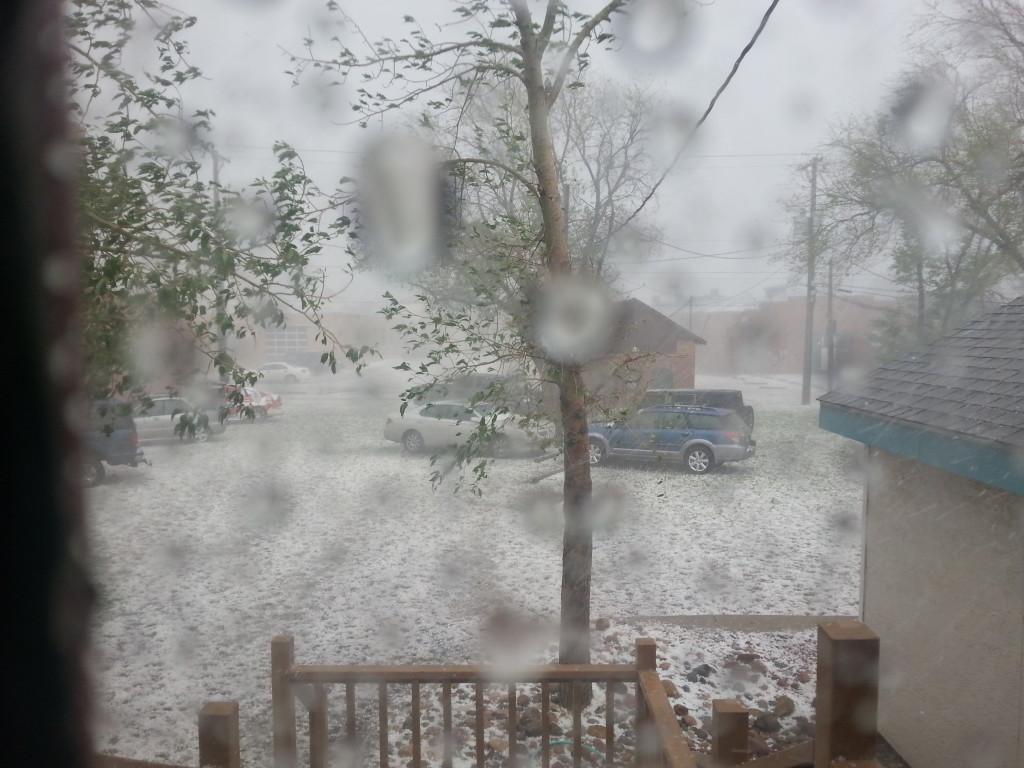
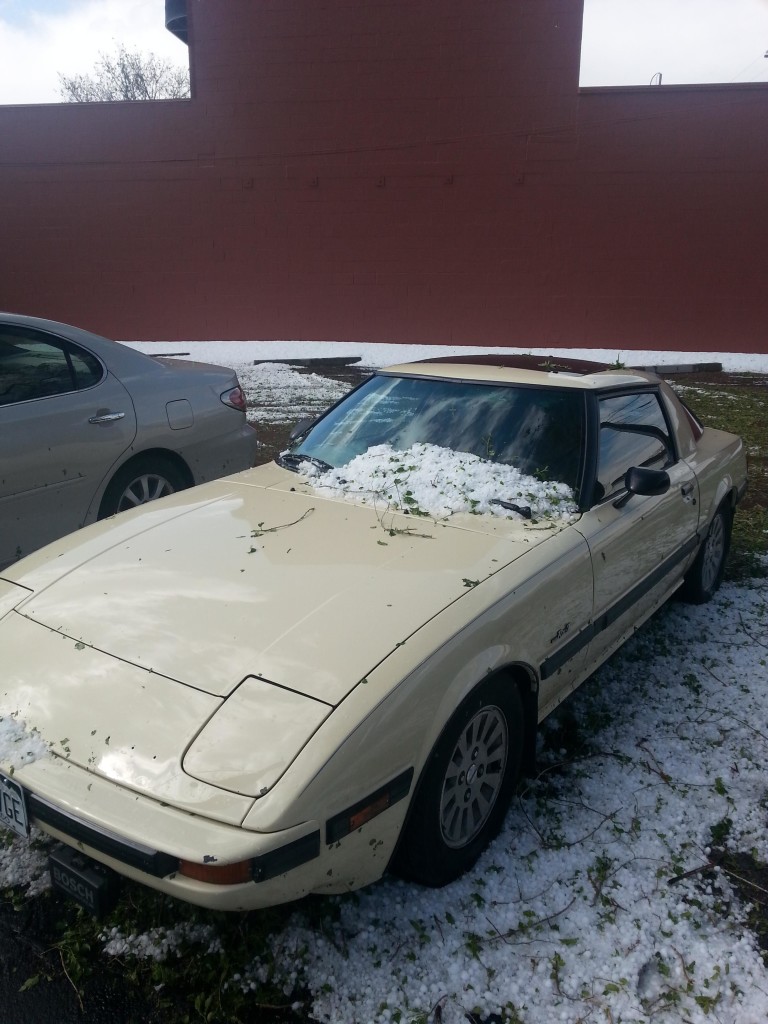
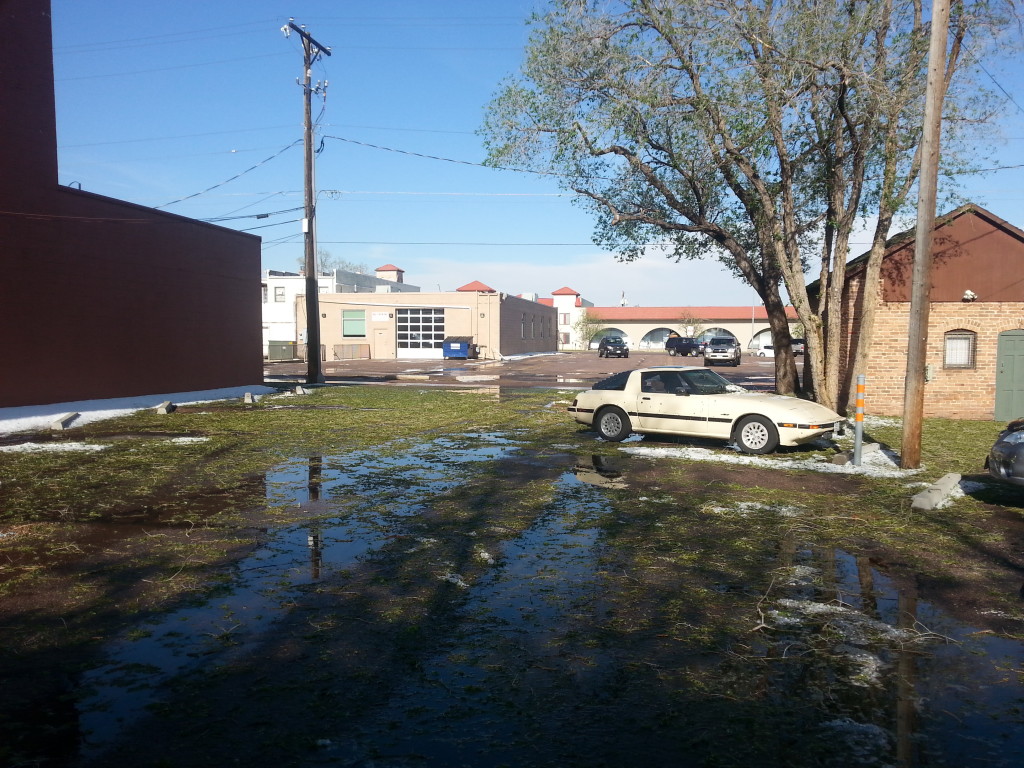
Well the car has hail damage after yesterday’s storm. It seems like everyone who was in downtown Colorado Springs was hit with hail. The car has minor hail damage over most of the car as well as a chip and crack in the front bumper and a chip on the headlight lid. I also ended up with a cracked wiper arm and the front emblem came off.

I’m not very happy about having to deal with this especially now that the car is basically finished.

20140521_1525581_zpsa9e0ad65 20140521_1527191_zps370bbb53 20140521_1641521_zpsdb748537 20140521_1743211_zps2abed604

Trailing Ignitor

The car broke down on me this morning on the way to work about a mile from the house. It turned out to be the trailing ignitor. The car didn’t even sputter, It just shut off.  I spent about an hour waiting for the tow truck to show up. Once I got the car home, It too me less than 30 minutes to dig out the ignitor and swap it out.  I’m lucky I have about 8 of them in the garage.


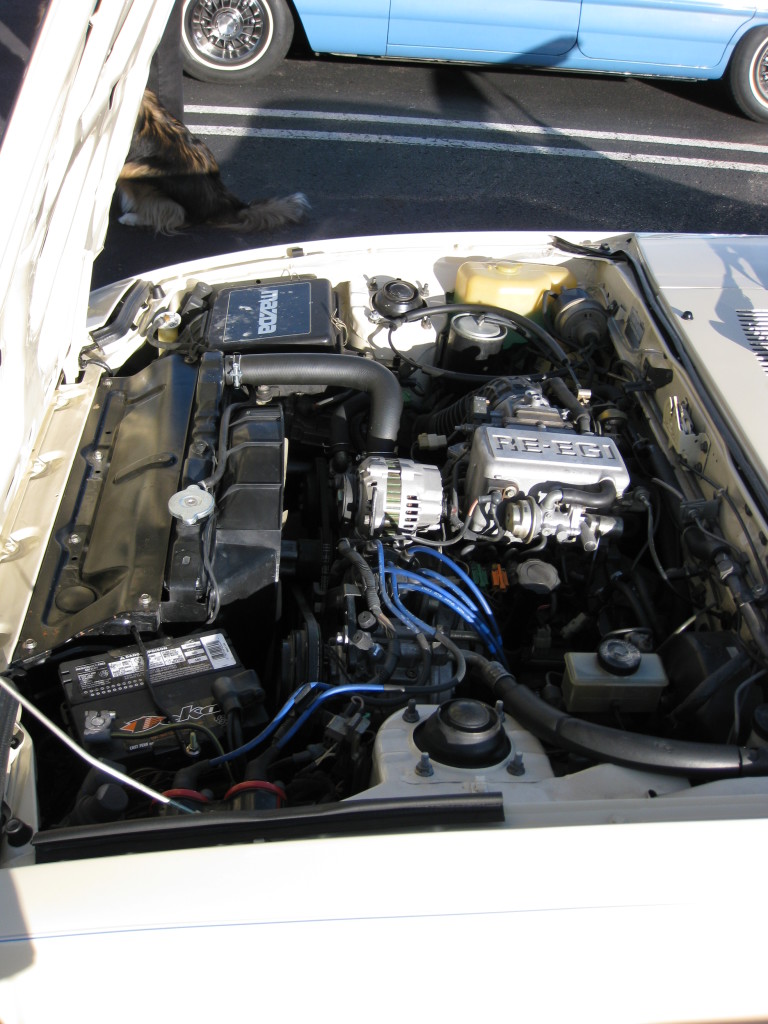
The trailing ignitor runs the tachometer on all 1981-85 RX-7’s but on the GSL-SE it is also the crank angle sensor of sorts and runs the fuel injection system. When it died, the fuel system completely shut off. The easiest way to tell if the trailing ignitor has died is looking at the tach. If the tach sits at zero when the car is being cranked than there is a high chance that the trailing ignitor is shot.

Heater Control Valve Part 1

It looks like I’m going to need to replace the heater control valve. I’ve been smelling coolant slightly since about January but I haven’t seen any moisture. I have the replacement that I installed in my black car (removed it before I scrapped it).

I’m going to have to remove the entire dash to do the install and at that point I might as well swap out the carpet that I’ve had in the garage for a while now.

Hard Starting Part 2

On Friday, I replaced the injectors. The car definitely starts better. I still need to get it tuned right, I’m having a lot of trouble getting it right. I’m open to suggestions.

Sunday Dwduc from Colorado Mazda Club and his friend helped me bend the cat pipe so it lines up right and stops causing an exhaust leak. I still need to replace the studs at the manifold to down pipe with ones that actually fit the car right.

I also still need to fix the drive shaft (one I brought in is not fixable) and fix the negative camber on the driver’s side. The camber bolt I purchased does not fit.

Drive Shaft

I dropped my extra drive shaft off at Driveline Services in Colorado Springs yesterday to have the u-joints replaced and the shaft balanced. I also picked up the output shaft seal two days ago. I just got a call from Driveline Services, my other drive shaft is completely shot. The joints are ovaled out.

I’m going to need to just work with the one I have in the car right now until I can afford to replace it.

Hard Starting Part 1

I’ve been struggling to get the car to run right. I continue to have trouble getting the car to start after it has sat. I tried tuning it but nothing seems to help.  I’ve narrowed part of my problem down to my injectors leaking. I had these injectors cleaned a couple of years ago but the car sat for almost a year and a half during the painting process with no fuel stabilizer and the painter started the car and moved it around the shop. The bad fuel in turn clogged the injectors again.

I sent my extra injectors out for a cleaning to RC Engineering, I should get them back by the end of this week. I also received an intake gasket set, exhaust gaskets, and a camber cam bolt kit. The Mazda brand output shaft seal should be here today and I plan to have the extra driveshaft worked on this week.

I needed the camber cam bolt kit to help offset the 5% of negative camber that I have on my driver’s site front wheel. I assume it is from the leftover of the previous accident.

I’m planning the get the work all done on the car this weekend. I’m really tired of the injectors leaking and flooding the car. I’m also hoping to get the exhaust leak fixed this weekend or next week.

Seat Broke

I was running errands on the 10th and I sat in the car and the driver’s seat broke. The metal frame of the seat actually cracked (never heard of this happening before). The crack was in the seat bottom where the seat back bolts in. The metal actually stretched and cracked. I’m not a big buy by any means, just average. Saturday morning I spent taking the seat apart down to the frame to prep it for welding. Saturday afternoon I spent driving around trying to get hog rings for the seat upholstery. I got the pliers but never found the hog rings. Sunday my neighbor welded the seat frame. Once the frame was welded, I painted it black just like stock. I than swapped the seat bottom foam that was bad from a spare 84-85 passenger seat I had. The foam was a direct fit with no modification. I reused the old hog rings and put the fabric back on and put the seat back together. The repaired seat definitely hugs better with the foam replaced. Now I just need to have a section of the vinyl replaced.

Transmission Output Shaft Seal Replacement

I replaced the transmission output shaft seal over the weekend with a Timken brand seal.  The transmission has been leaking for a few months and dripping on the exhaust.  The leak wasn’t a bad one, mainly just seeping.

I also found that the U-joints on the drive shaft were on there way of going and had a little play.  I have a second drive shaft in the garage that I installed temporarily so I can take my other one to a driveline shop.

Cruise Control Cable Foam Replacement

http://www.mcmaster.com/

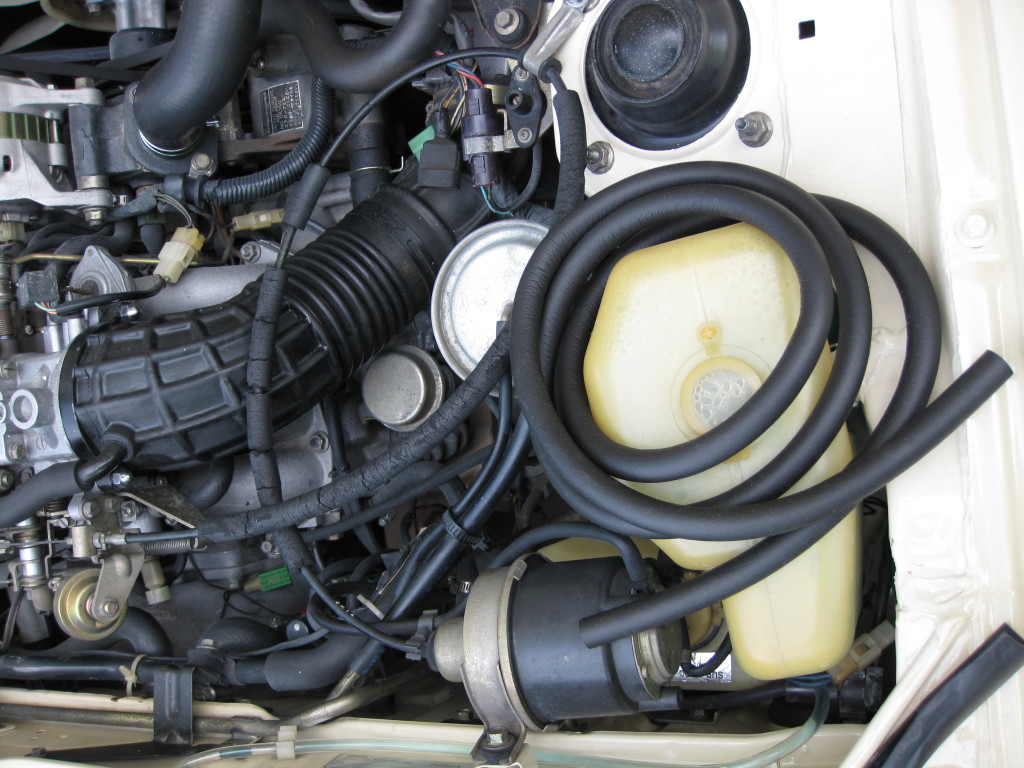
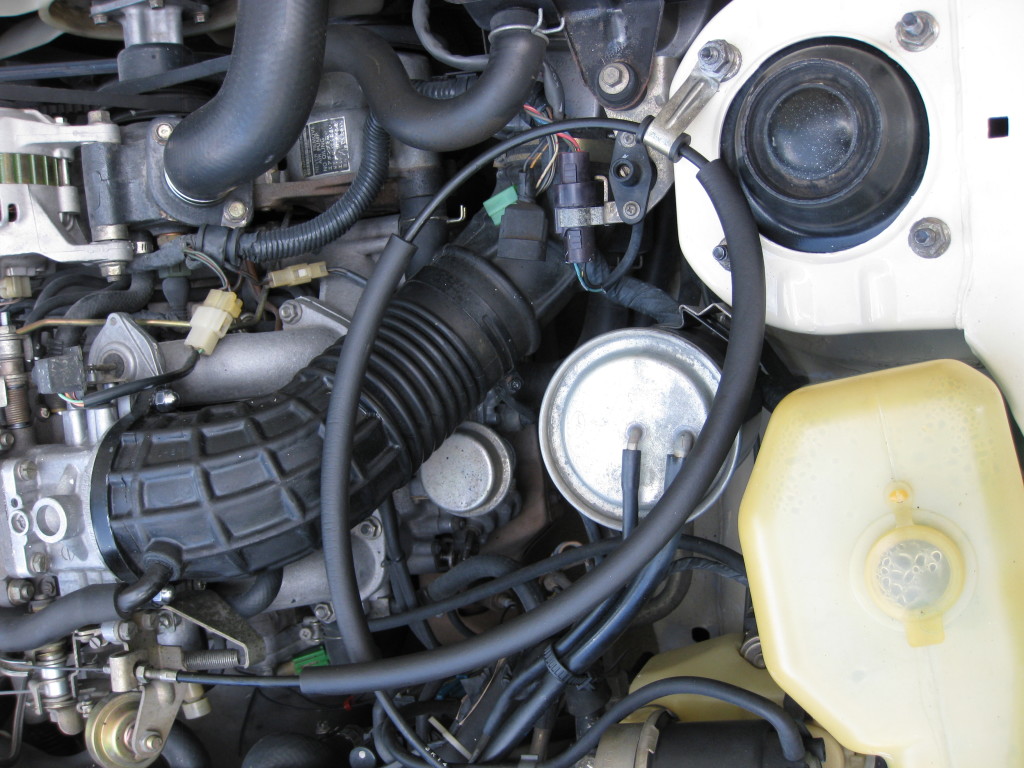
I ordered the Weather-Resistant EPDM Foam and Neoprene Spring Rubber. After actually getting them in the mail I can clearly see it is the Weather-Resistant EPDM Foam. I ordered part # 4339T3 Weather-Resistant EPDM Foam, Tube, 5/8″ OD, 1/4″ ID, 6′ Length $10.38. The size matches the factory perfectly.

I finally got this done (sick kid took all my time).

It was very easy to install. I removed the end of the cable from the throttle side, leaving the it completely intact. I cut the new foam to length using the existing foam as a guide. I then cut off the old foam off the cable, basically just fell off. The bracket that is bolted to the strut tower needed to be spread apart with a screw driver. I then sprayed WD40 down the new tube and slid it over the end.

If anyone was wondering, the EPDM foam is the same foam that was used as padding on the A/C hoses.
IMG_0112


IMG_0113