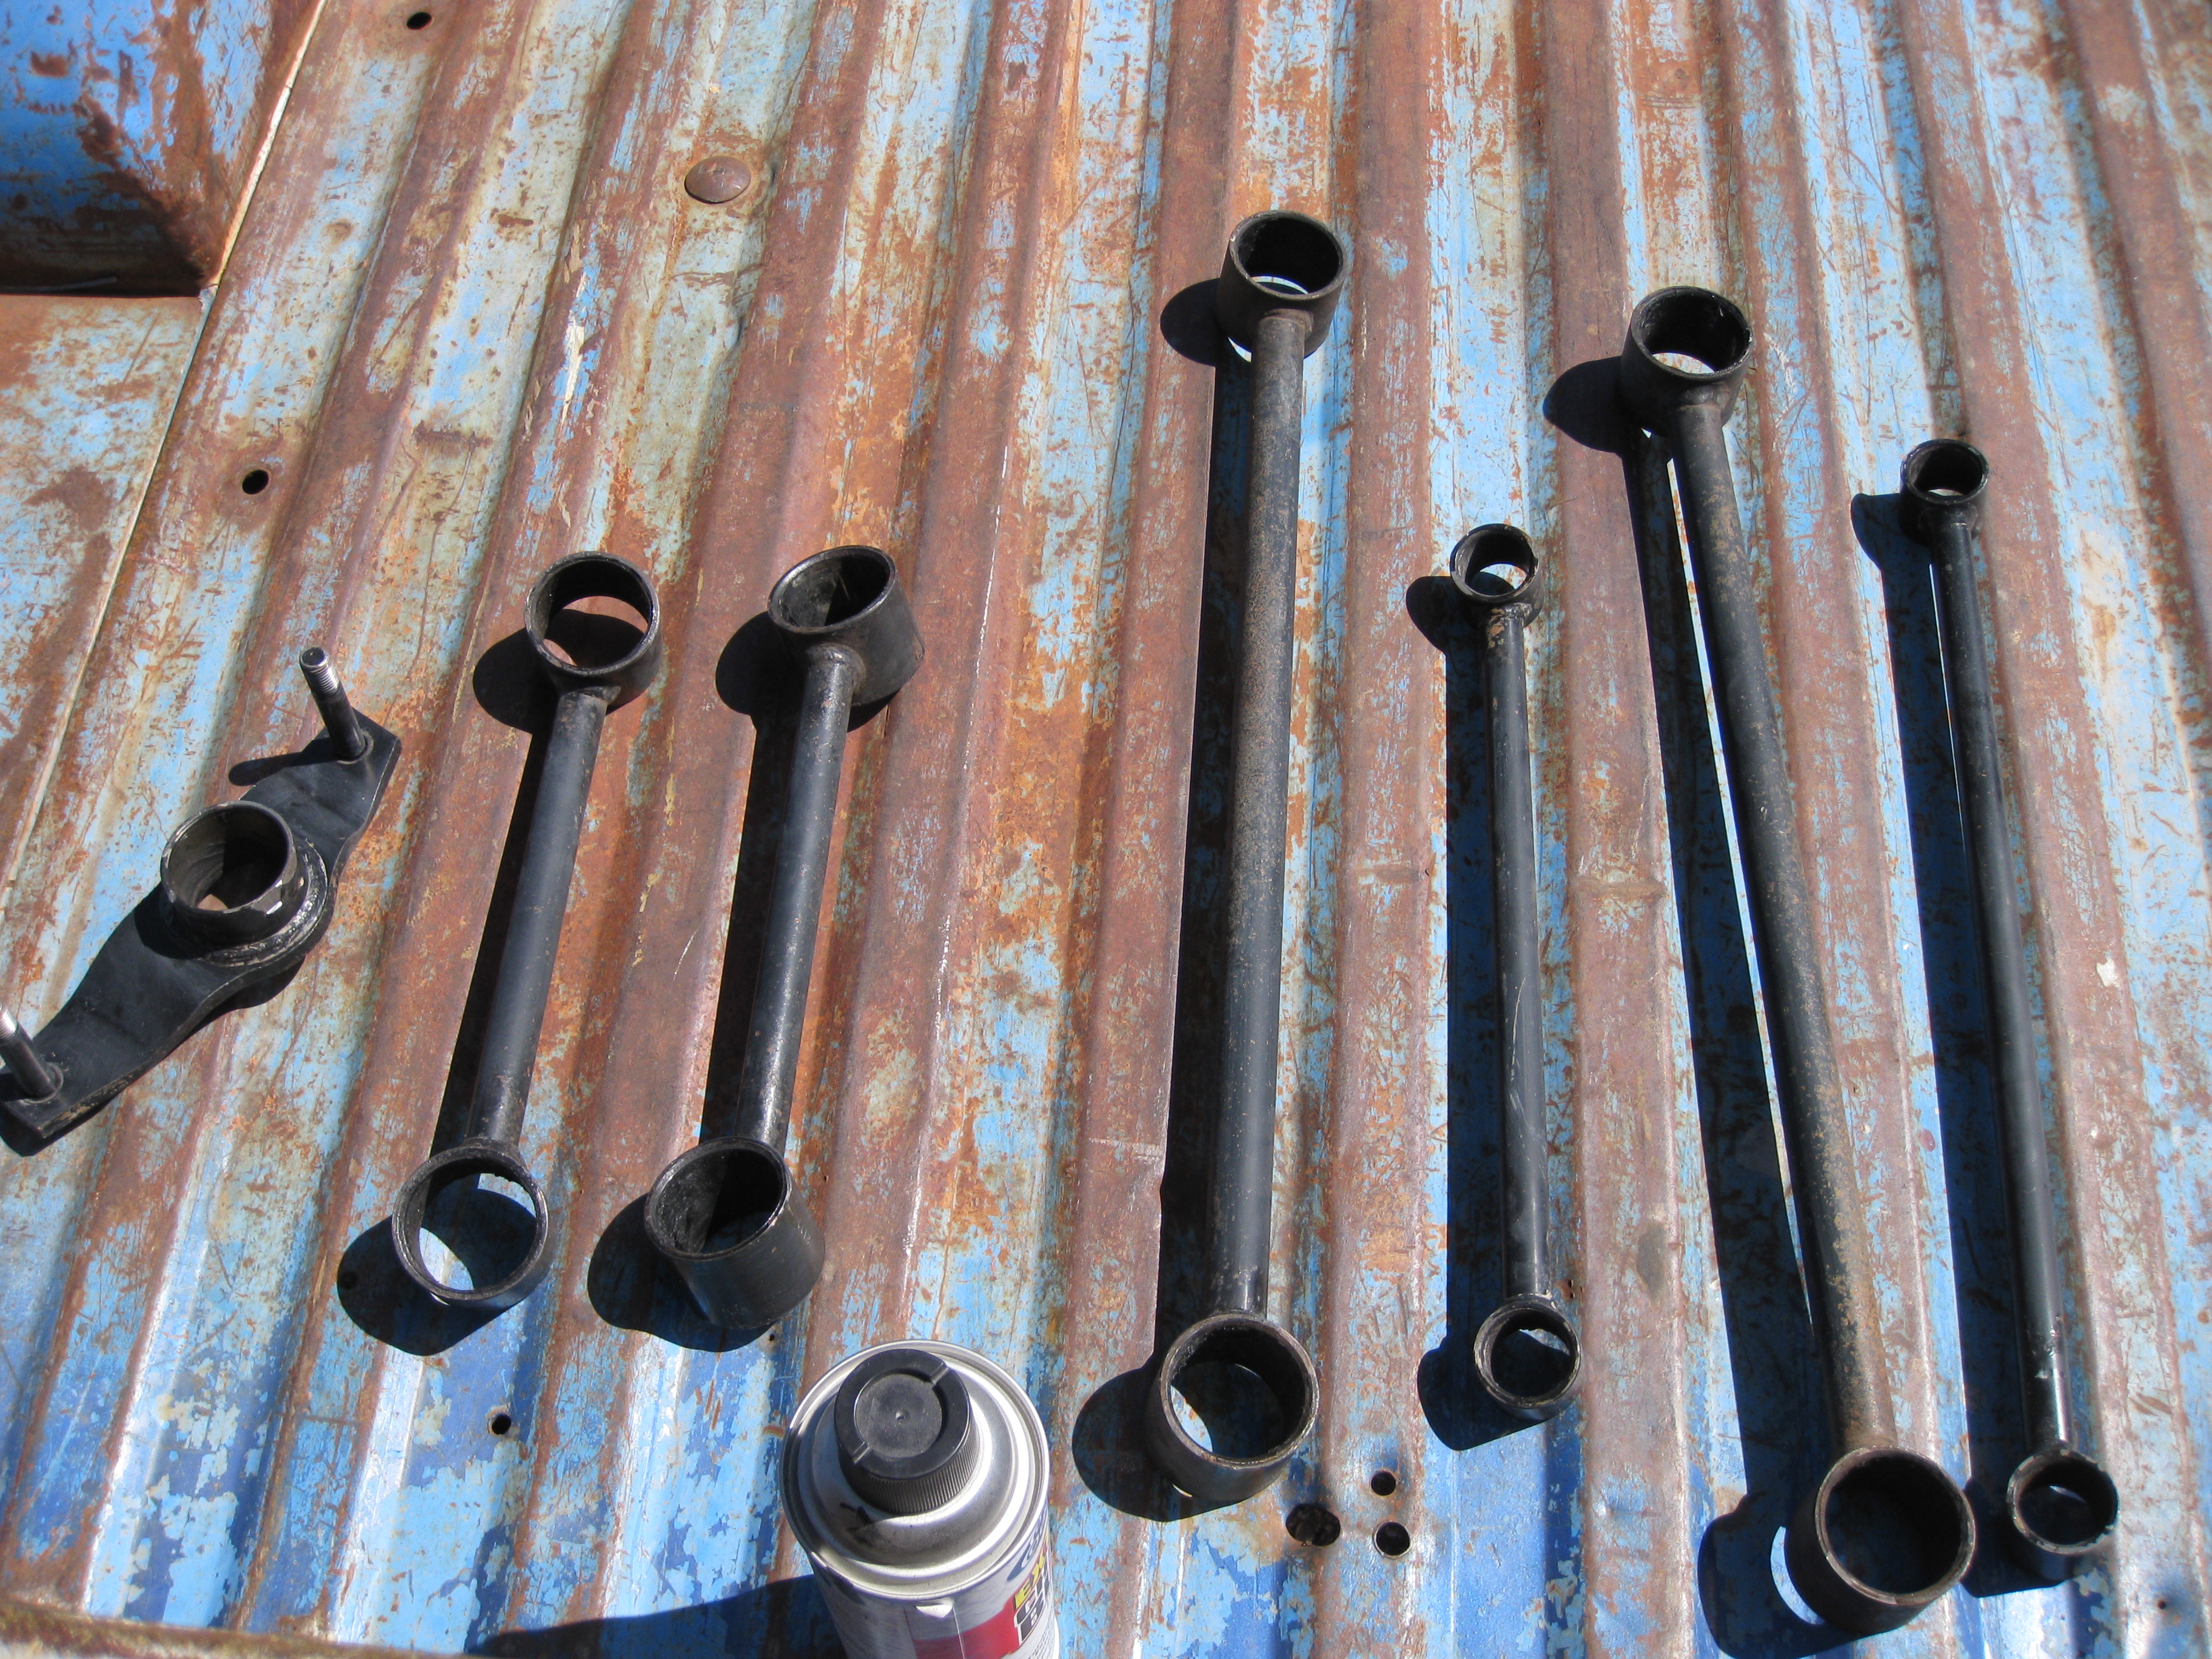
Once the rear wheel well rust was fixed, it was time to replace all the rear suspension bushings. I had an extra set of rear control arms and watts links in the garage that I restored and swapped into the car so the car wouldn’t be immobile for more than a few hours.
The first step was to remove the old bushings. I pressed them out using a floor shop press. The old bushings were not easy to remove and did not come out cleanly. The remainder of the bushings that did not come out with the press had to be burned out.
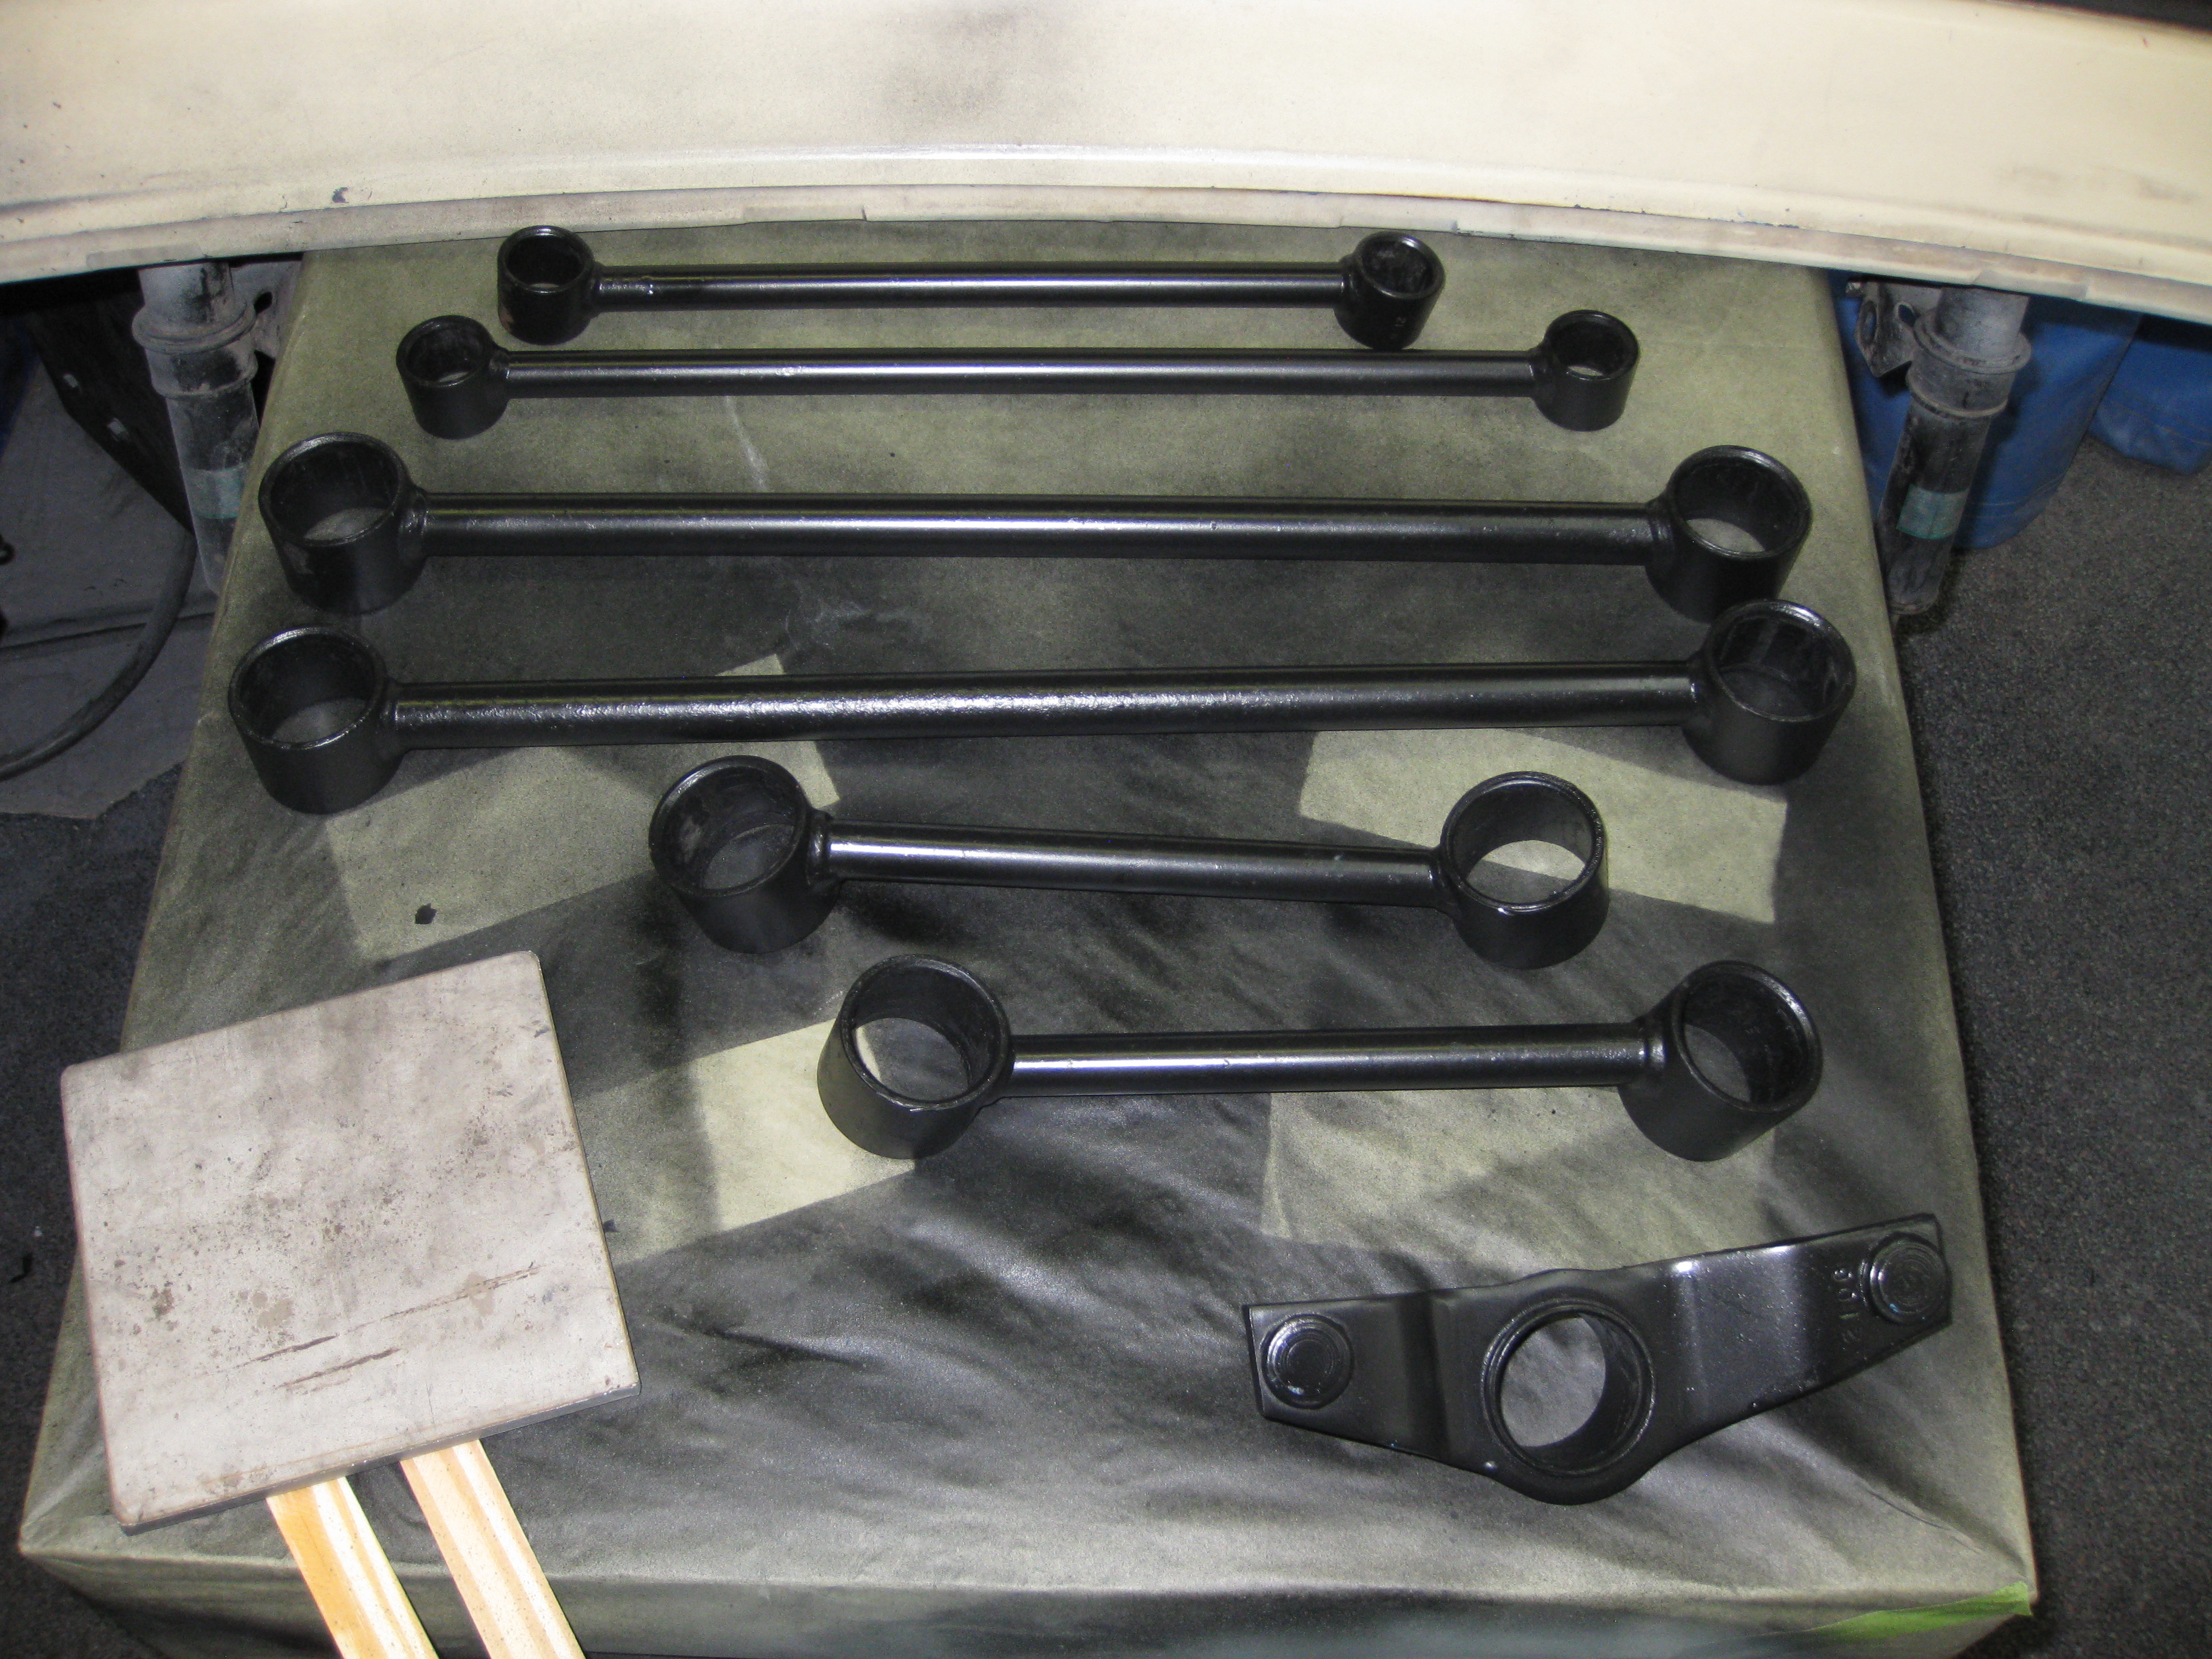
The bushings were then prepped and painted using the same paint I used for the front suspension. I cleaned then using simple green and sprayed them down with brake parts cleaner. I then sanded them with a red scotch brite pad. The parts were first primed with Eastwood’s extreme chassis black primer, then paint with two coats of Eastwood’s extreme chassis black paint.
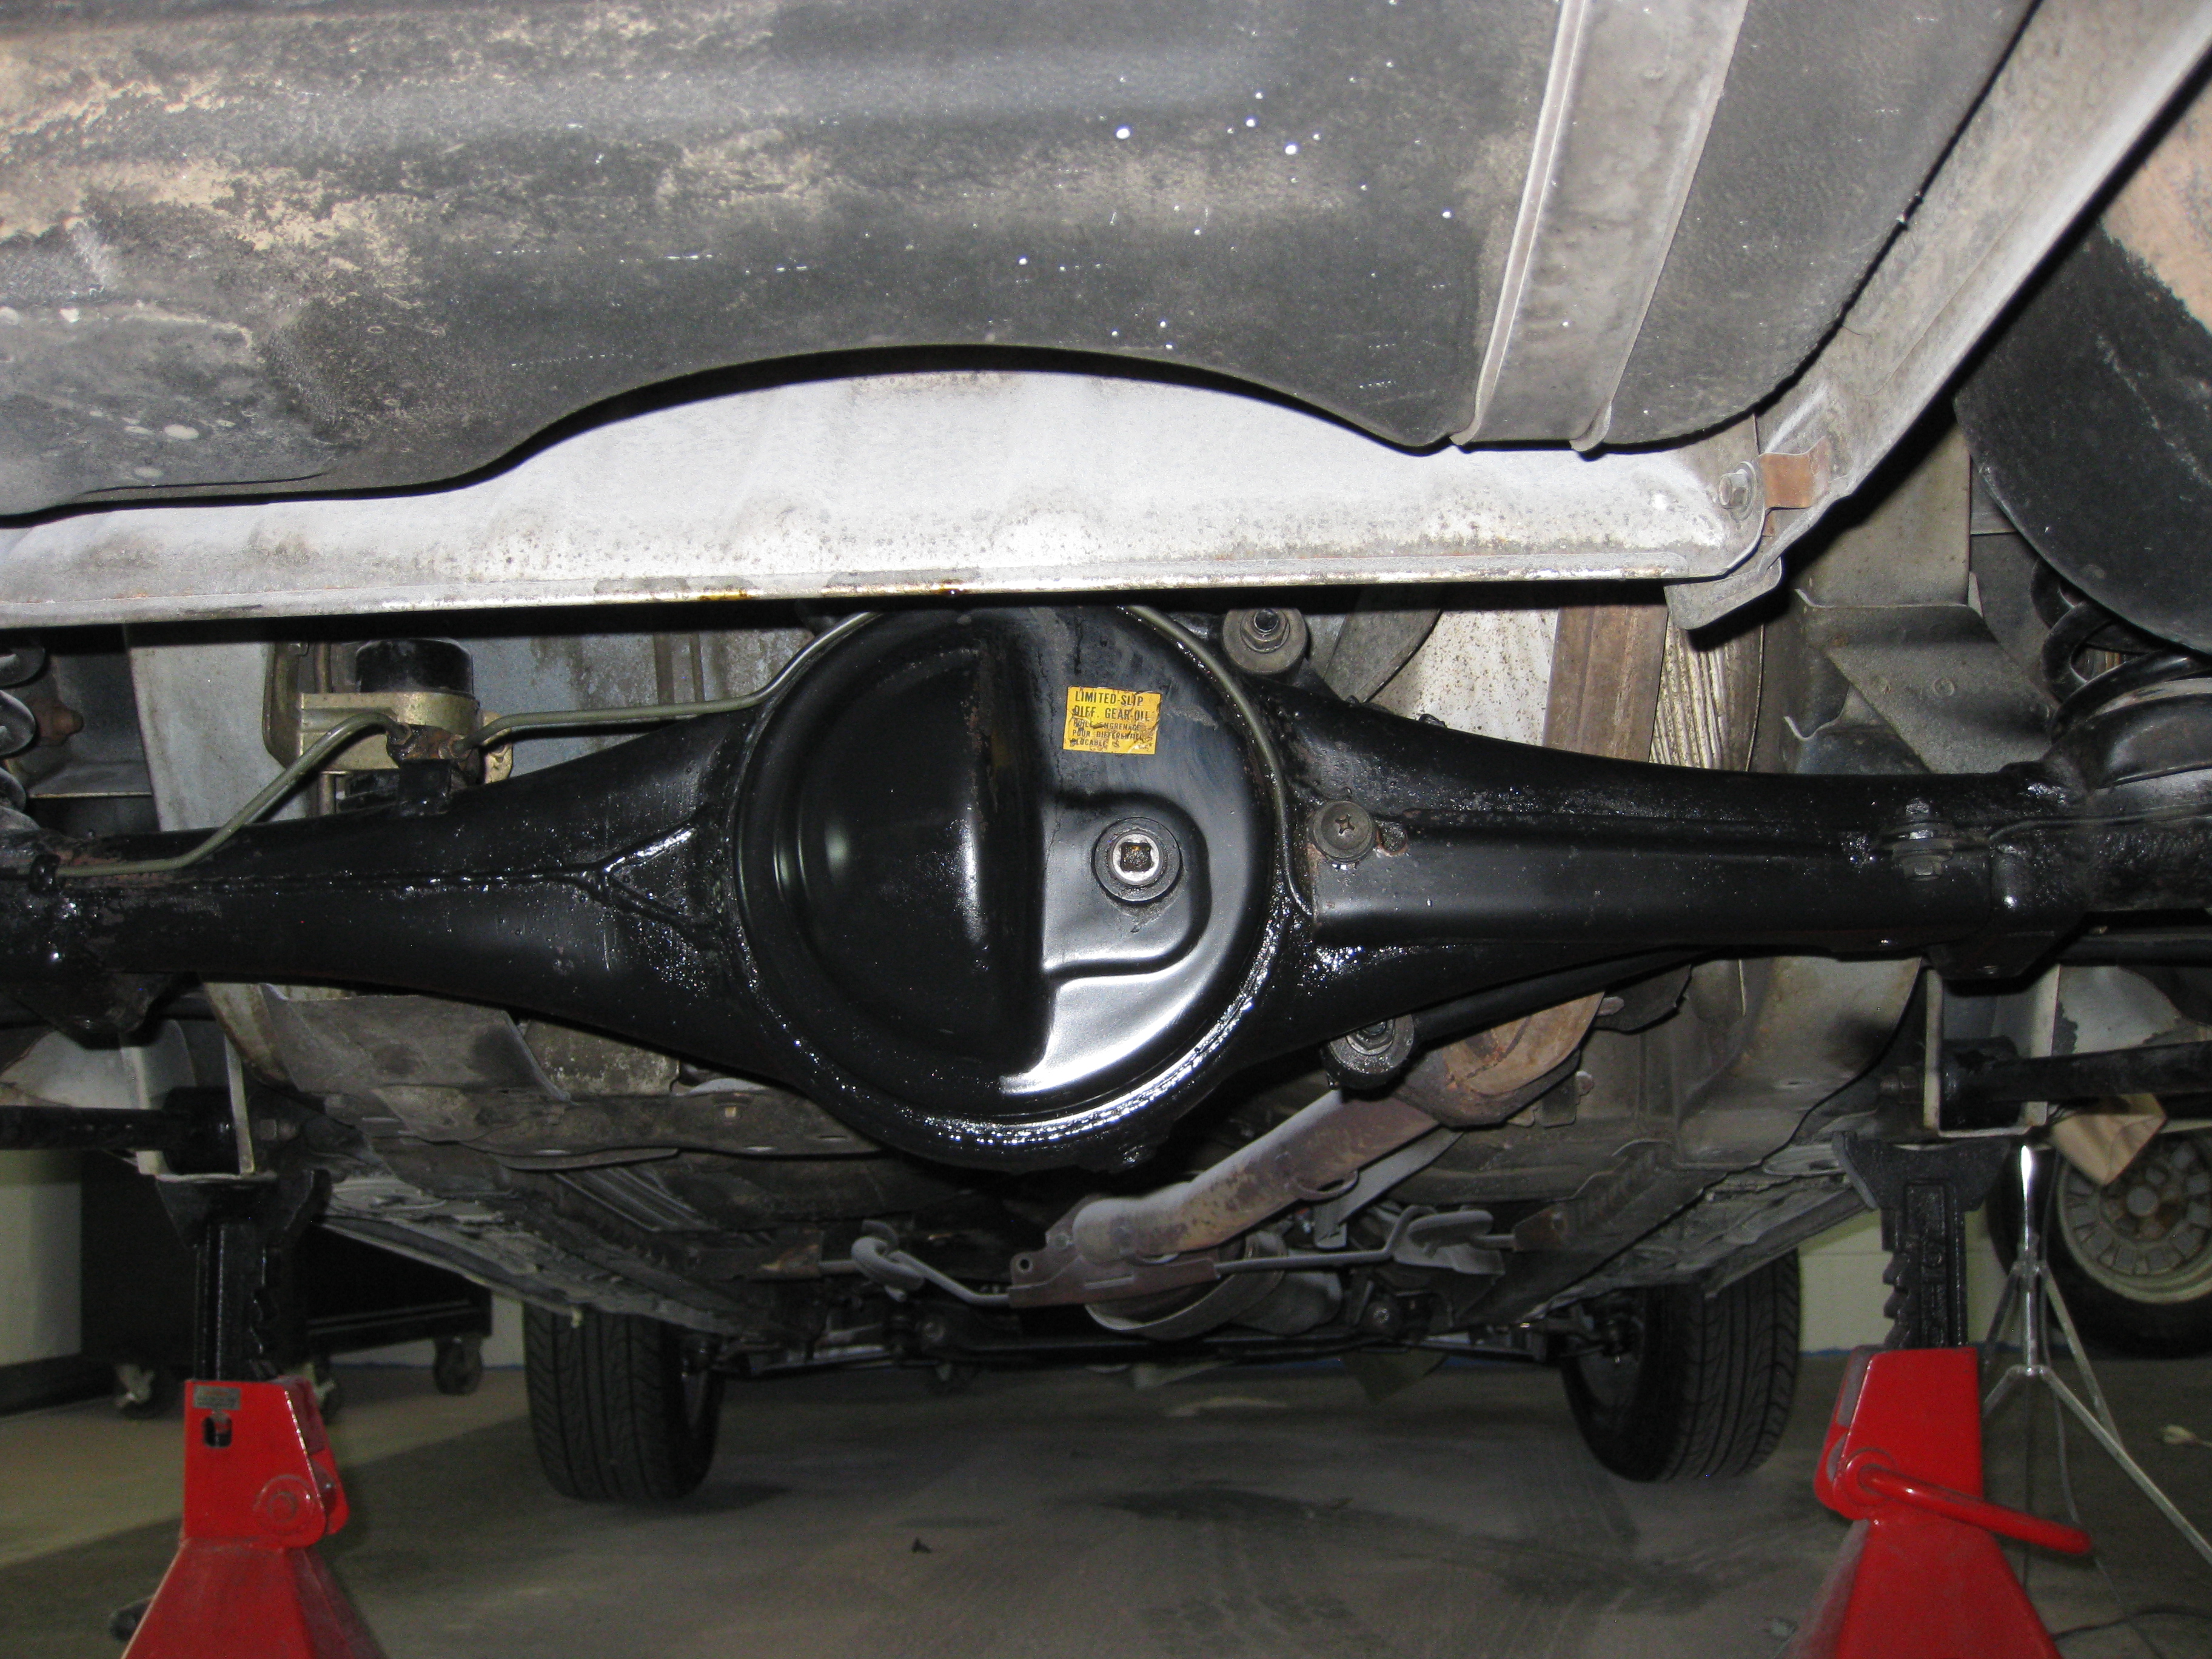
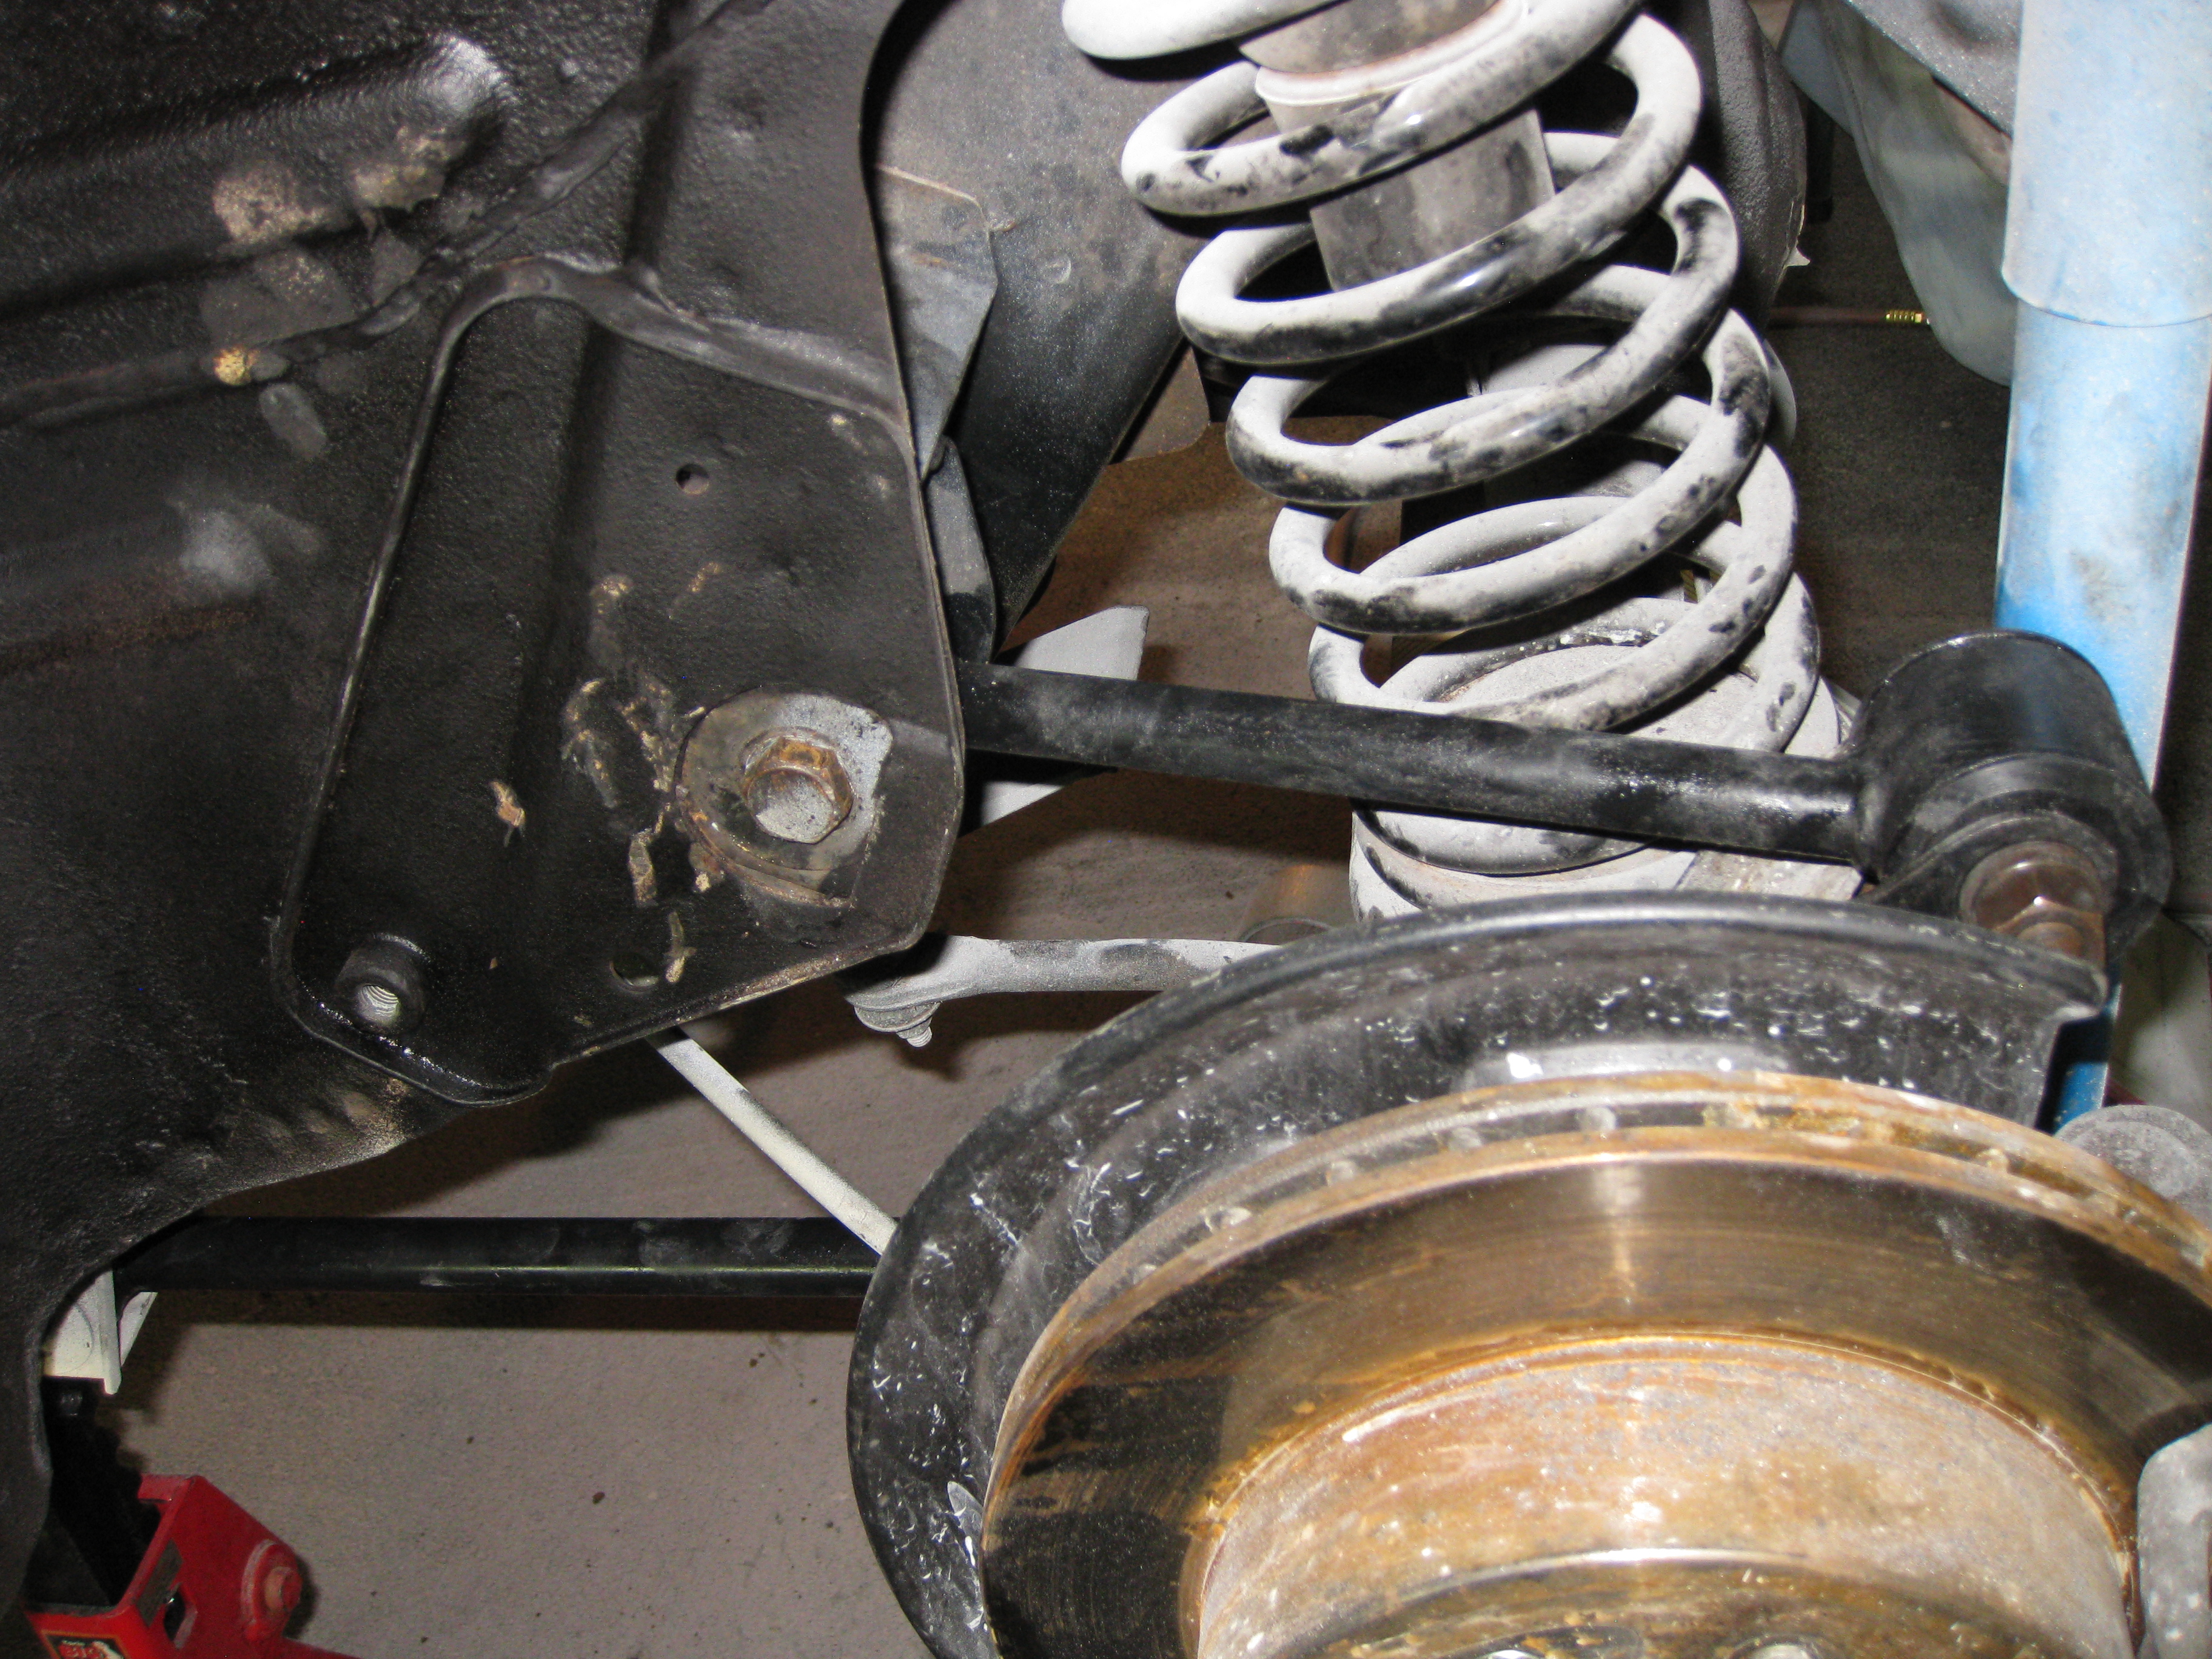
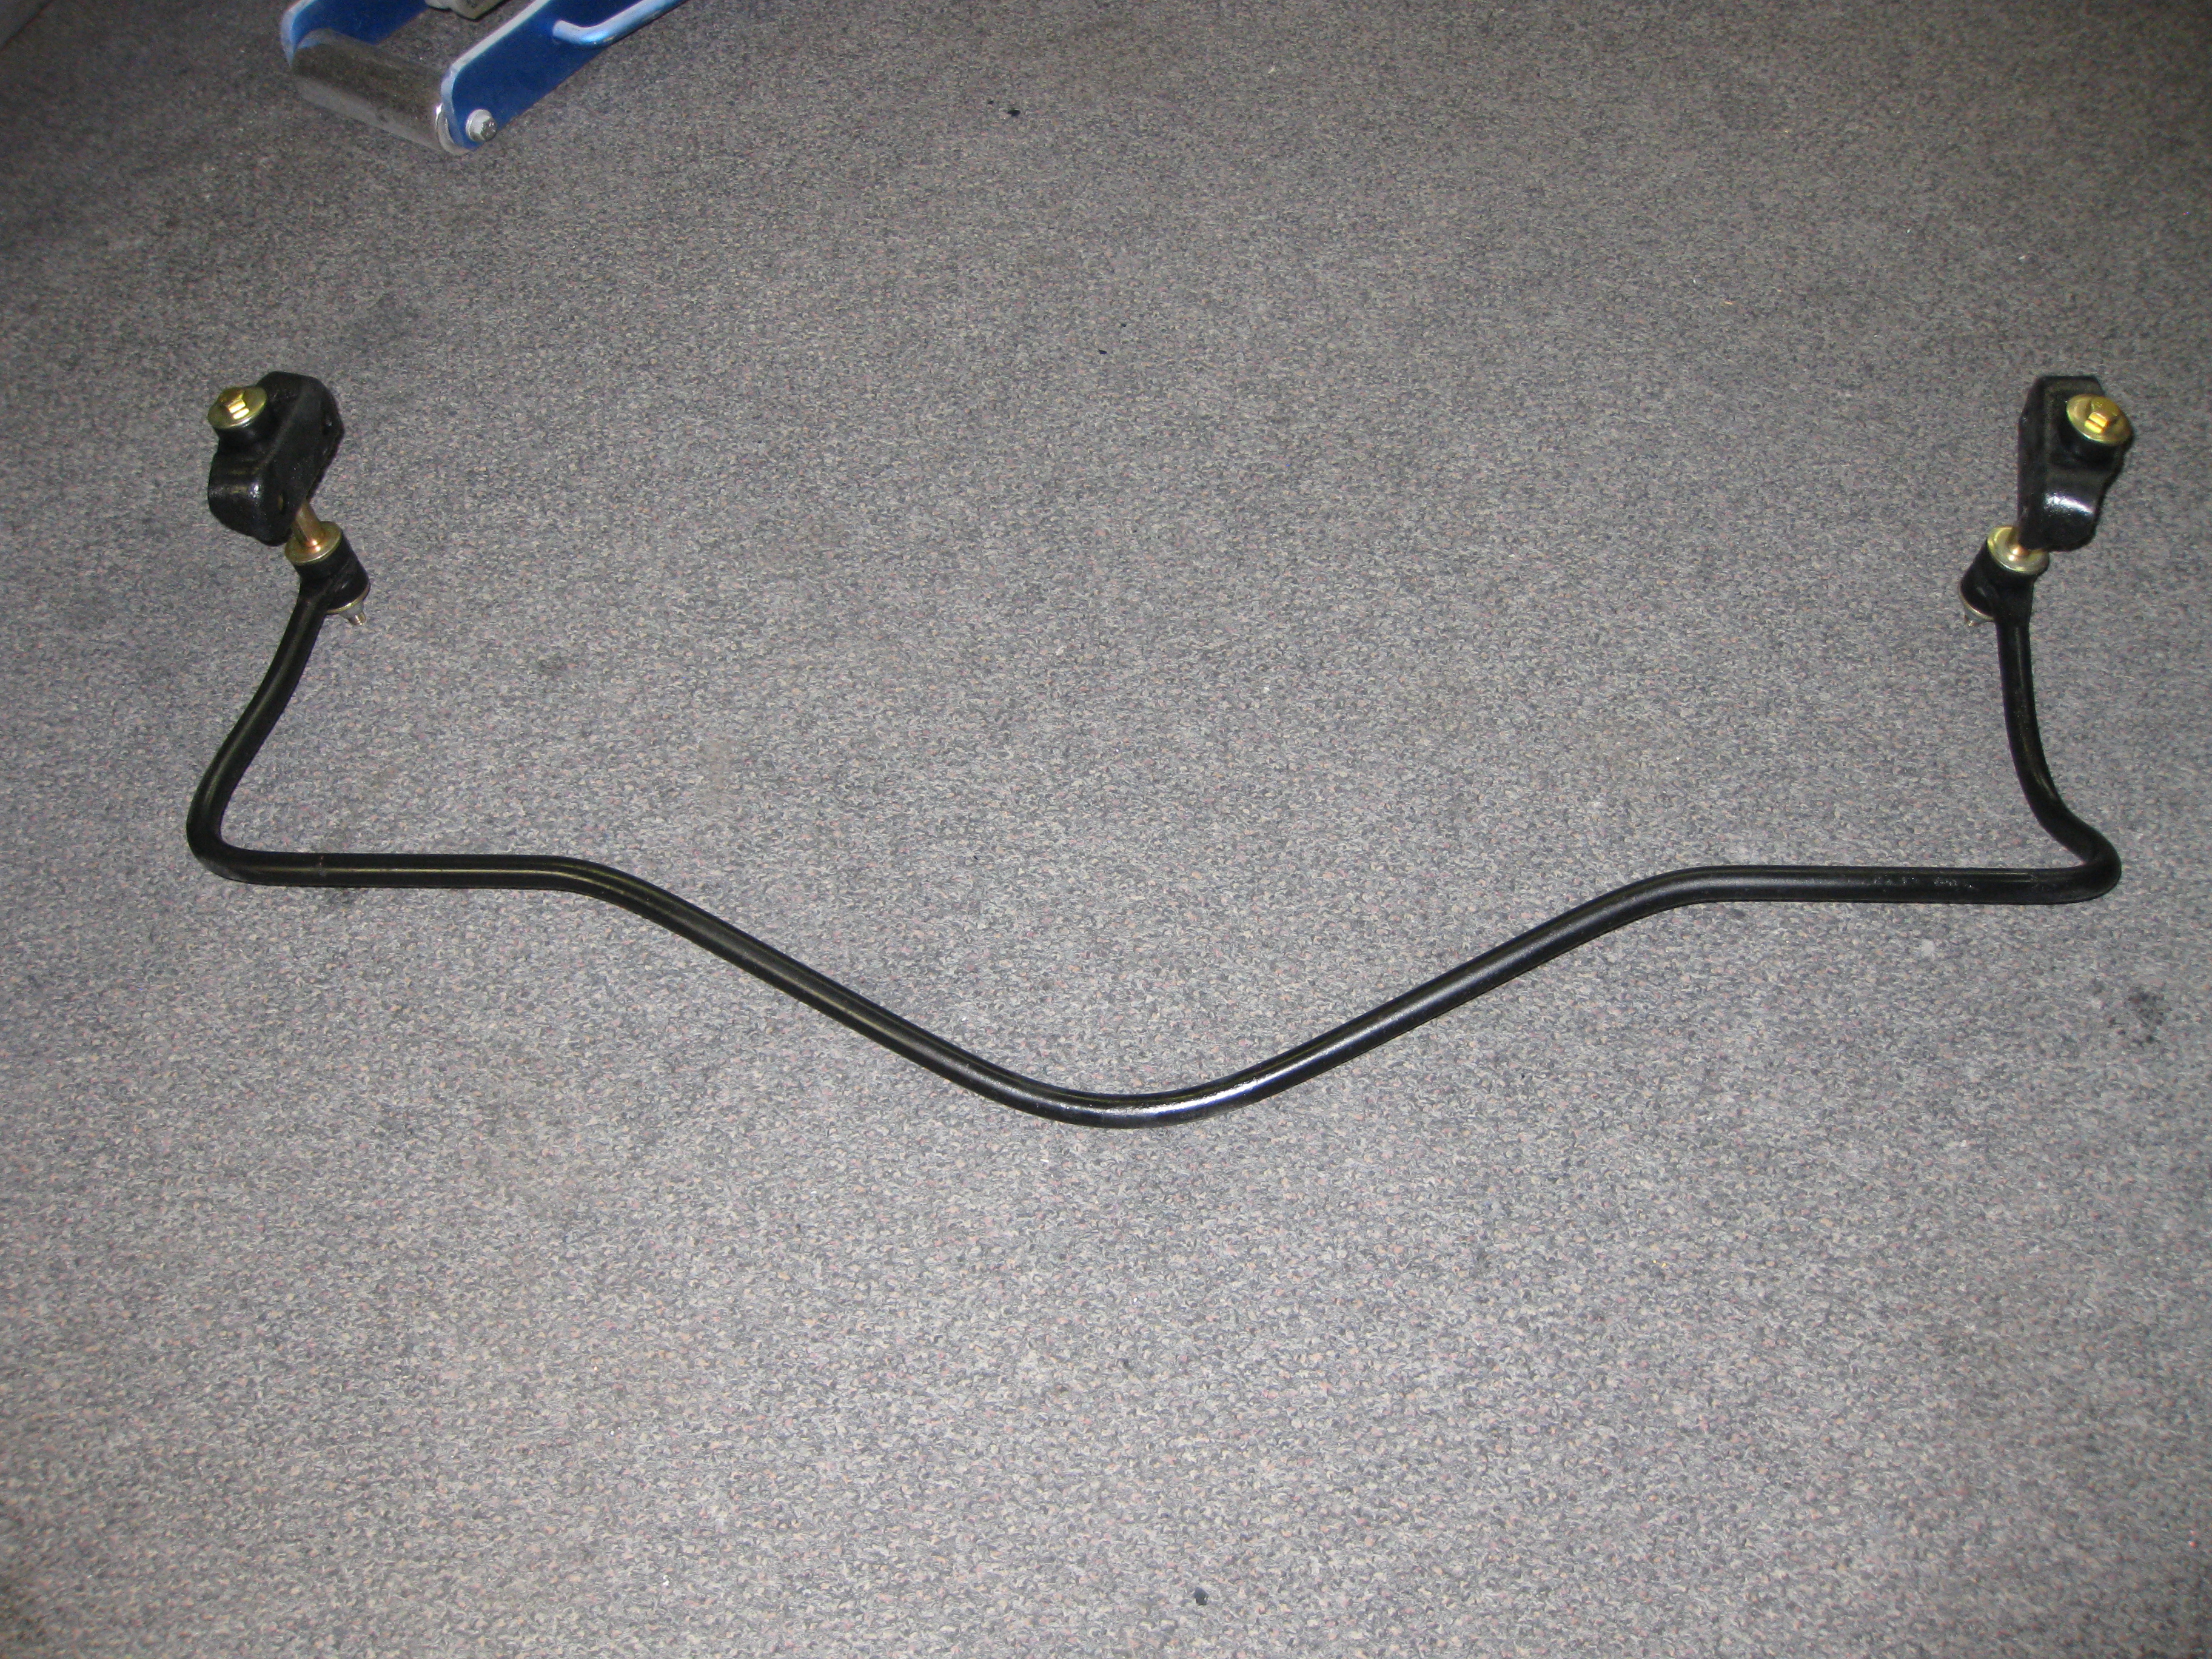
The rear end was coated in a thick layer of grease and grime. I removed the rear sway bar to get good access to the rear end for cleaning. I used Simple Green and and a wire brush to clean. I spent a total of about 2 hours cleaning the rear end. Once it was all cleaned, I used the same method to paint I used on the control arms and watts links.
The new bushings were fairly easy to install in the control arms and watts links. I used the remainder of the Energy Suspension, HYPER-FLEX SYSTEM graphite impregnated black bushing Complete Master Bushing Set from ReSpeed for the rear bushings. The control arm bushings were a three piece bushing plus a metal sleeve and the watts link bushings were a two piece. The lube that comes with the bushings is very messy and very sticky. Wearing disposable gloves is recommended. I followed the directions for the lubrication and installation. After the bushings were installed, I started to remove the old control arms and watts links one at a time and swapped in the new control arms. I did not completely torque down the bolts durring this stage. The old bolts required the use of a breaker bar to remove but did remove cleanly and were cleaned and reinstalled.
The was then painted and the end links were installed next.
Once the entire rear suspension was reinstalled, I was able to get everything torqued down. I first loaded the suspension with the entire weight of the car. This is required so the suspension doesn’t bind. Then I torqued down all the bolts.
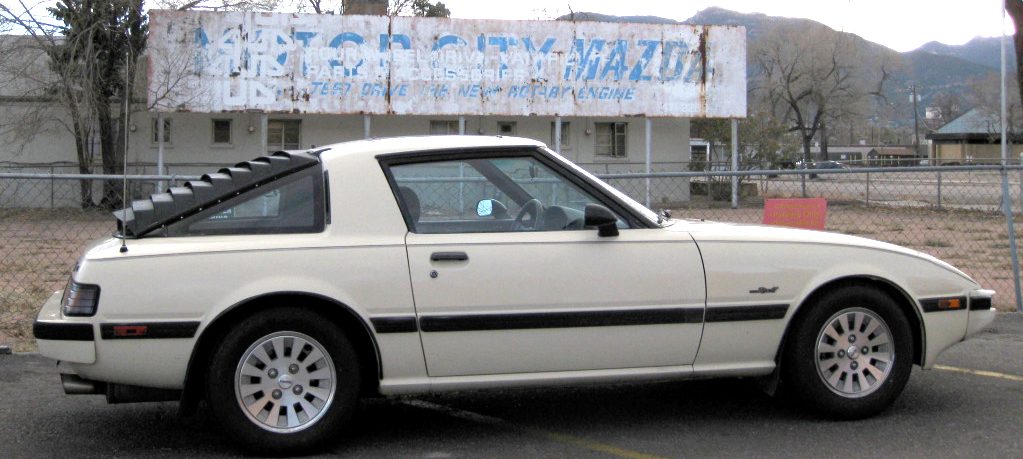
I will post the completed pictures in the next post.