Author Archives: Chris

Hood Installed

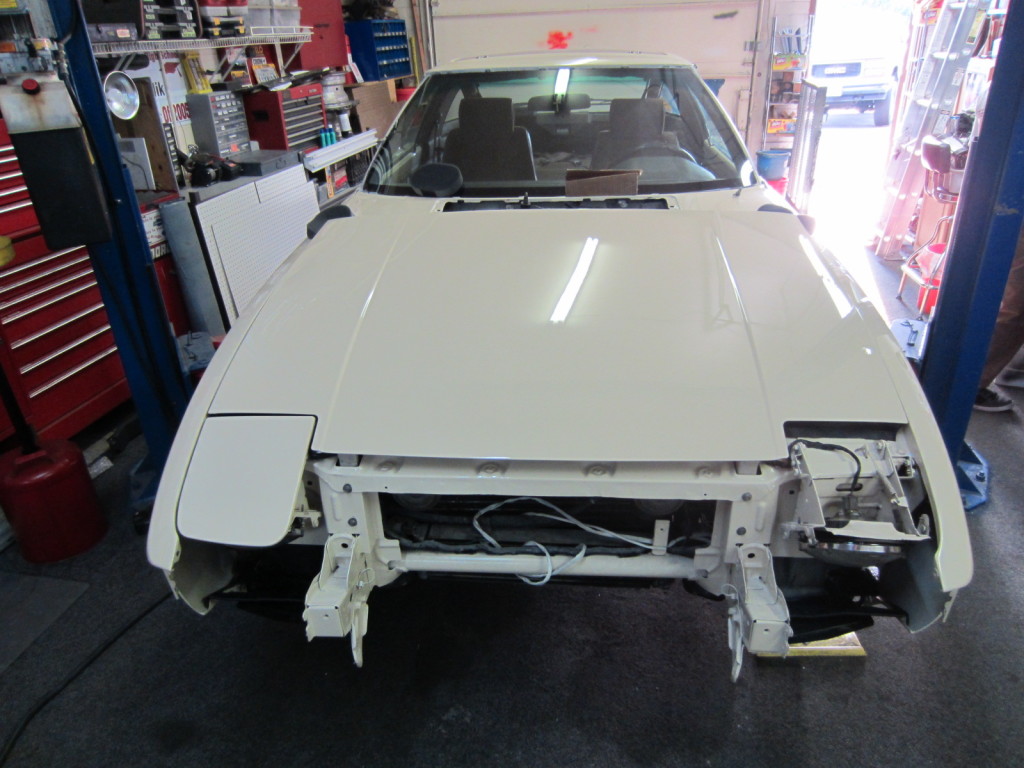
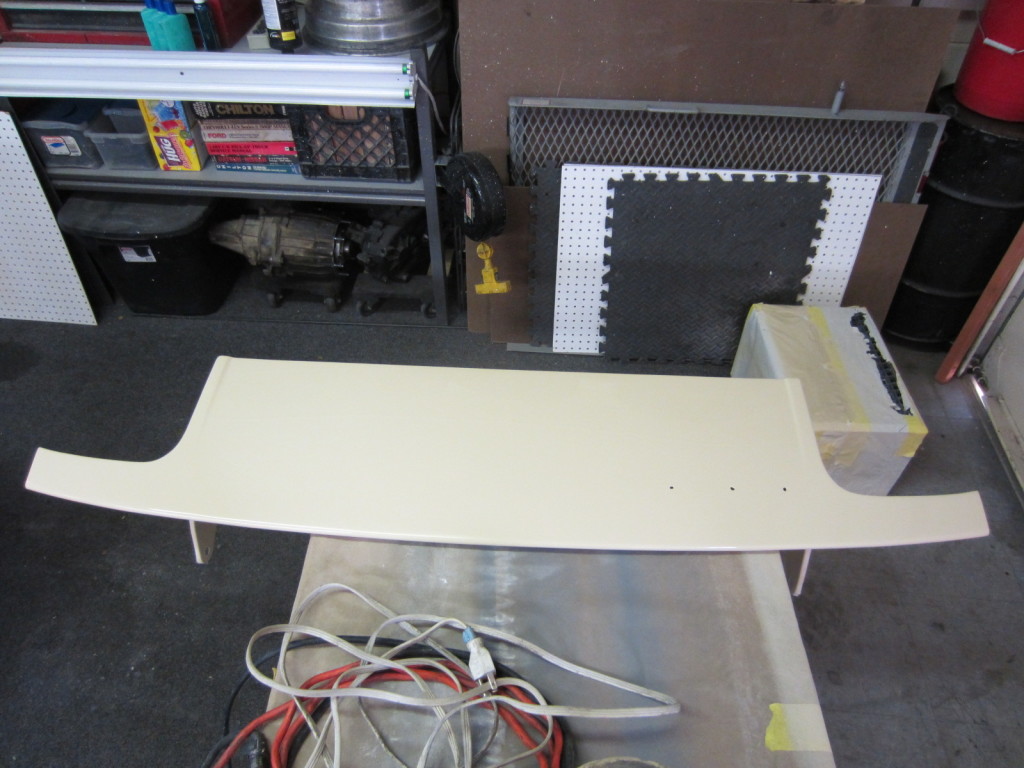
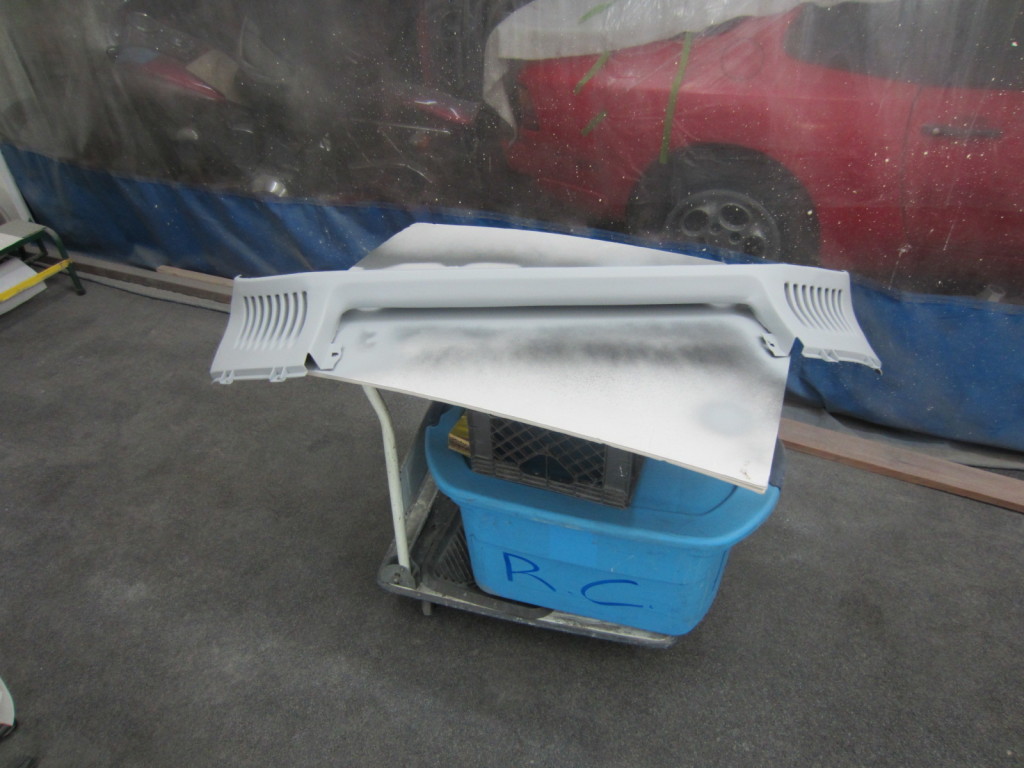
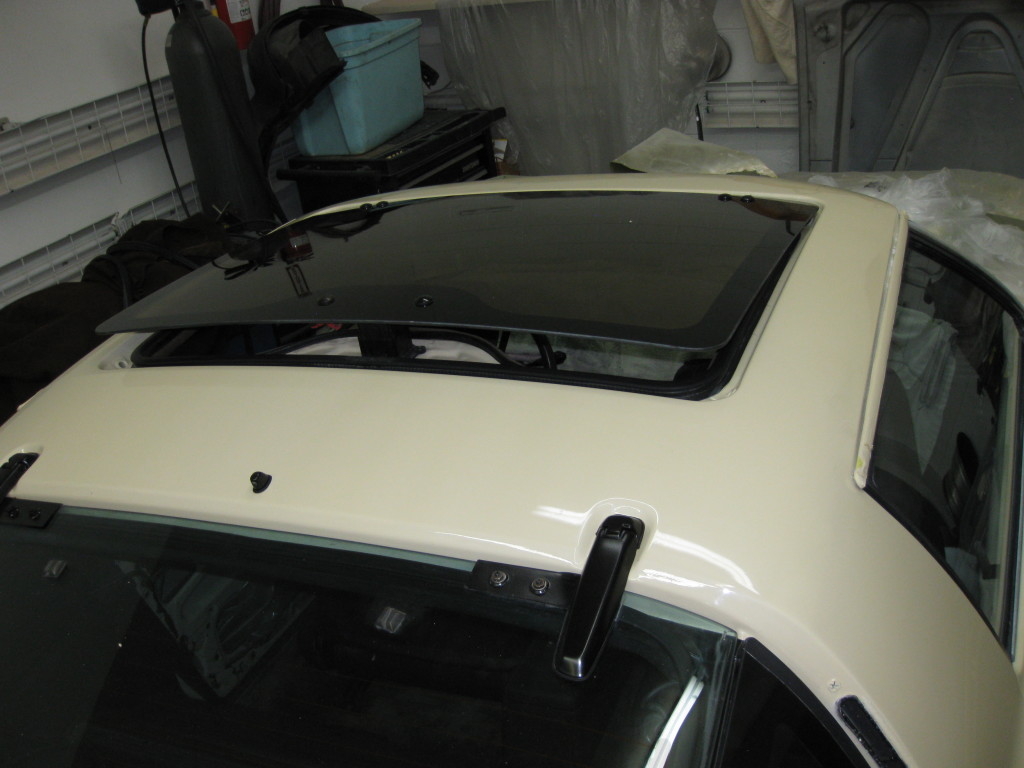
We installed the hood and cowl.  The hood still needs it final adjustment.  The right headlight lid is also installed and just needs a slight adjustment.  The cowl was then removed for some extra buffing.

IMG_1405

IMG_1403

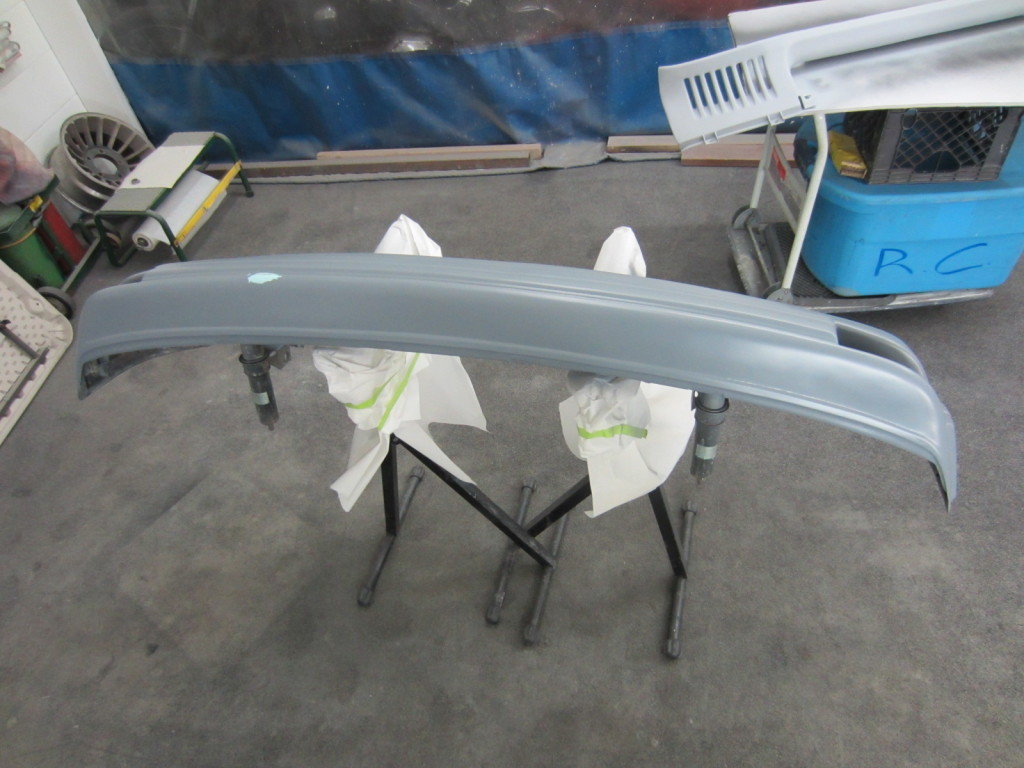
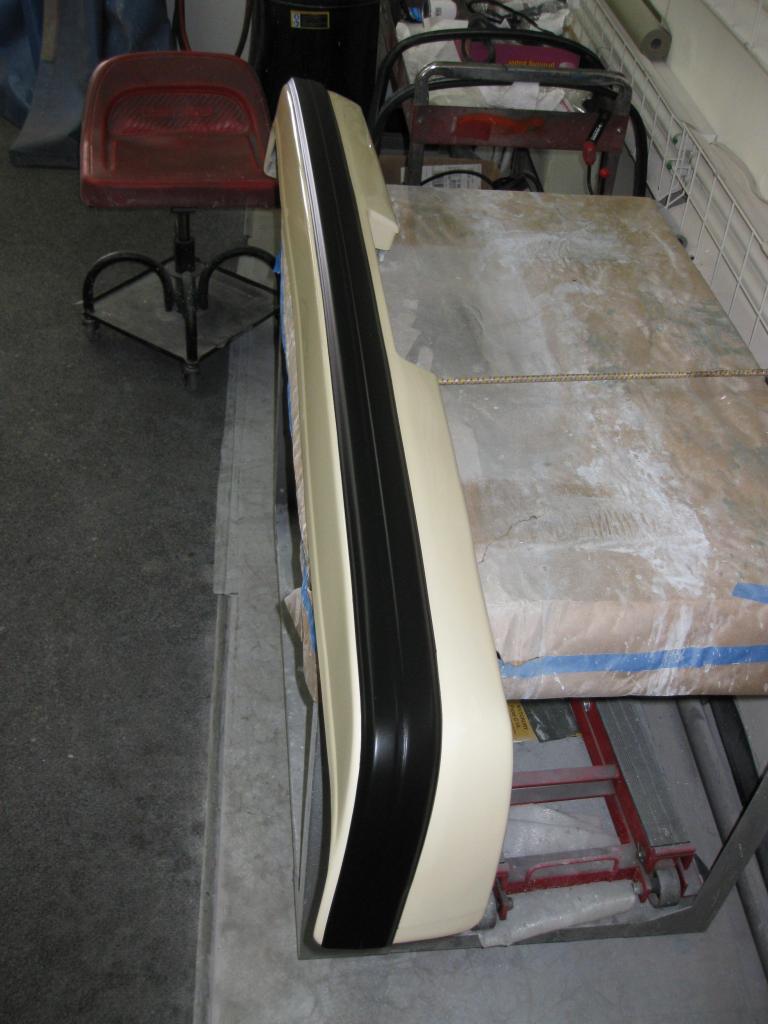
The bumper is primed and nearly ready to paint.  There is one small spot that needs some more filling and sanding.

IMG_1407

The lower valance is textured, primed and sealed.  The color and clear will go on later today. The valance will be ready to installed tomorrow.

IMG_1406

Got a Bath

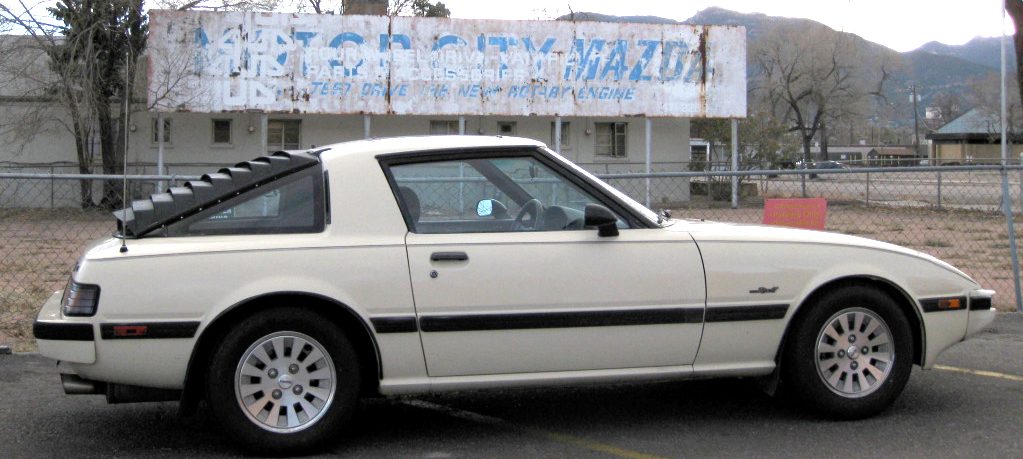
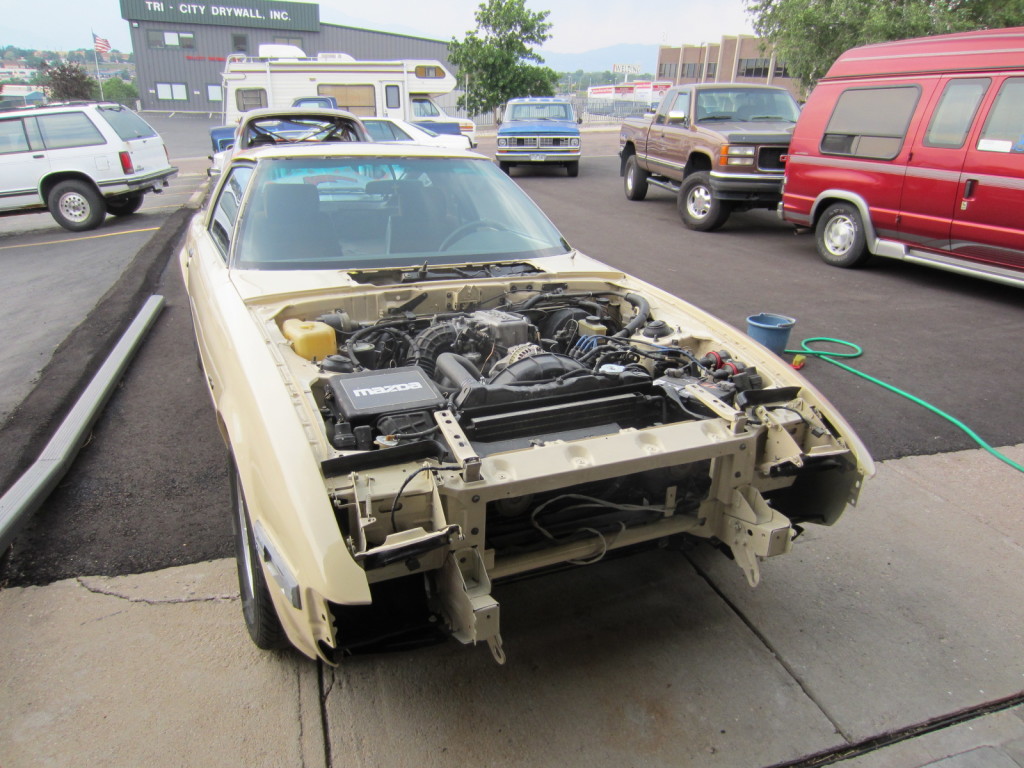
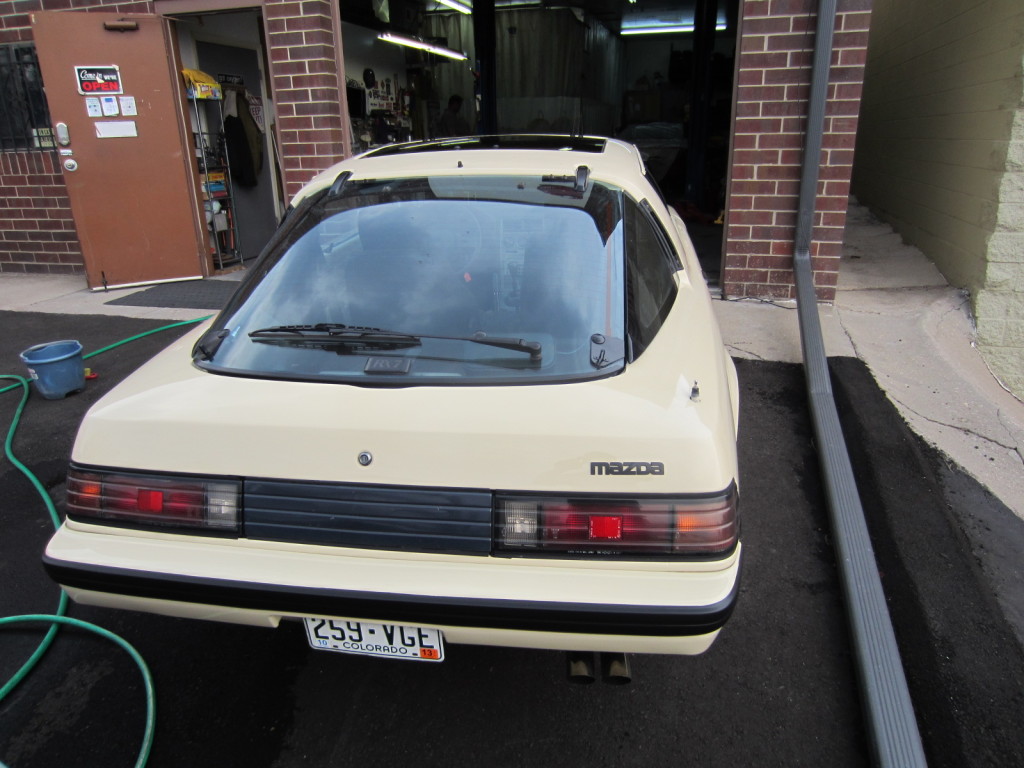
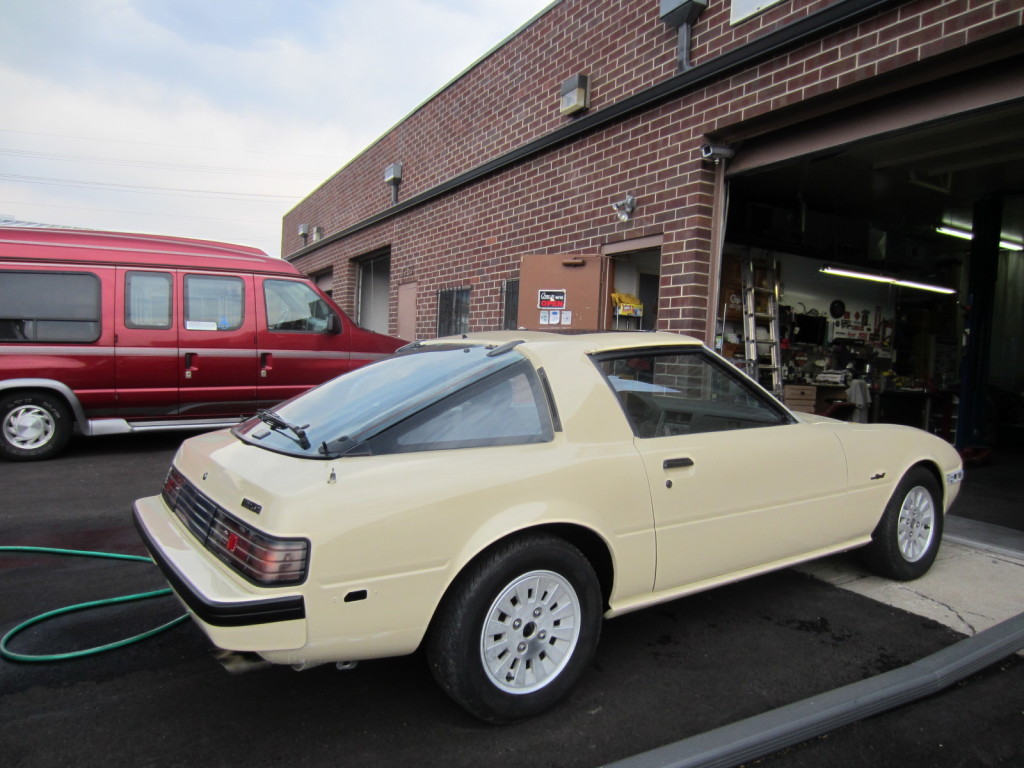
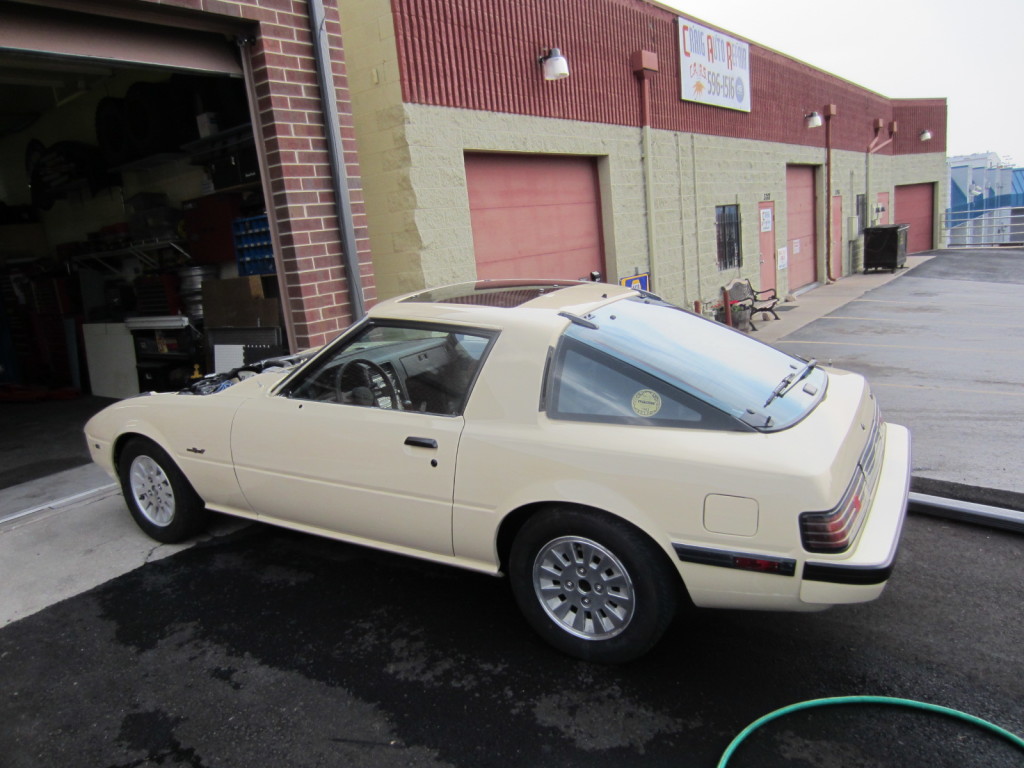
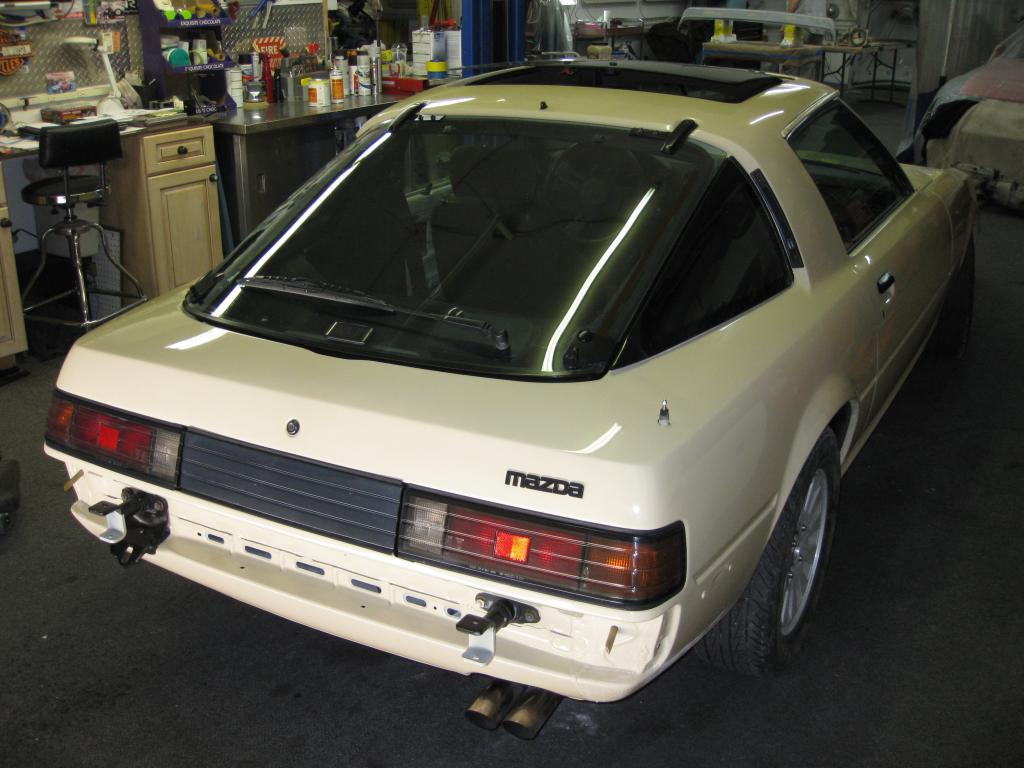
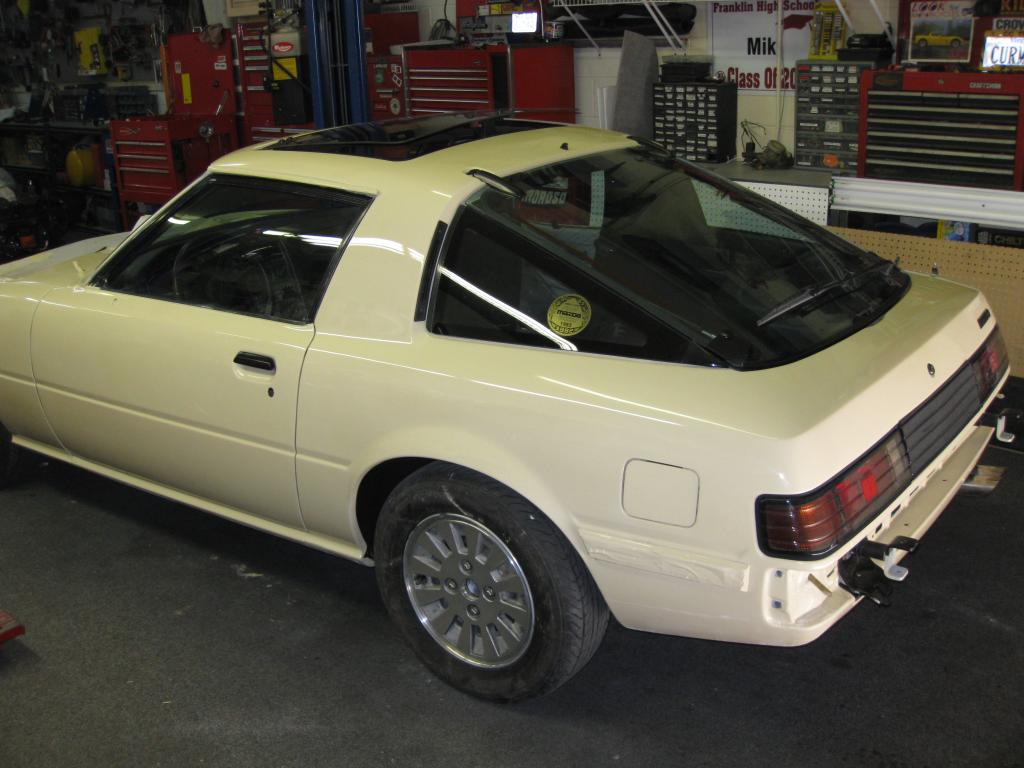
I washed the car on Friday and finally got some good outside pictures.

later on the weekend the hood and cowl were done and installed. I also installed the headlights and passenger side lid. The driver’s side lids had a small nick in the paint so it
needs to be touched up.

IMG_1402

IMG_1401

IMG_1400

IMG_1399

Paint Progressing

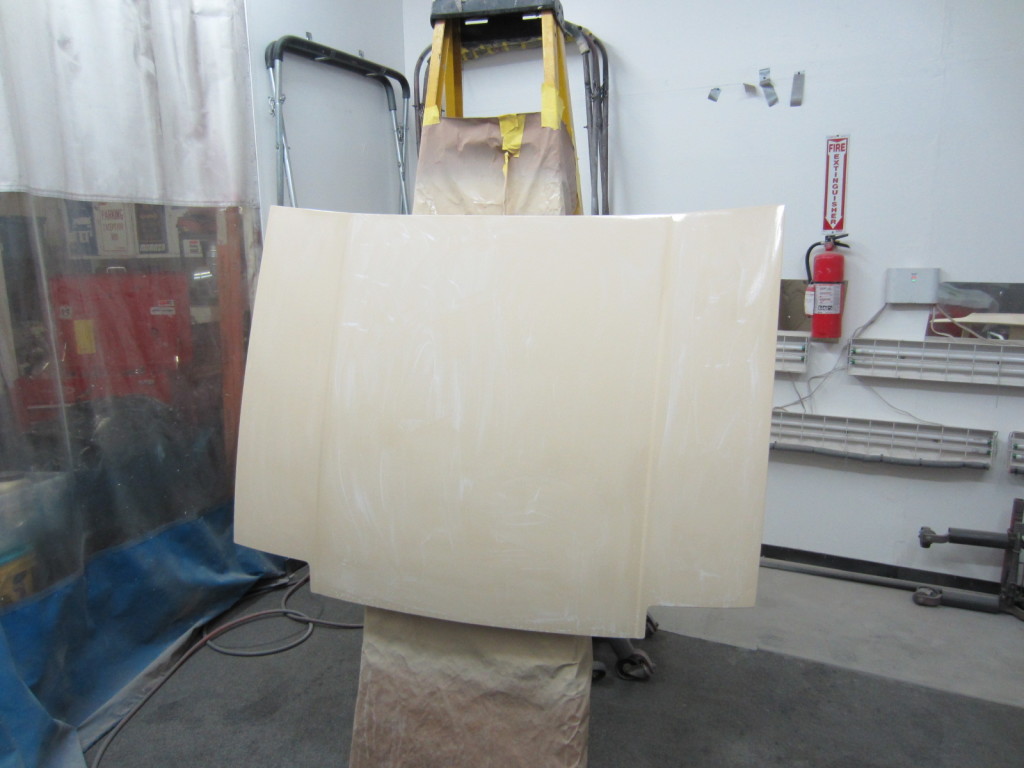
The hood and front cowl are painted.  The hood and cowl both had excessive rock chipping that needed to be worked.  There was also a slight wrinkle on the rear left side of the hood where it looked like something might have been set years before.  The cowl was overall in great shape. There was a slight ridge that looked to be a tool mark when the cowl was built.

The hood in the process of wet sanding:

IMG_1317

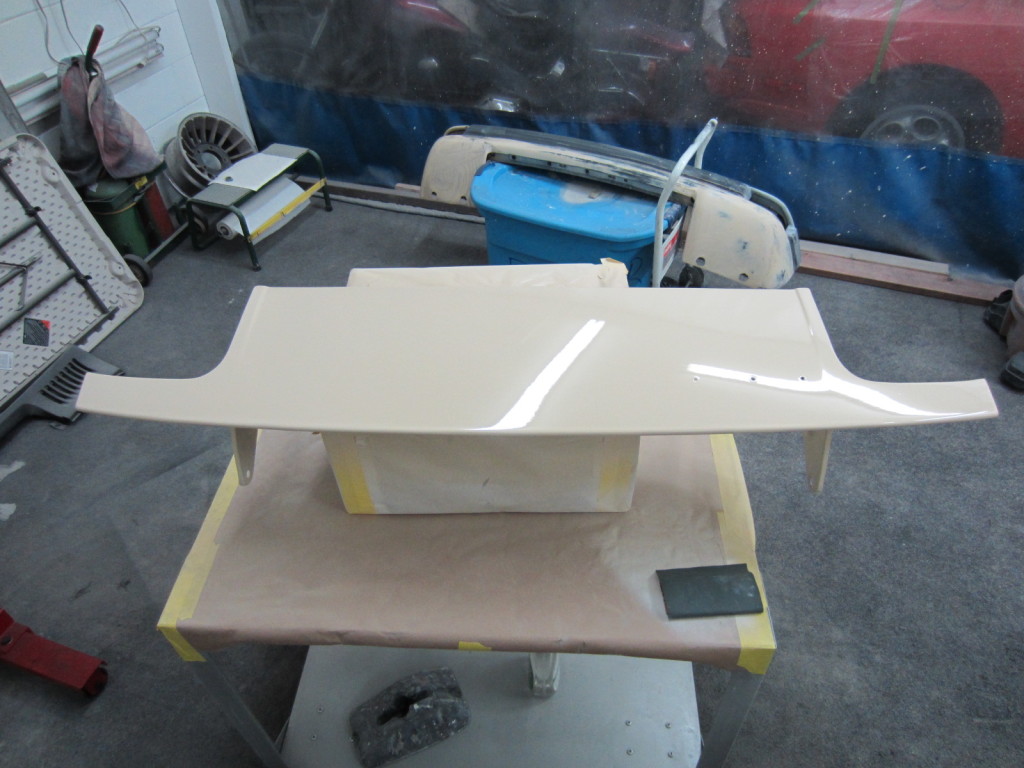
The cowl after paint (needs wet sanding and buffing):

IMG_1318

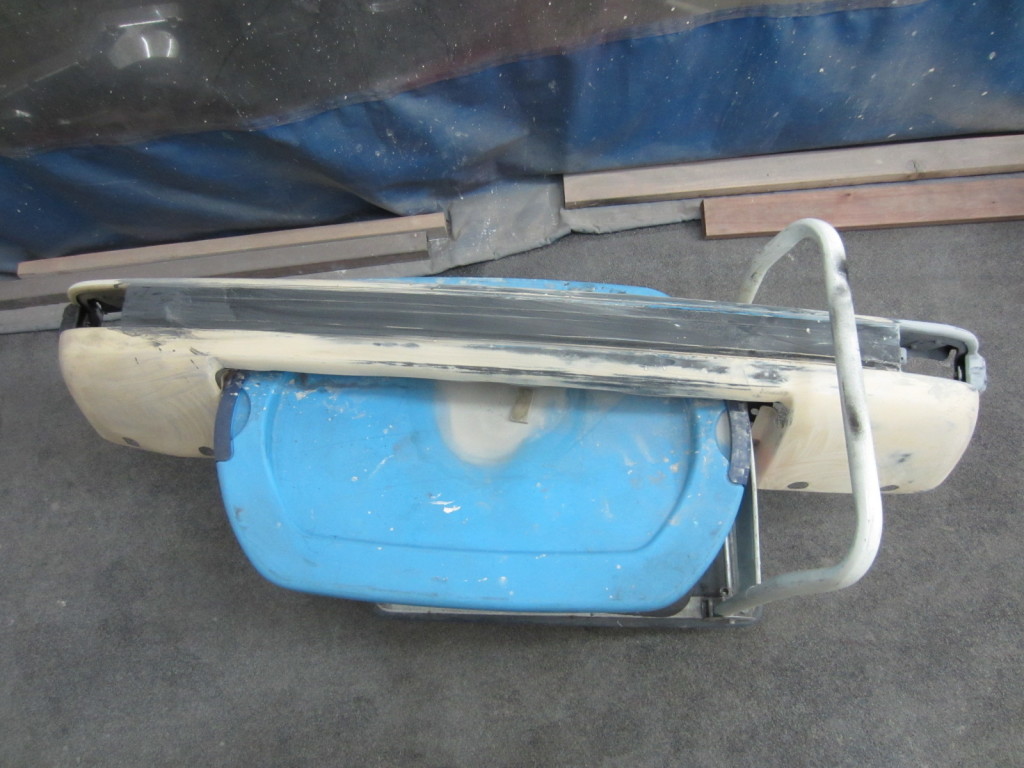
The front bumper is ready for first primer.  The bumper needed to be straightened with heat before the paint was laid.

IMG_1319

Brake Ducts and Undercoat

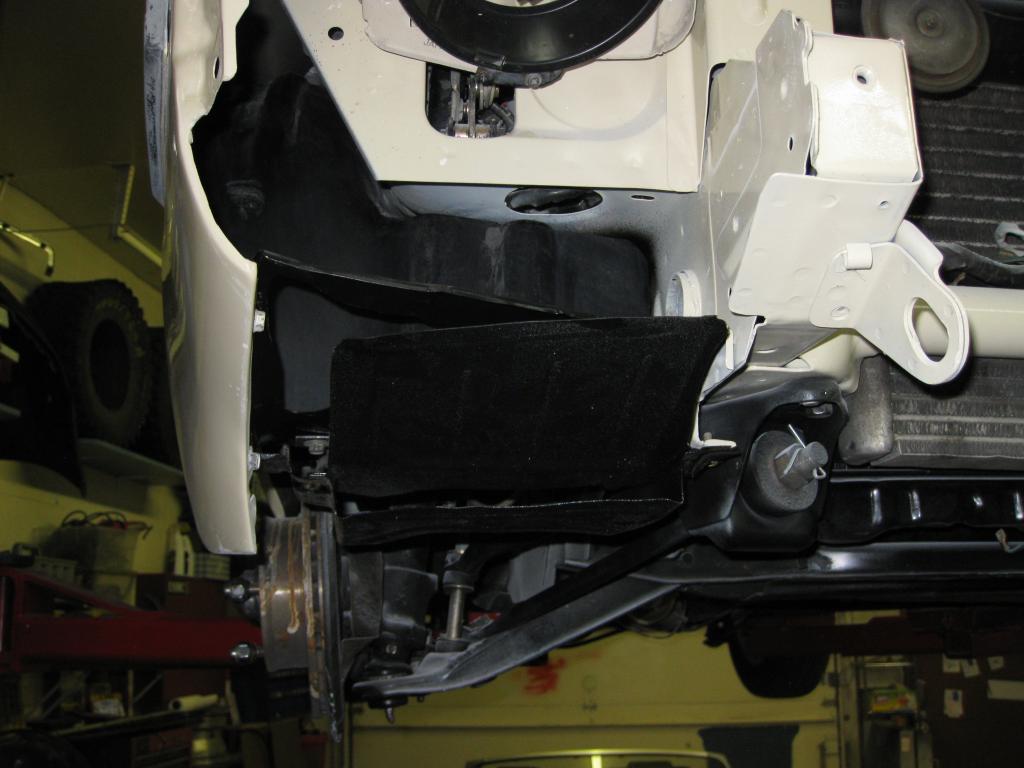
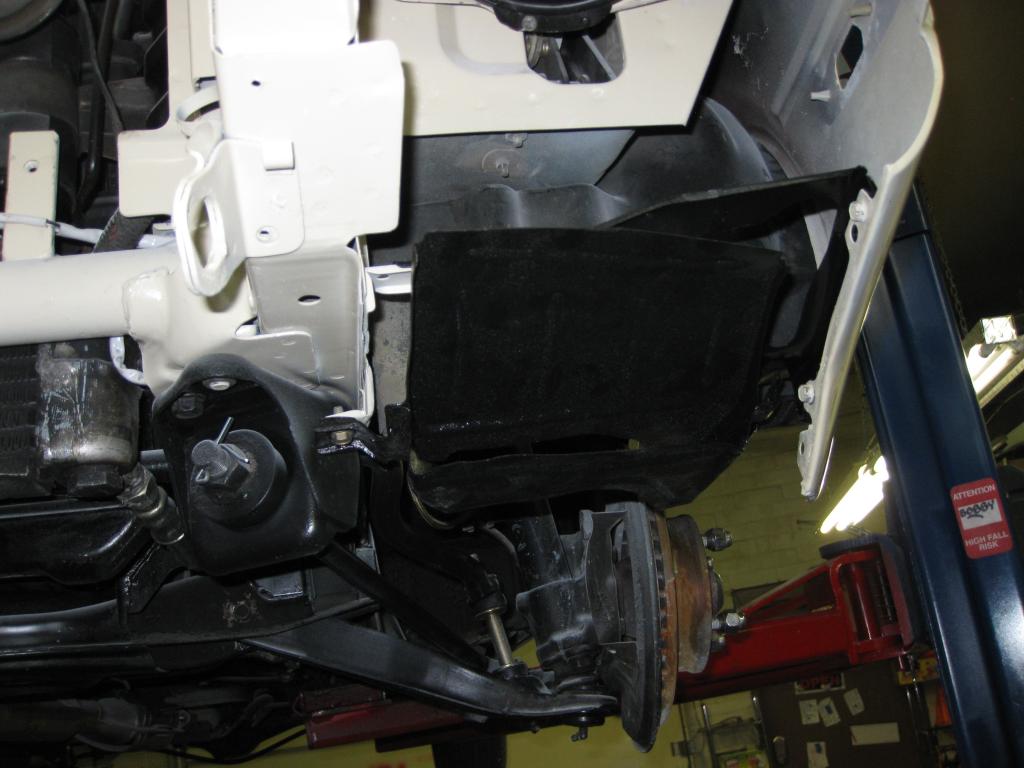
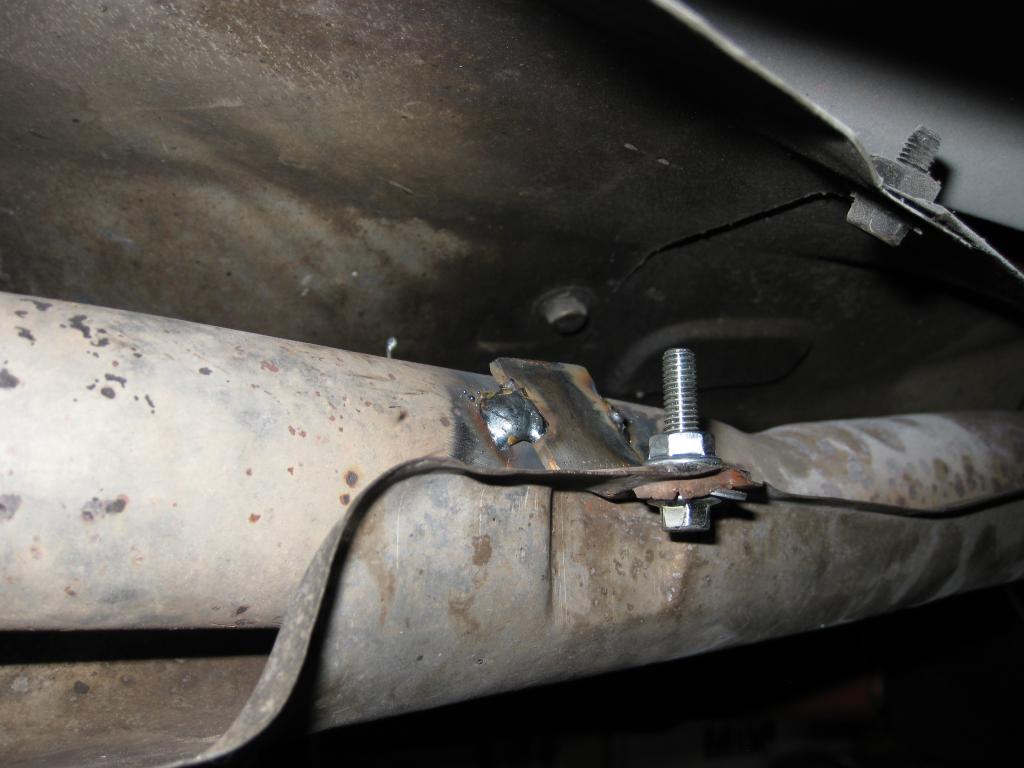
I installed the brake ducts yesterday. I had to really work them back in shape before I painted them.  They were severely bent. Overall they finished better than I would have thought.  The lower fender brackets that were installed on the car when it was painted were off a 1983 and were different. The 1984-85 cars have brake ducts but the 1979-83 cars do not.  The brackets are just slightly different than the older ones, they have an extra tab with welded nut to accommodate the duct.

IMG_2125_zpsf88a443b

IMG_2126_zpsee97934c

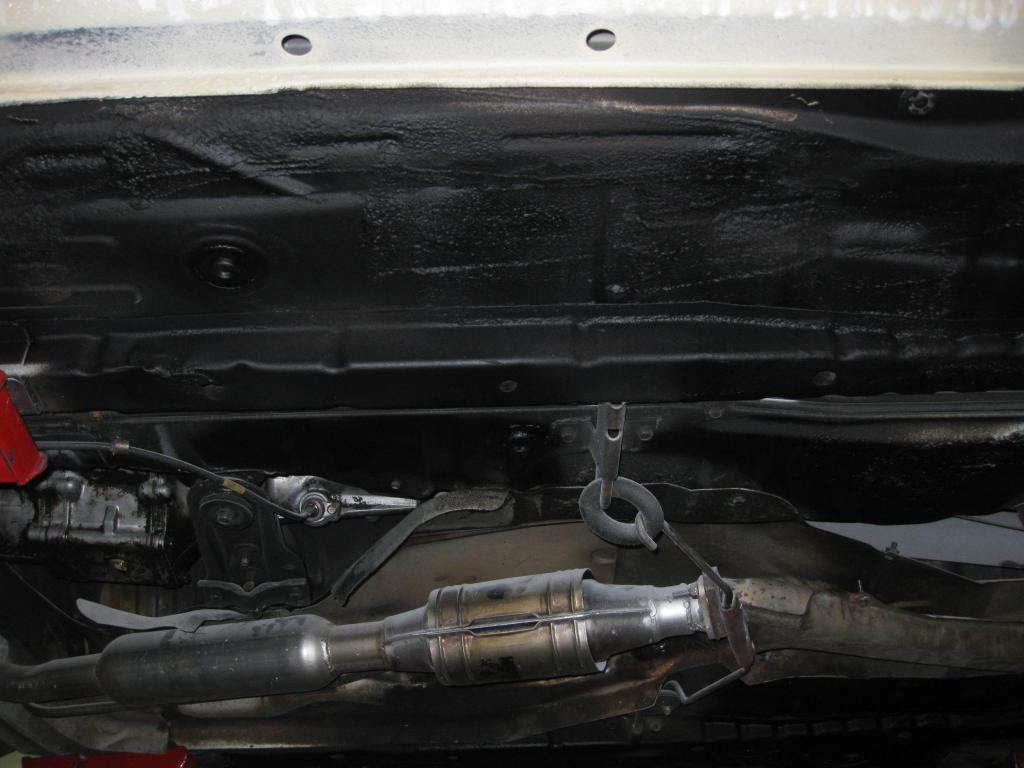
I finished up most of the undercoating.  I cleaned and degreased the underside of the car so the undercoat would stick. I used DUPLI-COLOR™ Professional Undercoat and Sound Eliminator.

IMG_2127_zpsb933a27c

Rear of the car is Nearly Done

Earlier in the month the black painted area around the rear hatch was painted.

IMG_09711 (2)

On Friday I was able to start getting the rear of the car back together.  The rear hatch was installed with a new seal and the wiper. We also installed the washer and the lock.

IMG_2078_zps824e1c47

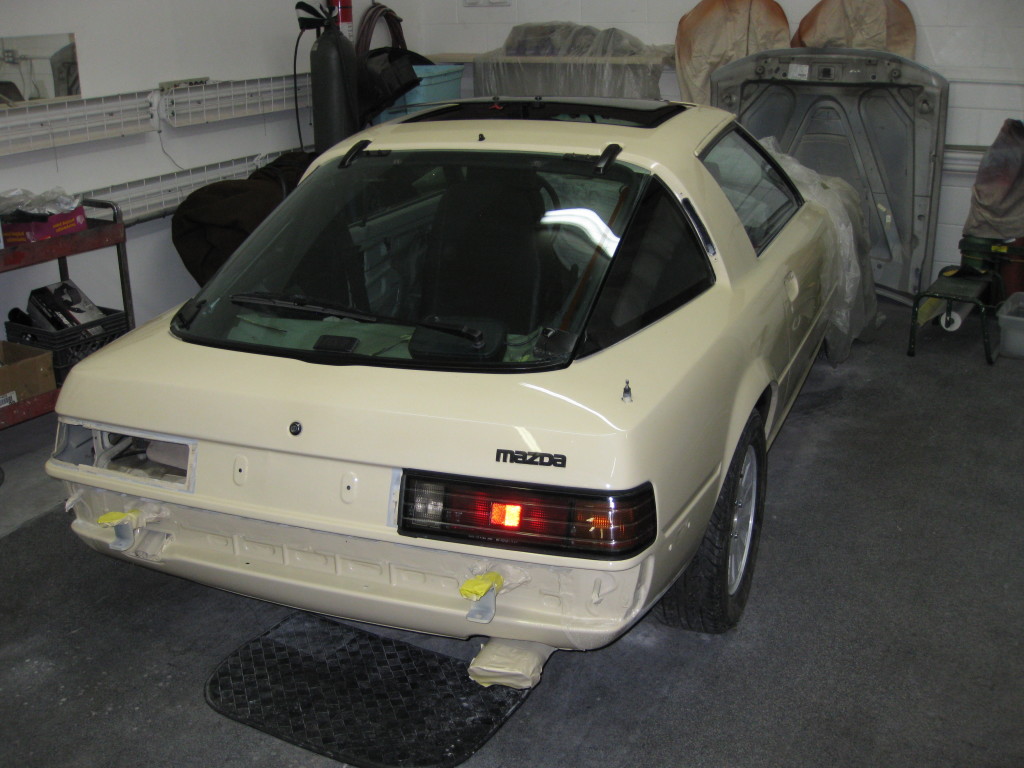
Saturday all the masking was removed and the tail lights installed.  I also installed the door handles and the locks.

IMG_2085_zpsfaf00c10

IMG_2084_zpsca636ef7

IMG_2079_zps382ea69f


We repaired the left tail light (it was cracked). We made a good one out of two. The tail lights and center panel are now in for good. The license plate brackets are also painted.
The rear bumper, head light buckets, head light lids, hood hinges, and hood latch were ready for color when I left.

Rear Suspension Paint and Bushing Replacement

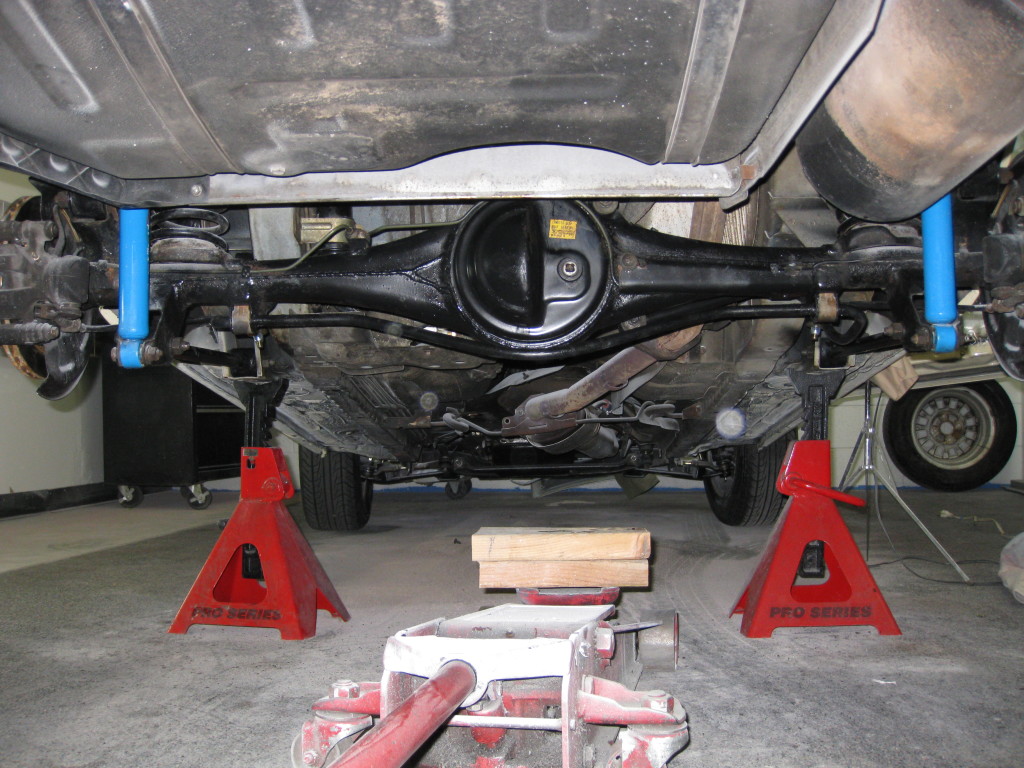
Once the rear wheel well rust was fixed, it was time to replace all the rear suspension bushings. I had an extra set of rear control arms and watts links in the garage that I restored and swapped into the car so the car wouldn’t be immobile for more than a few hours.

The first step was to remove the old bushings.  I pressed them out using a floor shop press.  The old bushings were not easy to remove and did not come out cleanly.  The remainder of the bushings that did not come out with the press had to be burned out.
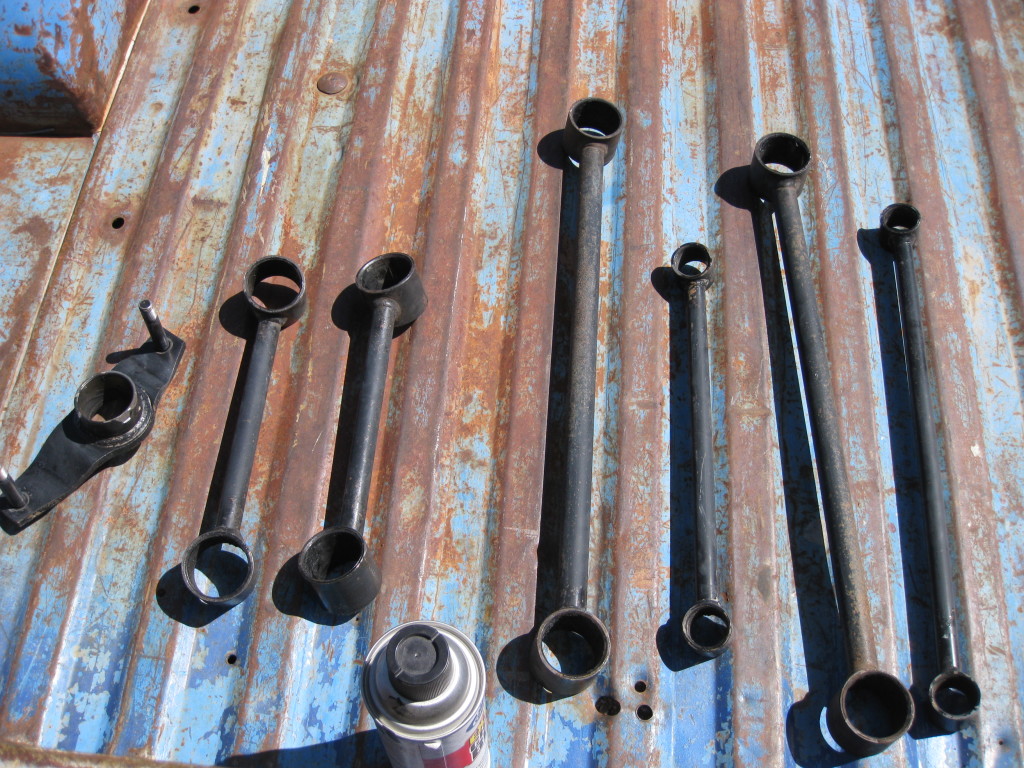
IMG_1999

The bushings were then prepped and painted using the same paint I used for the front suspension. I cleaned then using simple green and sprayed them down with brake parts cleaner.  I then sanded them with a red scotch brite pad. The parts were first primed with Eastwood’s extreme chassis black primer, then paint with two coats of Eastwood’s extreme chassis black paint.
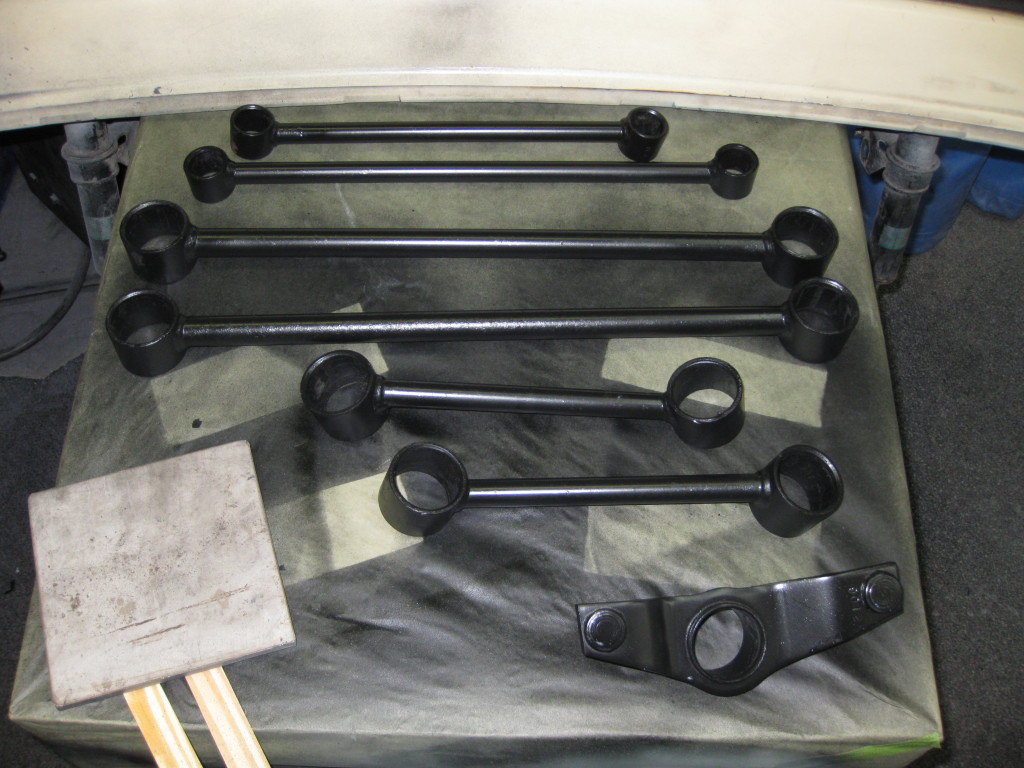
IMG_2000

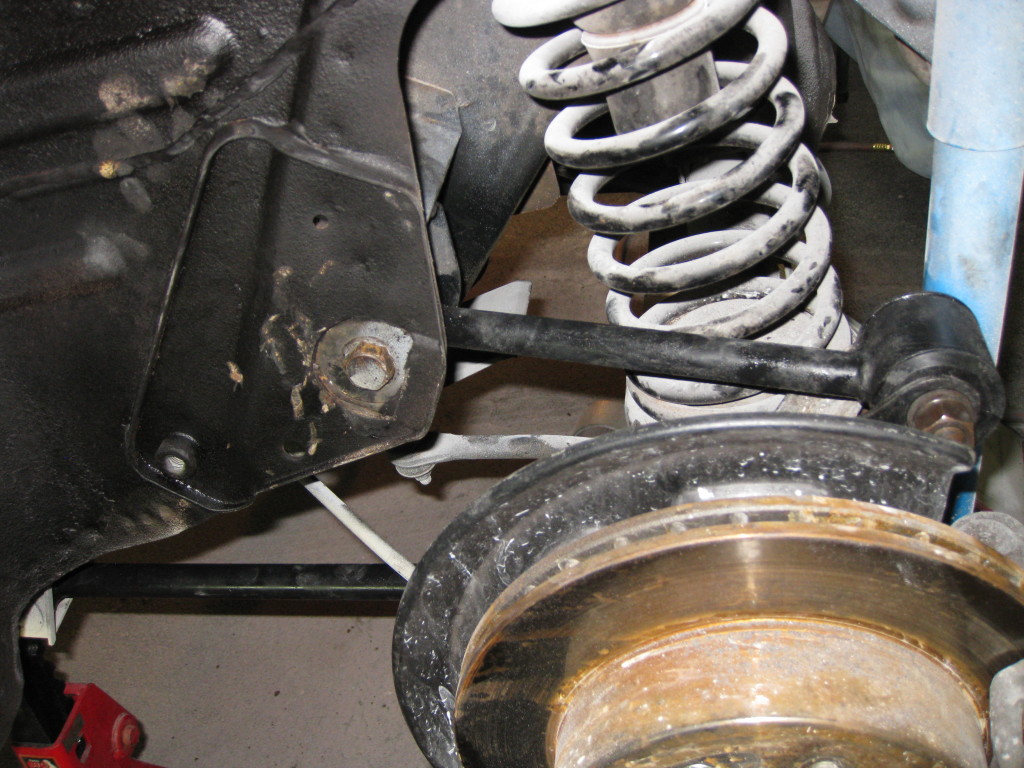
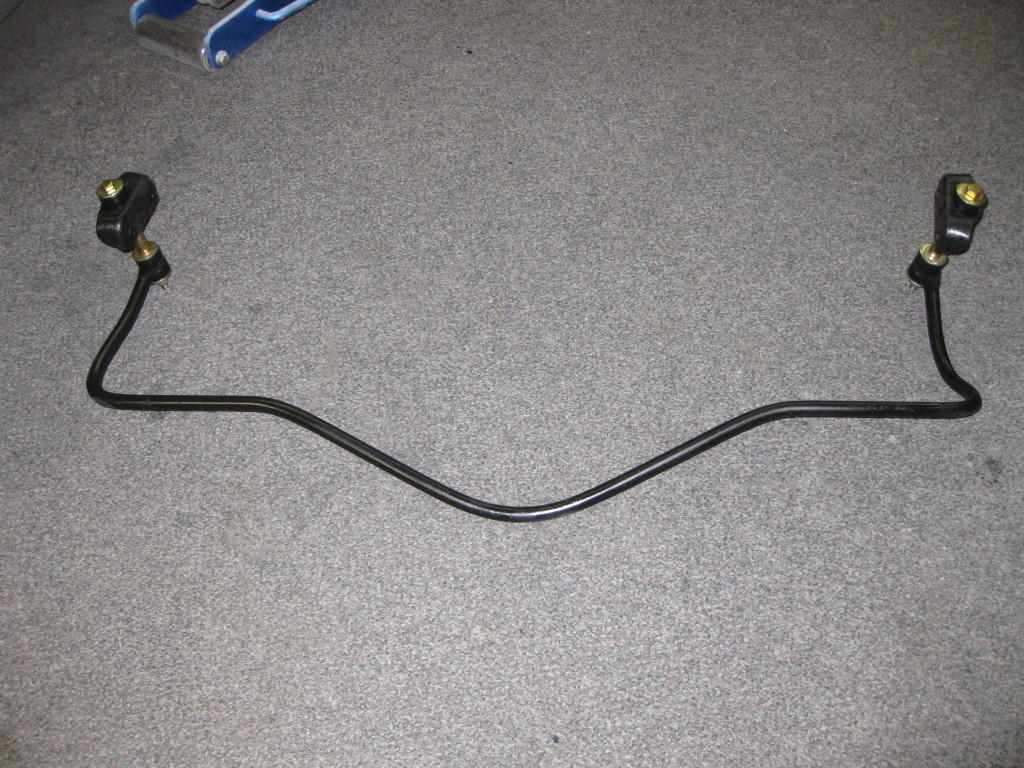
The rear end was coated in a thick layer of grease and grime.  I removed the rear sway bar to get good access to the rear end for cleaning.  I used Simple Green and and a wire brush to clean.  I spent a total of about 2 hours cleaning the rear end. Once it was all cleaned, I used the same method to paint I used on the control arms and watts links.
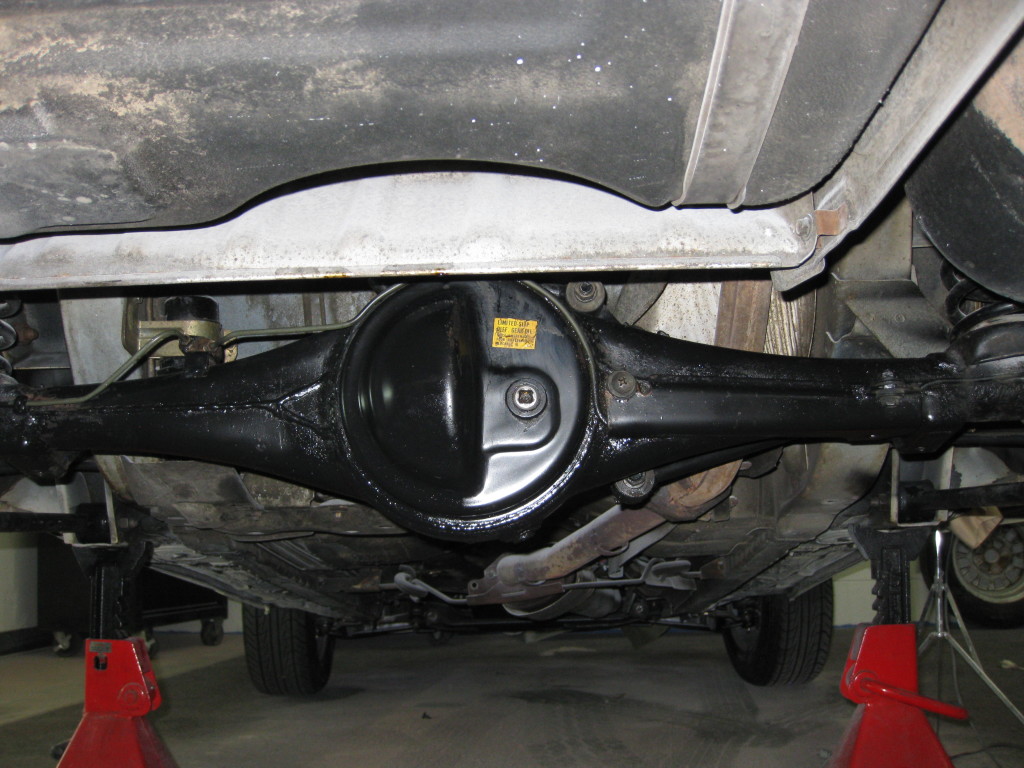
IMG_2018

The new bushings were fairly easy to install in the control arms and watts links. I used the remainder of the Energy Suspension, HYPER-FLEX SYSTEM graphite impregnated black bushing Complete Master Bushing Set from ReSpeed for the rear bushings.  The control arm bushings were a three piece bushing plus a metal sleeve and the watts link bushings were a two piece.  The lube that comes with the bushings is very messy and very sticky.  Wearing disposable gloves is recommended. I followed the directions for the lubrication and installation. After the bushings were installed, I started to remove the old control arms and watts links one at a time and swapped in the new control arms.  I did not completely torque down the bolts durring this stage.  The old bolts required the use of a breaker bar to remove but did remove cleanly and were cleaned and reinstalled.
IMG_2013

The was then painted and the end links were installed next.
IMG_2021

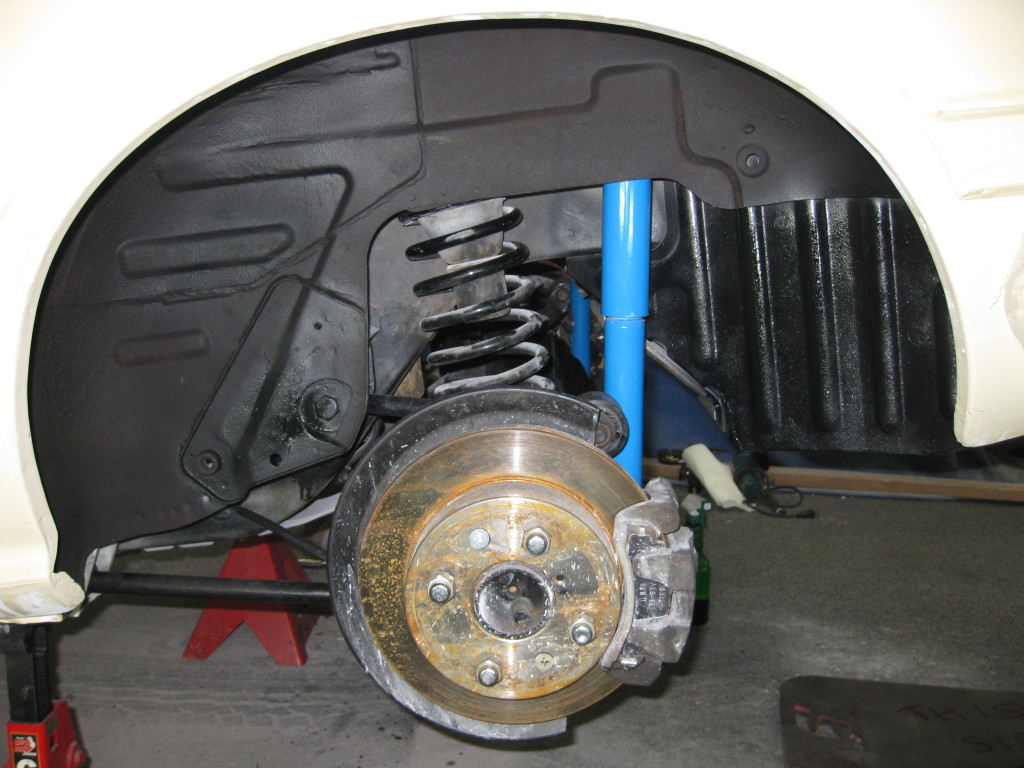
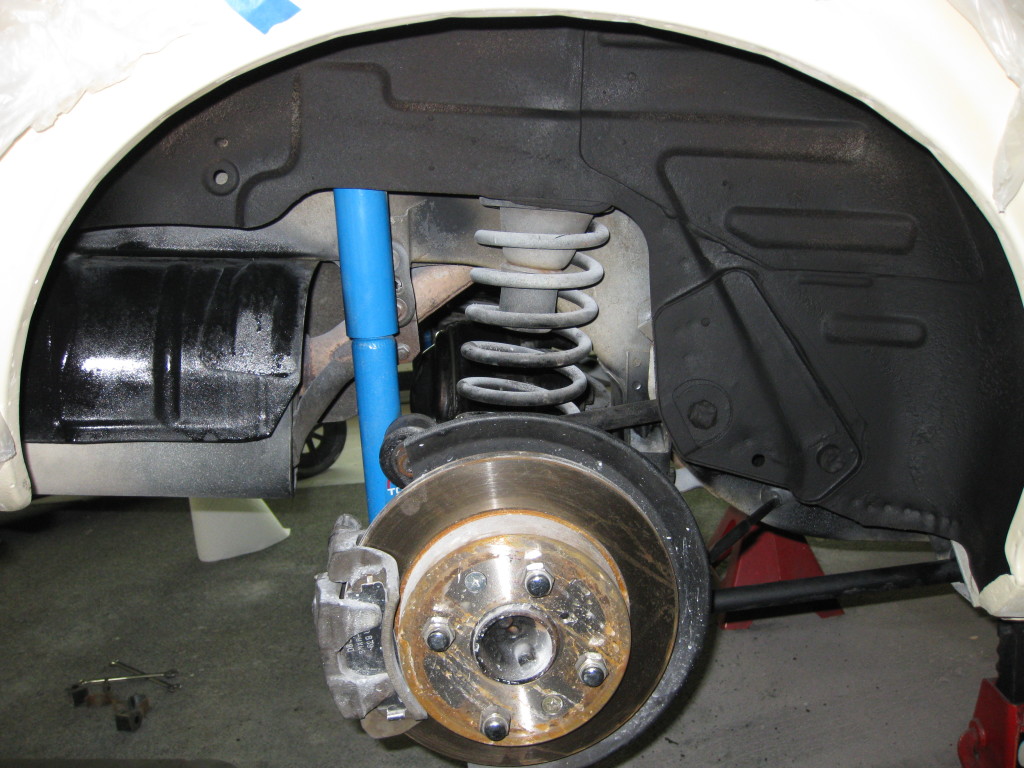
Once the entire rear suspension was reinstalled, I was able to get everything torqued down. I first loaded the suspension with the entire weight of the car.  This is required so the suspension doesn’t bind. Then I torqued down all the bolts.

I will post the completed pictures in the next post.